“Hey, do you want something quick and healthy that actually tastes amazing?” That’s what my coworker texted me one hectic afternoon, right when the 3 PM slump hit hard. Honestly, I was skeptical—energy balls? Could they really keep me fueled without turning into a sticky mess on my desk? But curiosity won over, and I gave these Healthy No-Melt Peanut Butter Energy Balls a shot. What happened next surprised me.
Not only did these no-melt peanut butter bites stay perfectly intact through the day, but they also packed a punch of nutrition and flavor that left me reaching for more (and more). It wasn’t just about snacking—it was about having something wholesome, satisfying, and completely fuss-free. Plus, they held up beautifully in my bag, no sticky peanut butter hands involved. Let’s just say, those little balls of goodness quickly became my secret weapon for powering through the afternoon and even those unexpected hunger attacks after a long run or a busy day of errands.
I found myself making them multiple times throughout the week (like, three batches in five days—don’t judge), tweaking the mix just a bit each time. The blend is just right: nutty, subtly sweet, and chewy, with a hint of crunch that keeps every bite interesting. These energy balls are a little miracle when you want to feel good about what you’re eating but don’t have the patience for complicated recipes or melting messes.
What’s stuck with me most is how these no-melt peanut butter energy balls manage to feel like a treat without the guilt. They’re the kind of snack you can trust to be there whenever you need a quick boost—whether it’s during a busy workday, after a workout, or just whenever life throws you a curveball. And honestly, having a stash of these on hand has been a game-changer in balancing my busy days with smart, satisfying snacks. This recipe’s simplicity and reliability are what make it truly unforgettable.
Why You’ll Love This Recipe
After testing several peanut butter energy ball recipes, this one stands out because it’s truly designed with real life in mind. I’m not just talking about taste, although that’s a huge part of it—it’s about making a snack that fits seamlessly into your routine without any fuss.
- Quick & Easy: Ready in under 20 minutes, perfect for those days when you barely have time to breathe, let alone bake.
- Simple Ingredients: Uses pantry staples and no-specialty items, so you likely have everything right now.
- Perfect for Anytime: Great for on-the-go snacks, post-workout refuels, or as a healthy addition to your kids’ lunchboxes.
- Unbelievably Delicious: The peanut butter flavor is rich but not overpowering, balanced with just the right sweetness and texture.
- No Melt, No Mess: Thanks to the smart ingredient choices, these hold their shape and texture without turning into sticky blobs—even in warmer temperatures.
This recipe isn’t just another energy ball—it’s the best version I’ve come across because of how it balances flavor, nutrition, and practicality. The trick? Using a bit of oat flour and chia seeds to keep everything together without relying on heat or complicated steps. I’ve even swapped in almond butter for a twist, and it still works like a charm. It’s a snack you’ll want to make part of your weekly routine.
What Ingredients You Will Need
This recipe uses simple, wholesome ingredients to deliver bold flavor and satisfying texture without the fuss. Most of these are pantry staples, making it easy to pull together when you need a quick nutritious snack.
- Natural Peanut Butter (creamy or crunchy) – I prefer brands like Smucker’s Natural for the clean, nutty taste.
- Rolled Oats – Provides chewiness and fiber; quick oats can be used but may affect texture slightly.
- Chia Seeds – Acts as a natural binder and adds omega-3s; you can substitute with flaxseeds if preferred.
- Honey or Maple Syrup – For natural sweetness and moisture; adjust based on your taste.
- Oat Flour – Helps keep the balls from melting or sticking; you can make this by pulsing oats in a blender.
- Mini Dark Chocolate Chips (optional) – Adds little bursts of rich flavor without overpowering the nutty base.
- Vanilla Extract – For a subtle depth of flavor, just a teaspoon does wonders.
- Sea Salt (a pinch) – Balances sweetness and enhances peanut butter notes.
Seasonal swaps work well too. In summer, toss in some freeze-dried berries for a fruity punch. For a nut-free version, sunflower seed butter is a great alternative. Remember, using natural peanut butter is key here—it keeps the flavor authentic and the texture just right.
Equipment Needed
- Mixing Bowl: A large bowl to combine all ingredients thoroughly.
- Spoon or Spatula: For mixing; a silicone spatula works great to scrape the sides.
- Measuring Cups and Spoons: Precision helps keep the texture consistent.
- Baking Sheet or Plate: To place the formed energy balls while they set.
- Optional: Food processor if you prefer to blend oats into flour; otherwise, a blender works fine too.
I’ve tried making these energy balls with both hands and a cookie scoop—the scoop speeds things up if you’re making a large batch. For budget-friendly options, any basic kitchen scale or measuring set will do just fine. If you’re curious, I keep a silicone baking mat on my sheet to prevent sticking, but parchment paper works just as well.
Preparation Method
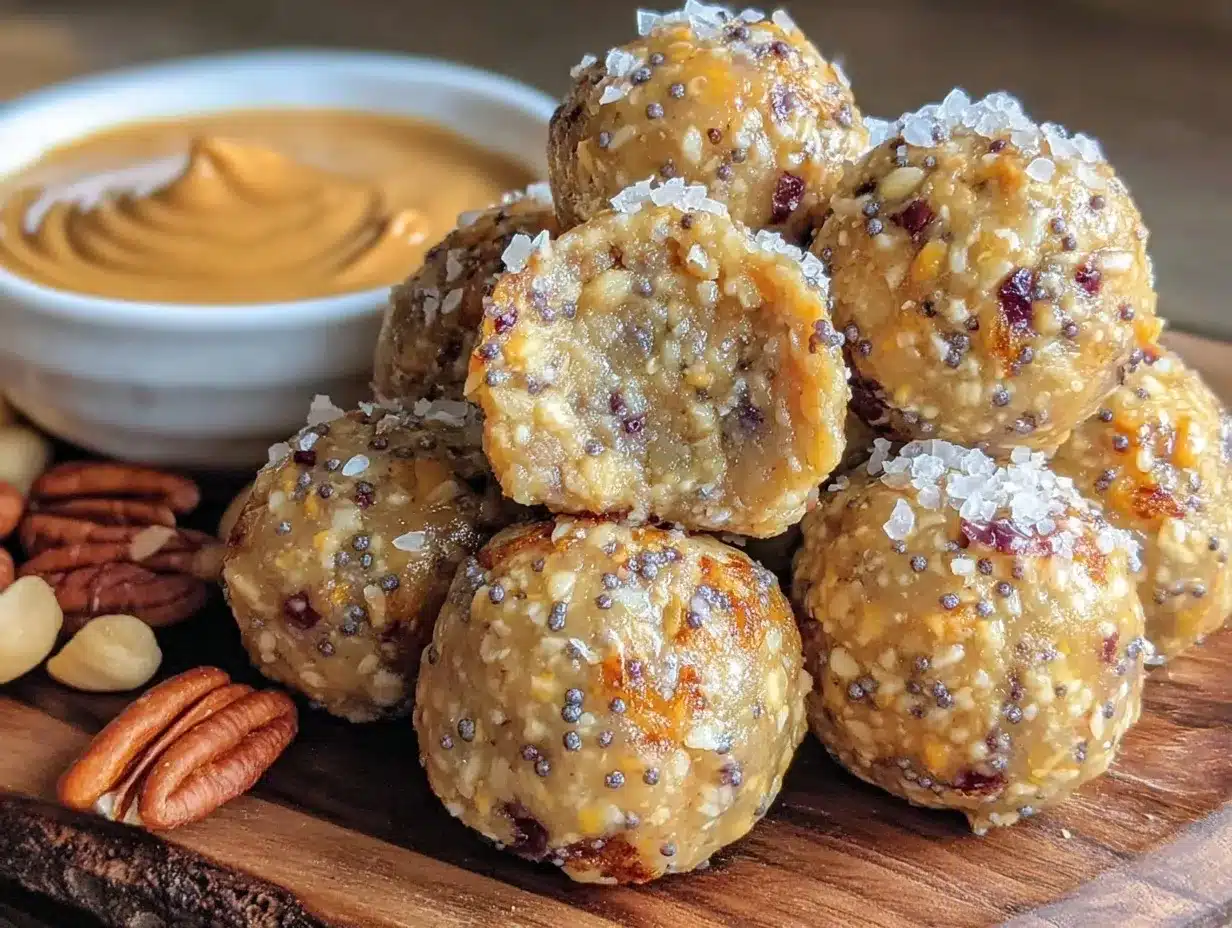
- Measure and Mix Dry Ingredients (5 minutes): In your mixing bowl, combine 1 cup (90g) rolled oats, 1/4 cup (25g) oat flour, 2 tablespoons (20g) chia seeds, a pinch of sea salt, and 1/4 cup (45g) mini dark chocolate chips if using. Mixing these first ensures even distribution of texture and flavor.
- Combine Wet Ingredients (3 minutes): In a separate smaller bowl, stir together 1/2 cup (125g) natural peanut butter, 3 tablespoons (60ml) honey or maple syrup, and 1 teaspoon vanilla extract until smooth and well blended.
- Mix Wet and Dry (5 minutes): Pour the wet mixture into your dry ingredients bowl. Using a spatula or spoon, combine thoroughly until the mixture is sticky but holds together well. If it feels too crumbly, add a teaspoon of water or more honey, one at a time.
- Form the Balls (7-10 minutes): Using your hands or a cookie scoop, roll the mixture into 1-inch (2.5 cm) balls. Place them evenly spaced on a baking sheet lined with parchment paper.
- Chill (20 minutes): Refrigerate the energy balls for at least 20 minutes to firm up. This step helps the chia seeds absorb moisture and keeps the balls from melting later.
- Store: Once chilled, transfer the balls to an airtight container. They keep well in the fridge for up to a week or freeze them for longer storage.
If the mixture feels too sticky while rolling, lightly wet your hands or dust with a little oat flour. The key is a sticky but manageable dough that forms cohesive balls. You’ll know you’ve nailed it when the balls hold their shape without crumbling or sticking excessively.
Cooking Tips & Techniques
One little trick I learned early on is to let the mixture rest for a few minutes before rolling. This gives chia seeds time to swell, improving the texture and binding power. Also, using natural peanut butter—without added sugars or oils—makes a big difference in flavor and prevents the energy balls from melting or becoming greasy.
Watch your honey amount; too much liquid sweetener can cause stickiness, so add it gradually. If your environment is humid, popping the balls in the fridge right after rolling is crucial to firm them up fast. If you ever find the balls too dry or crumbly, a quick splash of water or a touch more nut butter usually fixes the problem.
Another pro tip: keep your hands slightly damp while rolling. It stops the mixture from sticking to your fingers and speeds things up. Multitasking works wonders here—while the balls chill, I often prep my next meal or tidy up the kitchen, making the most of every minute.
For consistent results, measure your ingredients carefully. I’ve had batches turn out too dry or too sticky just from eyeballing amounts. Precision helps you get the perfect bite each time. These techniques combined give you a reliable snack that’s as easy as it is tasty.
Variations & Adaptations
You can easily tailor these no-melt peanut butter energy balls to suit your taste or dietary preferences. Here are a few ideas I’ve experimented with:
- Nut-Free Version: Swap peanut butter for sunflower seed butter or tahini. The texture stays great, and the flavor is pleasantly different.
- Chocolate Lover’s Twist: Add 2 tablespoons of cocoa powder to the dry ingredients for a rich, chocolatey snack.
- Fruity Boost: Mix in 1/4 cup of finely chopped dried cranberries or freeze-dried raspberries for tartness and color.
- Protein Power: Stir in a scoop of your favorite protein powder (vanilla or unflavored) for an extra energy kick, just reduce oats slightly.
- Seasonal Spice: Add a pinch of cinnamon and nutmeg to give these a cozy autumn vibe.
I’ve even tried baking a batch for a few minutes to get a toasted flavor, but honestly, the raw version keeps the texture and freshness better. If you want a different texture, rolling in shredded coconut or crushed nuts before chilling adds a nice touch. These tweaks keep the recipe fresh without complicating it.
Serving & Storage Suggestions
Serve these energy balls chilled or at room temperature—they’re naturally satisfying either way. They make a perfect pre- or post-workout snack, and I often pack a few alongside my lunch for a midday boost. They pair beautifully with a cup of herbal tea or cold brew coffee when you want a little pick-me-up without the sugar crash.
Store your energy balls in an airtight container in the refrigerator for up to a week. If you want to keep a longer stash, freeze them for up to three months. Just thaw at room temperature for about 10 minutes before eating. Flavors actually deepen after a day or two in the fridge, making them even tastier.
When reheating, it’s best to avoid microwaving as that can soften the texture too much. Instead, let them come to room temperature naturally or enjoy cold. If you’re planning a picnic or outdoor adventure, these healthy breakfast casseroles and these crispy buffalo chicken dishes also travel well and complement these energy bites nicely.
Nutritional Information & Benefits
Each no-melt peanut butter energy ball roughly contains:
| Nutrient | Amount per Ball |
|---|---|
| Calories | 90-100 kcal |
| Protein | 4 grams |
| Fiber | 2 grams |
| Healthy Fats | 6 grams |
| Sugar | 4-5 grams (natural) |
The peanut butter provides heart-healthy monounsaturated fats and protein, while chia seeds add omega-3 fatty acids and fiber, contributing to digestive health. Rolled oats bring in complex carbs for steady energy release. These energy balls are gluten-free if you use certified oats and oat flour, and naturally low in sugar, making them a smart choice for anyone avoiding refined sugars.
From a wellness perspective, these bites fit well into a balanced diet, especially when you need a quick, wholesome snack without artificial ingredients or preservatives.
Conclusion
These Healthy No-Melt Peanut Butter Energy Balls are the kind of snack that feels like a small win in your day—easy to make, satisfying to eat, and reliable to keep you going. Whether you’re juggling work, workouts, or just life’s little chaos, having a batch of these on hand is a game changer.
Feel free to customize this recipe to your liking or dietary needs—the basics are forgiving and flexible. I love how they combine simplicity with real flavor and nutrition, and I hope they become a staple in your kitchen as they did in mine.
Give this recipe a try, experiment with your favorite add-ins, and let me know how you enjoy them. Your feedback or any creative twists you try are always welcome—I’m curious to see what you come up with!
Frequently Asked Questions
Can I use crunchy peanut butter instead of creamy?
Absolutely! Crunchy peanut butter adds a nice texture, and I often use it myself. Just make sure it’s natural and doesn’t have added sugars or oils for best results.
How do I store these energy balls to keep them fresh?
Store them in an airtight container in the fridge for up to a week or freeze for longer storage. Thaw frozen balls at room temperature before eating.
Are these energy balls suitable for kids?
Yes, they’re a great, nutritious snack for kids. Just watch the portion size and avoid any added ingredients they might be allergic to.
Can I replace honey with another sweetener?
Maple syrup works well as a vegan alternative. You can also try agave nectar or date syrup, but adjust amounts to taste.
What if I don’t have oat flour? Can I skip it?
You can make your own oat flour by blending rolled oats until fine, or slightly increase the rolled oats amount if needed. Oat flour helps with texture, so don’t skip it entirely for best no-melt results.
Pin This Recipe!
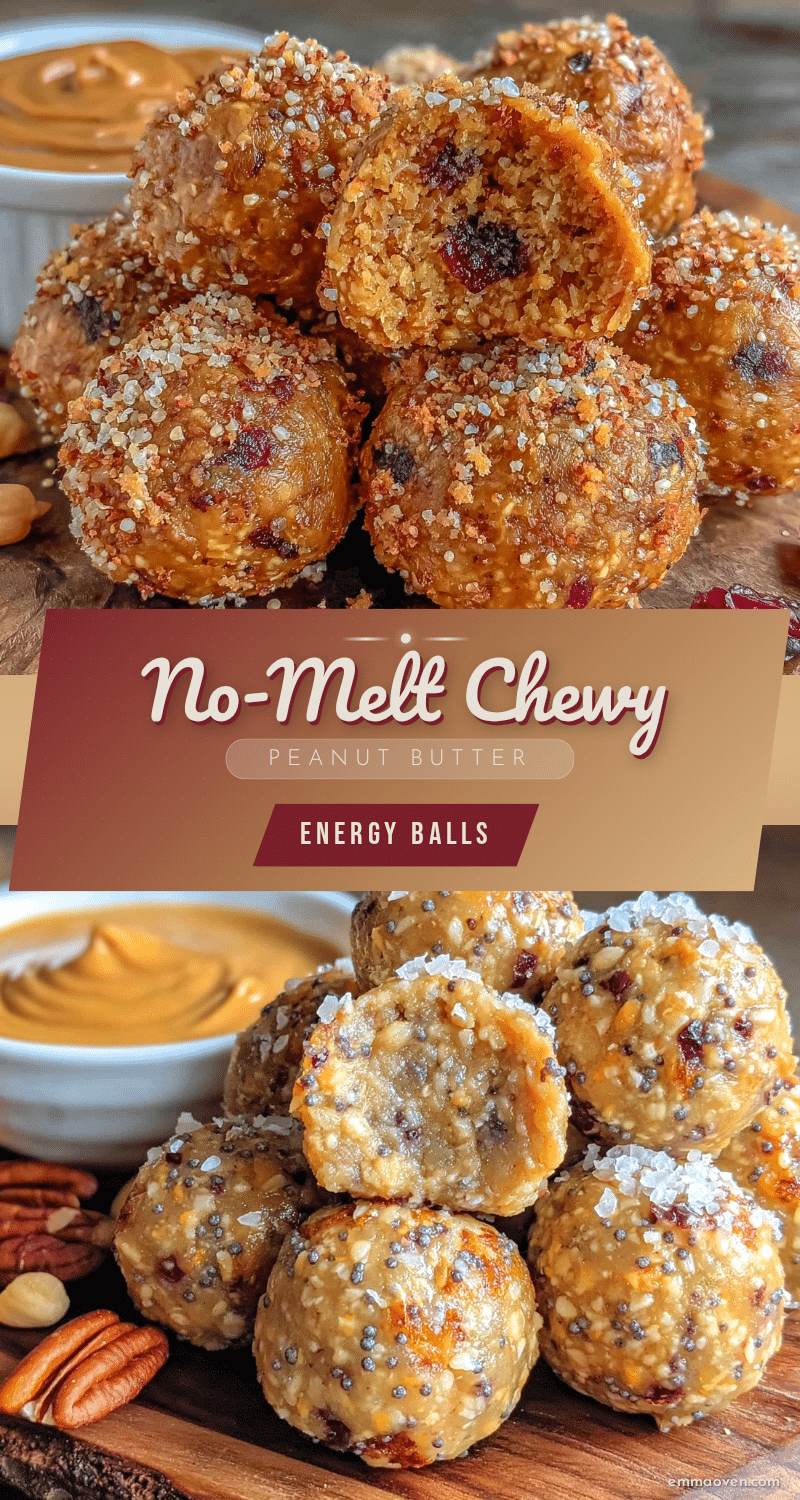
Healthy No-Melt Peanut Butter Energy Balls
Quick, easy, and nutritious no-melt peanut butter energy balls that stay intact and provide a satisfying snack anytime. Perfect for on-the-go, post-workout, or midday boosts without sticky messes.
- Prep Time: 15 minutes
- Cook Time: 0 minutes
- Total Time: 35 minutes
- Yield: 16 servings 1x
- Category: Snack
- Cuisine: American
Ingredients
- 1 cup (90g) rolled oats
- 1/4 cup (25g) oat flour
- 2 tablespoons (20g) chia seeds
- Pinch of sea salt
- 1/4 cup (45g) mini dark chocolate chips (optional)
- 1/2 cup (125g) natural peanut butter (creamy or crunchy)
- 3 tablespoons (60ml) honey or maple syrup
- 1 teaspoon vanilla extract
Instructions
- Measure and mix dry ingredients: In a large mixing bowl, combine rolled oats, oat flour, chia seeds, sea salt, and mini dark chocolate chips if using. Mix well for even distribution.
- Combine wet ingredients: In a separate smaller bowl, stir together natural peanut butter, honey or maple syrup, and vanilla extract until smooth and well blended.
- Mix wet and dry ingredients: Pour the wet mixture into the dry ingredients bowl. Use a spatula or spoon to combine thoroughly until the mixture is sticky but holds together well. Add a teaspoon of water or more honey if too crumbly.
- Form the balls: Using hands or a cookie scoop, roll the mixture into 1-inch (2.5 cm) balls. Place them evenly spaced on a baking sheet lined with parchment paper.
- Chill: Refrigerate the energy balls for at least 20 minutes to firm up and allow chia seeds to absorb moisture.
- Store: Transfer chilled balls to an airtight container. Keep refrigerated for up to one week or freeze for longer storage.
Notes
Let the mixture rest a few minutes before rolling to allow chia seeds to swell for better binding. Use natural peanut butter without added sugars or oils to prevent melting or greasiness. If mixture is too sticky, lightly wet hands or dust with oat flour while rolling. Store in airtight container in fridge up to one week or freeze up to three months. Avoid microwaving to maintain texture.
Nutrition
- Serving Size: 1 energy ball (appro
- Calories: 90100
- Sugar: 45
- Sodium: 50
- Fat: 6
- Saturated Fat: 1
- Carbohydrates: 10
- Fiber: 2
- Protein: 4
Keywords: peanut butter energy balls, no-melt energy balls, healthy snacks, quick snacks, no-bake snacks, gluten-free snacks, protein snacks, peanut butter snacks