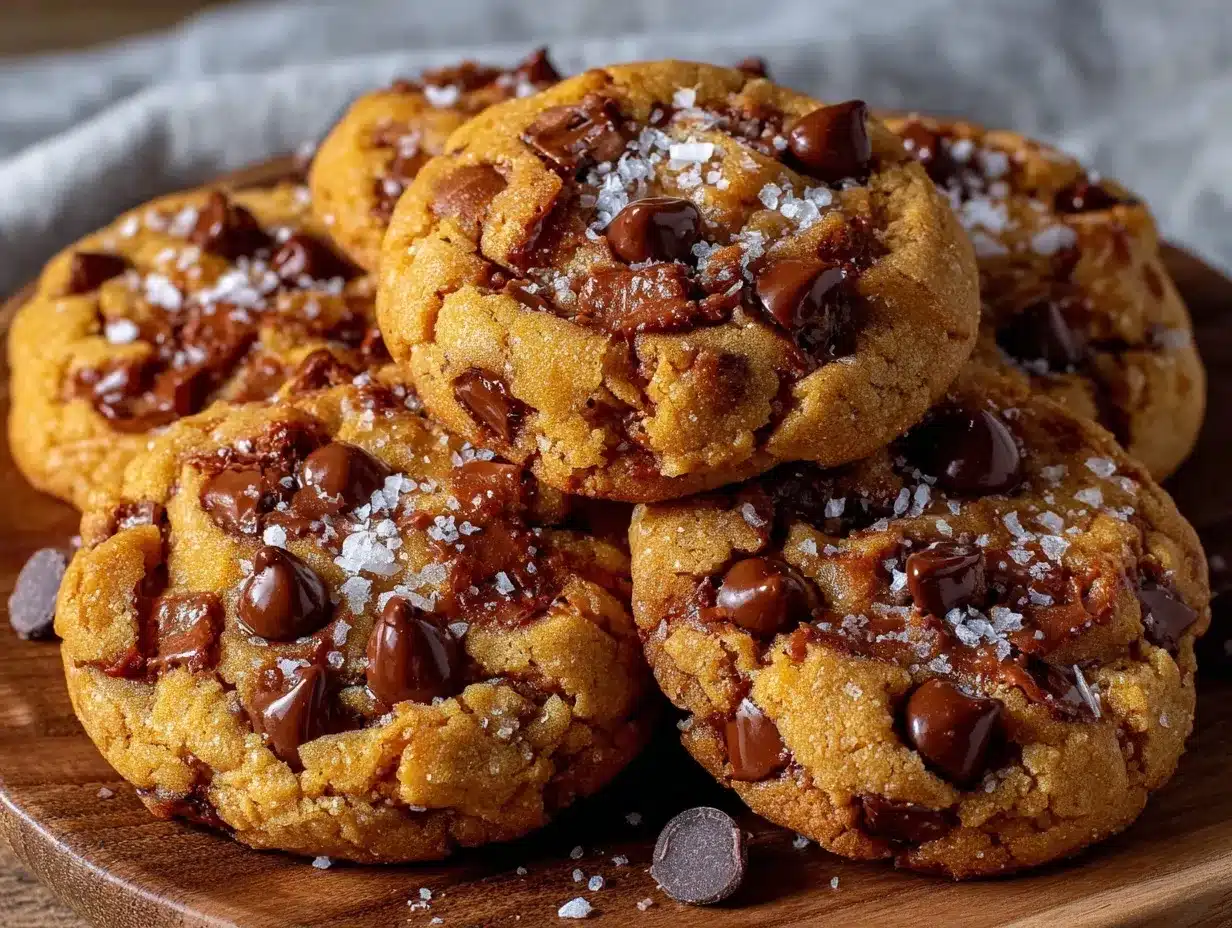
Pulling the cookie sheet out of the oven and realizing the school bus was arriving in less than ten minutes—that’s when this recipe was born. Half a jar of peanut butter left, a desperate hunt for chocolate chips, and a kitchen that looked like a tornado hit it. Honestly, I wasn’t sure these Tender Peanut Butter Chocolate Chip Lunch Box Cookies would turn out at all, but they did—and better than I’d hoped. There’s something about that slightly crumbly edge paired with a soft, melt-in-your-mouth center that made these cookies disappear faster than I could pack the lunches.
The aroma of roasted peanuts mixed with sweet chocolate filled the house, cutting through the chaos of backpacks and lunchboxes strewn on the counter. I remember watching my kid sneak one while I packed the sandwiches, the faintest smile of approval on their face. It’s funny how the simplest things can bring a moment of calm when everything else feels rushed and messy.
This recipe stuck around because it’s not just a quick fix—it’s the kind of cookie that feels homemade, like you actually made time for it, even when you didn’t. The texture is tricky to get just right, but here’s the secret: a little extra butter and a touch of brown sugar make all the difference. It’s tender, chewy, and just sweet enough to brighten a hectic day. These cookies became a quiet little triumph, the perfect blend of peanut butter goodness and chocolate chip delight that’s just right for lunch boxes or after-school snacks.
Why You’ll Love This Recipe
Honestly, if you’re juggling a busy schedule like me, these cookies are a lifesaver. They come together fast, so you’re not stuck in the kitchen when you’ve got a million other things to do. Here’s why this recipe is a kitchen must-have:
- Quick & Easy: Ready in under 30 minutes, perfect for those last-minute lunchbox moments or snack emergencies.
- Simple Ingredients: No need to hunt down fancy stuff—just pantry staples you probably already have on hand, like peanut butter, chocolate chips, and a few basics.
- Perfect for Kids’ Lunches: These cookies hold up well in lunchboxes without getting crumbly or dry, making them ideal for school days or picnics.
- Crowd-Pleaser: Whether it’s your little ones or the office crew, these cookies get rave reviews every time.
- Unbelievably Delicious: The tender texture paired with rich peanut butter and melty chocolate chips is pure comfort in every bite.
What really sets this recipe apart is the balance—it’s not too sweet or greasy, and it stays soft for days if stored properly. I’ve tweaked this cookie over several weeks, testing how little butter I could get away with without losing that tender crumb. Plus, blending the peanut butter thoroughly before mixing keeps the dough silky smooth, which you don’t often see in typical peanut butter cookie recipes.
It’s the kind of cookie that makes you pause and savor, not just shovel in because it’s sweet. Whether you’re packing lunch or craving a quick snack, these cookies bring a little joy and comfort when you need it most. And hey, if you love easy crowd-pleasers, you might enjoy my crispy loaded tater tot nachos for a savory twist on quick bites!
What Ingredients You Will Need
This recipe uses simple, wholesome ingredients to deliver bold flavor and satisfying texture without the fuss. Most of these are pantry staples, so you likely won’t need a special trip to the store.
- Peanut Butter: 1 cup (smooth, creamy style works best for that tender texture)
- Unsalted Butter: 1/2 cup (113g), softened—adds richness and softness
- Brown Sugar: 3/4 cup (150g), packed (gives a slight caramel note and chewiness)
- Granulated Sugar: 1/4 cup (50g)—balances sweetness and texture
- Large Egg: 1, room temperature (helps bind everything together)
- Vanilla Extract: 1 teaspoon (pure vanilla for best flavor)
- All-Purpose Flour: 1 cup (125g)—feel free to swap with almond flour for a gluten-free option
- Baking Soda: 1/2 teaspoon (for just the right lift)
- Salt: 1/4 teaspoon (enhances flavor and balances sweetness)
- Semi-Sweet Chocolate Chips: 3/4 cup (130g)—I prefer Ghirardelli for melt and flavor, but any brand works
If you’re feeling adventurous, a sprinkle of flaky sea salt on top before baking adds a nice contrast. And for a dairy-free twist, swap the butter for coconut oil and use dairy-free chocolate chips.
Equipment Needed
- Mixing Bowls: One large bowl for wet ingredients and one for dry ingredients keeps things tidy.
- Hand Mixer or Stand Mixer: Helpful for creaming the butter and peanut butter smoothly, but a sturdy spoon works too if you don’t have one.
- Baking Sheet: A rimmed cookie sheet is ideal to prevent any drips or spills.
- Parchment Paper or Silicone Baking Mat: Prevents sticking and makes cleanup a breeze.
- Measuring Cups and Spoons: Precision matters here for texture, especially with flour and baking soda.
- Cooling Rack: To let cookies cool evenly without getting soggy underneath.
For folks on a budget, parchment paper and a basic hand mixer are all you really need. I used to mix these cookies by hand before upgrading to a stand mixer, and honestly, both ways work just fine—just takes a bit more elbow grease. Also, keeping your butter softened but not melted is key; I learned this the hard way once and ended up with flat cookies!
Preparation Method
- Preheat your oven to 350°F (175°C). Line a baking sheet with parchment paper or a silicone mat and set aside.
- Cream the butter and peanut butter: In a large bowl, use a hand mixer or stand mixer to beat together 1/2 cup softened unsalted butter and 1 cup creamy peanut butter until smooth and fluffy, about 2–3 minutes.
- Add sugars: Mix in 3/4 cup packed brown sugar and 1/4 cup granulated sugar. Continue beating until combined and light, another 2 minutes. This step helps create that tender texture.
- Incorporate egg and vanilla: Add 1 large egg and 1 teaspoon vanilla extract. Beat until the mixture looks smooth and homogeneous.
- Combine dry ingredients: In a separate bowl, whisk together 1 cup all-purpose flour, 1/2 teaspoon baking soda, and 1/4 teaspoon salt.
- Mix dry into wet: Gradually add the flour mixture to the peanut butter mixture, stirring just until combined. Avoid overmixing; you want soft dough, not tough cookies.
- Fold in chocolate chips: Gently stir in 3/4 cup semi-sweet chocolate chips until evenly distributed.
- Scoop dough: Use a tablespoon or cookie scoop to drop rounded balls onto the prepared baking sheet, about 2 inches apart to allow spreading.
- Optional sea salt: Sprinkle a pinch of flaky sea salt on top of each cookie to add a lovely contrast.
- Bake: Place the baking sheet in the oven and bake for 10–12 minutes. The cookies should be lightly golden at the edges but still soft in the center (they’ll firm up as they cool).
- Cool: Let the cookies rest on the baking sheet for 5 minutes, then transfer to a wire rack to cool completely. This prevents sogginess and helps maintain tenderness.
Pro tip: If your kitchen is warm, chill the dough for 15 minutes before scooping to help keep the cookies from spreading too much. I learned this after a few rounds of flat cookies that looked more like peanut butter discs than cookies!
Cooking Tips & Techniques
Getting these peanut butter chocolate chip cookies just right is a little dance between moisture and structure. Here are some tips that saved me from many baking mishaps:
- Softened butter is your friend: Butter should be soft, not melted. Melted butter leads to greasy, flat cookies. Soft butter blends better with peanut butter for that tender crumb.
- Don’t overmix: Once you add the flour, mix just until combined. Overworking the dough develops gluten, making cookies tough instead of tender.
- Use fresh baking soda: Old baking soda loses its leavening power, so your cookies might not rise or get that nice texture.
- Watch the bake time: Cookies look underdone when soft in the middle; take them out before they look fully set. They finish baking while cooling.
- Experiment with chilling: If your dough is too sticky or cookies spread too much, refrigerate the dough for 10–20 minutes before baking.
For multitasking parents, I often mix the dough while prepping breakfast or packing lunchboxes, saving time and sanity. These cookies pair nicely with a cold glass of milk or a quick cup of coffee, especially when you want a little afternoon pick-me-up. If you’re after more snack inspiration, my creamy buffalo chicken 7-layer dip is a winner for game days or casual get-togethers.
Variations & Adaptations
These cookies are a flexible base for different tastes or dietary needs. Here are some ways you can switch them up:
- Gluten-Free: Swap all-purpose flour with a 1:1 gluten-free baking blend. Make sure your baking soda is fresh and no cross-contamination if allergens are a concern.
- Nut-Free: Use sunflower seed butter instead of peanut butter. The flavor changes, but the texture stays tender and rich.
- Extra Chocolatey: Add 1/4 cup cocoa powder to the dry ingredients and increase chocolate chips to 1 cup for a double chocolate peanut butter cookie.
- Crunch Factor: Stir in 1/2 cup chopped roasted peanuts or walnuts for a pleasant texture contrast.
- Vegan Version: Replace butter with coconut oil, egg with flax egg (1 tablespoon ground flaxseed + 3 tablespoons water, chilled), and use dairy-free chocolate chips.
Personally, I once tried adding a sprinkle of cinnamon and a handful of mini white chocolate chips, which gave these cookies a cozy, holiday vibe. It was an instant hit at a neighborhood potluck.
Serving & Storage Suggestions
These cookies are best served at room temperature to enjoy their tender, chewy texture. They make a perfect companion to lunchbox sandwiches or as a sweet treat after school. For a fun twist, try warming one slightly in the microwave for 10 seconds—melty chocolate and soft cookie feel like a mini dessert.
Pair them with a cold glass of milk, hot chocolate, or even a fruity smoothie for a balanced snack. They’re also great alongside savory dishes like a hearty sandwich or even easy cheesy tater tot breakfast casserole for a comforting brunch spread.
Store cookies in an airtight container at room temperature for up to 4 days. To keep them soft longer, place a slice of bread in the container—the cookies will absorb moisture and stay tender. For longer storage, freeze them in a zip-top bag for up to 2 months. Thaw at room temperature before serving.
Nutritional Information & Benefits
Each cookie (assuming about 18 cookies per batch) contains approximately:
| Calories | 140 |
|---|---|
| Fat | 8g (mostly from peanut butter and butter) |
| Carbohydrates | 16g |
| Protein | 3g |
| Fiber | 1g |
Peanut butter provides healthy fats and plant-based protein, which help keep kids energized through the school day. The modest amount of sugar keeps it sweet but not overwhelming, and the dark chocolate chips add antioxidants. This recipe is naturally gluten-free if you use a gluten-free flour substitute, and with nut butter swaps, it can be allergy-friendly too.
Conclusion
These Tender Peanut Butter Chocolate Chip Lunch Box Cookies have become my go-to when life gets hectic but a homemade touch is still needed. They’re forgiving, quick, and delicious—exactly what you want when you’re juggling a million things. I love how they bring a little sweetness and comfort to the chaos, without any fuss or fancy ingredients.
Feel free to tweak the chocolate to peanut butter ratio or try the variations to suit your family’s tastes. Cooking should be fun, not stressful, and this recipe proves you can make something homemade that feels special even on the busiest days.
If you give these cookies a try, I’d love to hear how you customize them or what snack ideas you pair them with—drop a comment below! And for more easy, crowd-pleasing recipes, you might want to check out my crispy buffalo chicken tater tot casserole that’s perfect for busy weeknights.
FAQs About Tender Peanut Butter Chocolate Chip Lunch Box Cookies
How long do these cookies stay fresh?
Stored in an airtight container at room temperature, these cookies stay fresh and soft for up to 4 days. For longer storage, freeze them for up to 2 months.
Can I make these cookies dairy-free?
Yes! Swap the butter for coconut oil and use dairy-free chocolate chips to make a delicious dairy-free version.
Will these cookies work with chunky peanut butter?
Chunky peanut butter will change the texture, making the cookies a bit crunchier and less tender. For the classic tender texture, use smooth peanut butter.
Can I freeze the cookie dough before baking?
Absolutely. Scoop the dough onto a baking sheet, freeze until firm, then transfer to a bag. Bake frozen dough balls, adding a couple of extra minutes to the bake time.
What’s the secret to keeping these cookies soft and tender?
Softened (not melted) butter, brown sugar for moisture, and avoiding overmixing the flour are key. Also, pull the cookies out of the oven when edges are set but centers are still soft—they’ll firm up as they cool.
Pin This Recipe!
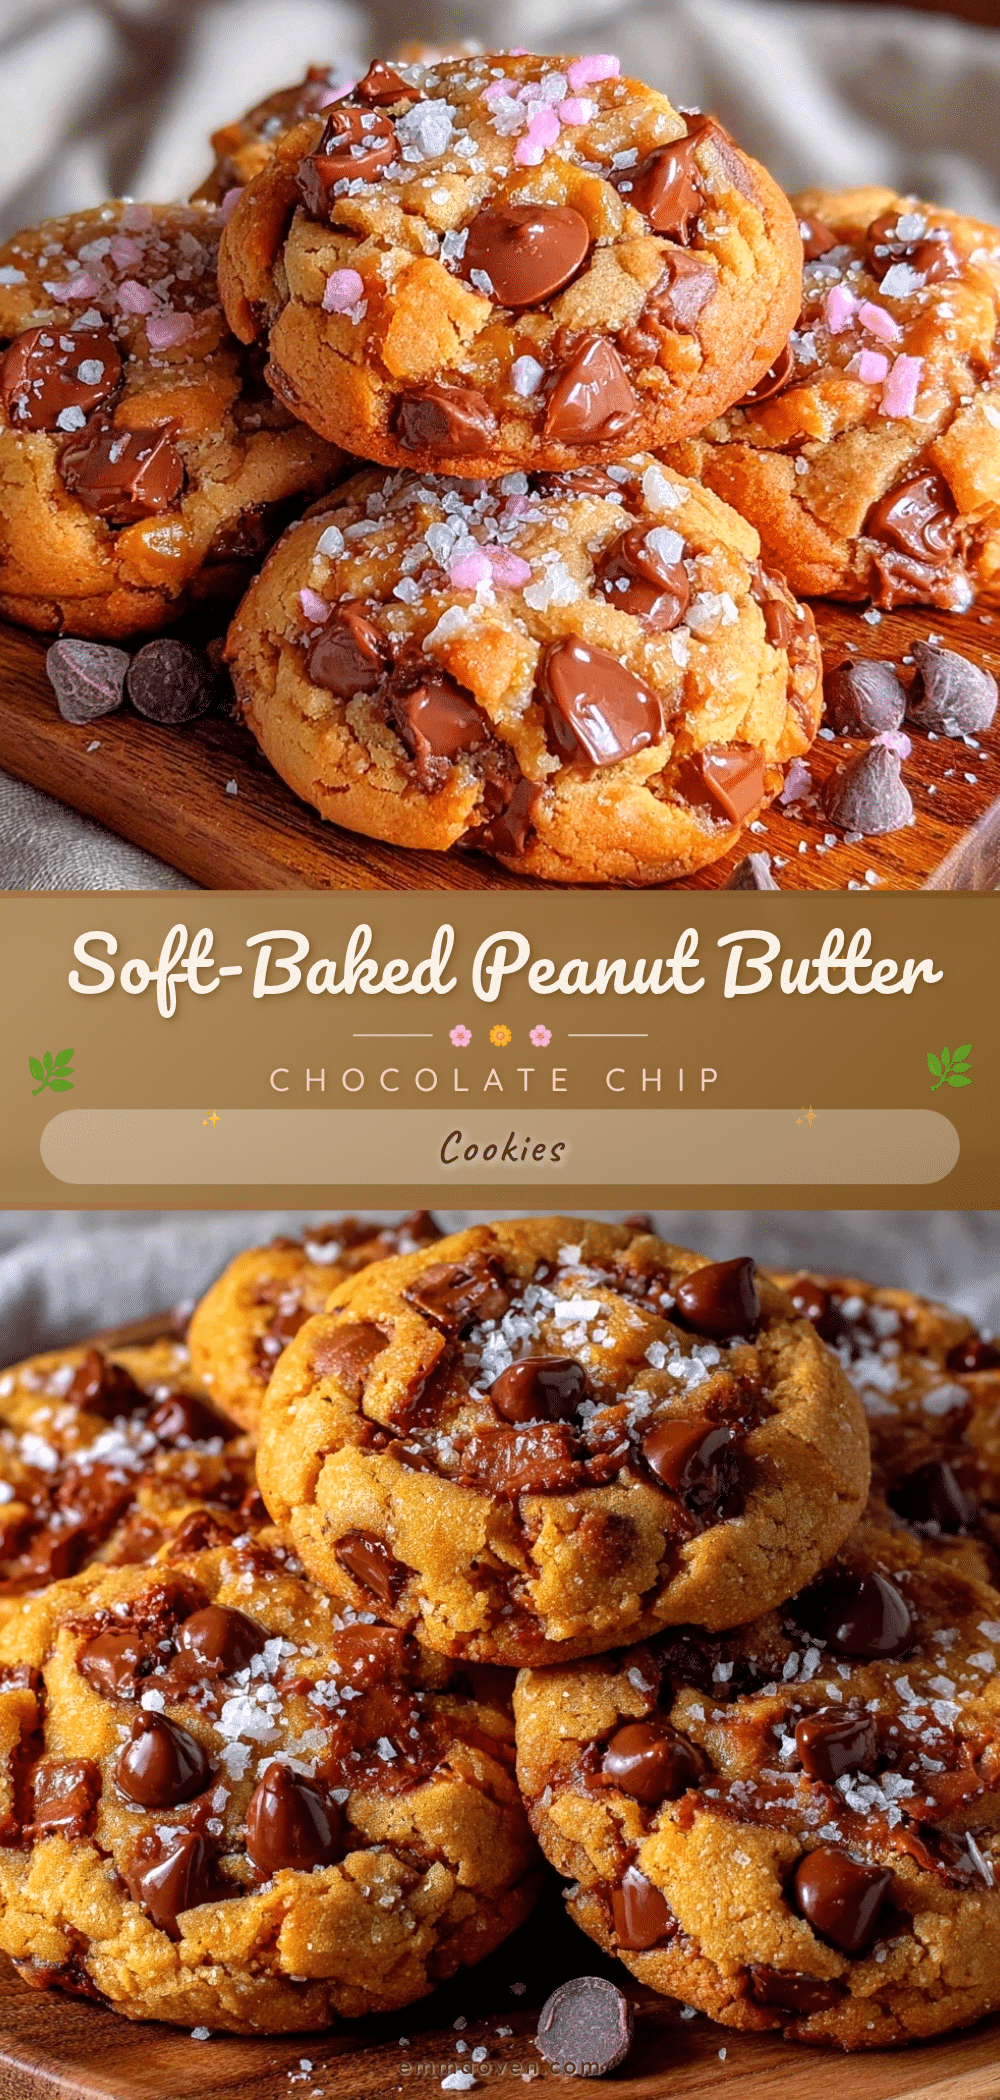
Tender Peanut Butter Chocolate Chip Lunch Box Cookies

These tender and chewy peanut butter chocolate chip cookies are perfect for kids’ lunch boxes or after-school snacks. They combine a soft, melt-in-your-mouth center with slightly crumbly edges and are quick and easy to make.
- Prep Time: 10 minutes
- Cook Time: 12 minutes
- Total Time: 22 minutes
- Yield: 18 cookies 1x
- Category: Dessert
- Cuisine: American
Ingredients
- 1 cup smooth creamy peanut butter
- 1/2 cup (113g) unsalted butter, softened
- 3/4 cup (150g) packed brown sugar
- 1/4 cup (50g) granulated sugar
- 1 large egg, room temperature
- 1 teaspoon vanilla extract
- 1 cup (125g) all-purpose flour (or almond flour for gluten-free)
- 1/2 teaspoon baking soda
- 1/4 teaspoon salt
- 3/4 cup (130g) semi-sweet chocolate chips
Instructions
- Preheat your oven to 350°F (175°C). Line a baking sheet with parchment paper or a silicone mat and set aside.
- In a large bowl, use a hand mixer or stand mixer to beat together 1/2 cup softened unsalted butter and 1 cup creamy peanut butter until smooth and fluffy, about 2–3 minutes.
- Mix in 3/4 cup packed brown sugar and 1/4 cup granulated sugar. Continue beating until combined and light, about 2 minutes.
- Add 1 large egg and 1 teaspoon vanilla extract. Beat until the mixture looks smooth and homogeneous.
- In a separate bowl, whisk together 1 cup all-purpose flour, 1/2 teaspoon baking soda, and 1/4 teaspoon salt.
- Gradually add the flour mixture to the peanut butter mixture, stirring just until combined. Avoid overmixing.
- Gently stir in 3/4 cup semi-sweet chocolate chips until evenly distributed.
- Use a tablespoon or cookie scoop to drop rounded balls onto the prepared baking sheet, about 2 inches apart.
- Optionally, sprinkle a pinch of flaky sea salt on top of each cookie.
- Bake for 10–12 minutes until cookies are lightly golden at the edges but still soft in the center.
- Let the cookies rest on the baking sheet for 5 minutes, then transfer to a wire rack to cool completely.
Notes
Use softened butter, not melted, to avoid flat cookies. Avoid overmixing after adding flour to keep cookies tender. Chill dough for 15 minutes if kitchen is warm to prevent spreading. Sprinkle flaky sea salt on top before baking for contrast. Store cookies in an airtight container with a slice of bread to keep soft longer. Freeze for up to 2 months.
Nutrition
- Serving Size: 1 cookie
- Calories: 140
- Fat: 8
- Carbohydrates: 16
- Fiber: 1
- Protein: 3
Keywords: peanut butter cookies, chocolate chip cookies, lunch box cookies, easy cookies, kid-friendly snacks, homemade cookies, quick cookies