My throat’s been feeling a bit scratchy all morning, and honestly, I want something that’s not just medicine but a little treat too. I stare at the counter, where the elderberry syrup bottle waits, but that sticky sweetness alone doesn’t cut it—not for me. What if I could make those immunity boosters into something chewable, tasty, and way less medicinal? That’s when it hits me: gummies. Not just any gummies, but healthy elderberry gummies with raw honey and orange juice that actually taste like something you’d want to reach for on a regular day, not just when you’re under the weather.
The tang of fresh orange juice with the deep, dark berry flavor and the gentle sweetness of raw honey—that’s the combo that makes these gummies stand out. I’ve made elderberry syrups before, but this recipe feels different. It’s simple, it’s fresh, and it fits in with the little rituals I’ve built around staying well without overdoing the sugar or additives. Plus, the texture—soft, a little chewy, and just enough bite to enjoy without feeling like candy overload—is exactly what I was craving.
It’s funny how something so straightforward can feel like a small victory when you’re trying to keep healthy but also want a little joy in the process. These gummies became my go-to, a quiet reliable way to boost immunity that doesn’t feel like a chore. I guess that’s why they’ve stuck with me—because they’re more than just a recipe, they’re a daily reminder that taking care of yourself can actually taste good.
Why You’ll Love This Healthy Elderberry Gummies Recipe
Honestly, I didn’t expect to fall for this recipe so hard. After testing a few versions, I realized these gummies hit a sweet spot between health and enjoyment. Here’s why they quickly became a kitchen staple for me:
- Quick & Easy: You can have these ready in under 30 minutes, which is perfect when you want to whip up a batch without fussing all afternoon.
- Simple Ingredients: No weird stuff here—just raw honey, elderberry syrup, orange juice, and a bit of gelatin. You probably already have these or can find them at your local health store.
- Perfect for Immunity Support: Elderberries and raw honey are both known for their immune-boosting properties, making these gummies a tasty way to stay ahead of cold season.
- Crowd-Pleaser: My kids actually ask for these, which feels like a small miracle. They love the fruity flavor, and I love that it’s healthy.
- Unbelievably Delicious: The balance of tart orange juice, sweet honey, and earthy elderberry is not your typical gummy flavor. It’s fresh, natural, and oddly comforting.
What really sets this recipe apart is the use of raw honey instead of refined sugar, which keeps the sweetness natural and adds a subtle floral note. Plus, I use freshly squeezed orange juice whenever possible (though store-bought works fine too) to keep the vitamin C punch strong and vibrant. These aren’t just gummies—they’re little immunity boosters you’ll actually want to eat.
It’s not just about staying well; it’s about feeling good while doing it. This recipe has been a quiet companion through cold snaps and busy weeks, a simple way to care for myself and my family without any stress or weird ingredients.
What Ingredients You Will Need
This recipe uses straightforward, wholesome ingredients to create a gummy that’s both delicious and functional. Most are pantry staples or easy to find at your local grocery or health food store.
- Elderberry syrup: 1/2 cup (120 ml) — Look for a high-quality elderberry syrup with real elderberry extract; I recommend one with no added sugars for the purest taste.
- Raw honey: 1/4 cup (85 g) — Adds natural sweetness and acts as a gentle antimicrobial agent. Opt for local raw honey if you can; it gives a richer flavor.
- Fresh orange juice: 1/2 cup (120 ml) — Freshly squeezed is best for vitamin C and bright flavor, but bottled 100% orange juice works too.
- Unflavored gelatin: 3 tbsp (about 30 g) — This is what gives the gummies their chewy texture. For a vegetarian alternative, you can try agar-agar, but note it sets differently.
- Water: 1/2 cup (120 ml) — To bloom the gelatin properly before mixing.
- Lemon juice: 1 tbsp (15 ml) — Optional, but it boosts the tang and preserves freshness.
Depending on your taste, you can add a pinch of cinnamon or ginger for extra warmth and immune support. I keep these extras optional because sometimes simple is best, but experimenting is half the fun.
When selecting your ingredients, I personally prefer Y.S. Eco Bee Farms for raw honey due to its consistent quality and flavor. For elderberry syrup, check that it’s organic and made with real elderberries, without fillers or artificial sweeteners.
Equipment Needed
- Small saucepan: For gently heating the ingredients without boiling.
- Mixing bowl: To bloom the gelatin and combine liquids.
- Whisk: For smooth blending of gelatin and liquids.
- Silicone gummy molds: These make shaping easy and removing the gummies a breeze. If you don’t have molds, a small baking dish lined with parchment paper works too.
- Measuring cups and spoons: For precise ingredient amounts.
- Refrigerator: To chill and set the gummies properly.
I’ve tried using metal molds before, but silicone is by far the easiest for popping gummies out without damage. If you don’t want to invest in molds, a lightly oiled small glass or silicone baking dish will do just fine, and you can cut the gummies into squares once set.
Keep your gelatin stored in a cool, dry place and avoid moisture exposure to maintain its gelling power. This little tip saved me from failed batches more than once!
Preparation Method
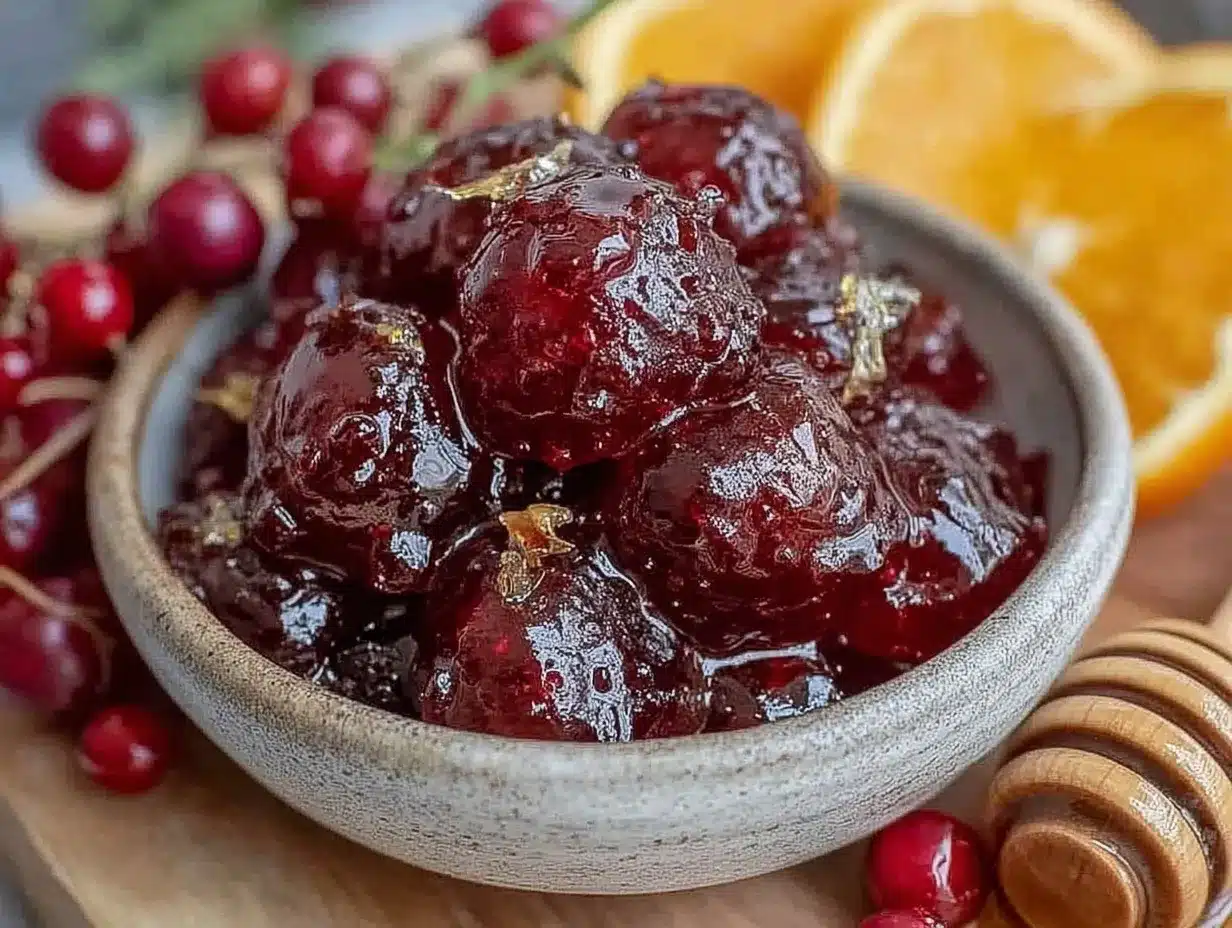
- Bloom the gelatin: Pour 1/2 cup (120 ml) of cold water into a mixing bowl. Sprinkle 3 tablespoons (about 30 g) of unflavored gelatin evenly over the surface. Let it sit for 5 minutes until it absorbs the water and becomes thick and spongy. This step is crucial for good texture.
- Heat the liquids: In a small saucepan, combine 1/2 cup (120 ml) elderberry syrup, 1/4 cup (85 g) raw honey, 1/2 cup (120 ml) fresh orange juice, and 1 tablespoon (15 ml) lemon juice if using. Warm gently over low heat, stirring frequently to mix evenly and dissolve the honey completely. Avoid boiling as it can degrade nutrients.
- Combine gelatin with warmed mixture: Once the honey syrup is warm and smooth (about 110°F or 43°C), remove from heat. Whisk in the bloomed gelatin until fully dissolved. This shouldn’t take more than a minute or two—look for a silky, lump-free mixture.
- Pour into molds: Carefully ladle or pour the mixture into silicone gummy molds. Work quickly before it starts to set—this usually gives you about 10 minutes.
- Chill and set: Place the molds in the refrigerator for at least 2 hours, or until the gummies are firm to the touch. Patience here pays off; don’t rush the setting or the texture won’t be right.
- Remove and store: Gently pop the gummies out of the molds. Store them in an airtight container in the fridge. They’ll last about 2 weeks refrigerated.
If your gummies feel too soft, you can add a bit more gelatin next time, about 1/2 tablespoon extra. Too hard? Use slightly less gelatin or increase the liquid proportion. The texture can vary slightly depending on the brand of gelatin, so adjust as you go.
Cooking Tips & Techniques
One thing I learned the hard way: never skip blooming the gelatin. It makes a world of difference in texture. I once tried stirring gelatin straight into warm liquids, and the gummies turned out grainy and brittle. Blooming lets it hydrate evenly and smooth out.
Keep heat low when warming the honey and elderberry syrup—too hot and you risk killing off some of the beneficial enzymes in raw honey. I use a candy thermometer to keep an eye on the temperature (below 120°F/49°C is ideal).
Pouring the mixture into molds quickly is a bit of a dance but gets easier with practice. Have everything ready before combining the gelatin and syrup, so you don’t waste time. A small pitcher or measuring cup with a spout helps with neat pouring.
When storing, keep the gummies in a cool, dry place like the fridge, especially if you live somewhere warm. They tend to soften at room temp and can get sticky if left out too long.
I also like to experiment with adding a pinch of cinnamon or ginger powder for a little depth and additional immune support. Sometimes I swap the orange juice for tart cherry juice—it gives a lovely color and a slight tang.
Variations & Adaptations
- Vegan Version: Substitute unflavored gelatin with agar-agar powder. Use about 1 tablespoon agar-agar dissolved in hot liquid. Note that agar sets firmer and less chewy, but it works well for a plant-based option.
- Flavor Twists: Swap orange juice for pomegranate or tart cherry juice for a different antioxidant profile and a beautiful color variation.
- Boost with Spices: Add a pinch of ground turmeric or cinnamon for anti-inflammatory benefits and a warm spice note.
- Lower Sweetness: Reduce raw honey by half and add a few drops of stevia or monk fruit sweetener if you want less sugar but still a pleasant taste.
One variation I tried recently was adding a tablespoon of freshly grated ginger during the warming stage. It gave the gummies a nice zing and extra immune kick—perfect for those weeks when I feel a little run down but don’t want a full-on remedy.
Serving & Storage Suggestions
These elderberry gummies taste best chilled, straight from the fridge. I usually keep a jar handy on the kitchen counter during cold season, so grabbing one is second nature. They make a perfect quick immunity booster between meals or a sweet little snack without guilt.
For parties or family gatherings, presenting them in colorful silicone molds adds a fun touch—kids especially love the shapes. Pair these gummies with a warm cup of herbal tea or fresh-squeezed juice for a cozy immunity combo.
Store the gummies in an airtight container in the refrigerator to maintain firmness and freshness. They last about two weeks chilled. For longer storage, you can freeze them in a single layer on a parchment-lined tray, then transfer to a freezer-safe bag. Thaw in the fridge before eating.
Interestingly, the flavors deepen slightly after a day or two in the fridge, which makes me think these gummies actually get better with a little rest, kinda like a fine jam or chutney.
Nutritional Information & Benefits
Per serving (approx. 3 gummies):
| Calories | 45 |
|---|---|
| Carbohydrates | 12g (mostly from natural sugars) |
| Protein | 1g |
| Fat | 0g |
| Vitamin C | 30% Daily Value (from orange juice) |
Elderberries are packed with antioxidants and have been linked to immune support, while raw honey provides antimicrobial properties and soothes the throat. Orange juice adds vitamin C, which plays a crucial role in immune function. This recipe is naturally gluten-free and can be made dairy-free and vegan by swapping gelatin for agar-agar.
From a wellness perspective, these gummies offer a balanced way to add immune-supporting nutrients without processed sugars or artificial additives, making them a mindful choice when cold season looms.
Conclusion
Healthy elderberry gummies with raw honey and orange juice became my secret weapon for those times when I wanted more than just medicine but less than sugary candy. They’re easy to make, taste fresh and tangy, and feel like a little act of self-care in gummy form. I love how this recipe lets me customize flavors and sweetness, making it truly my own.
If you’re looking for a natural way to support your immune system that fits seamlessly into your day, this recipe is worth trying. Plus, making your own gummies is kinda fun—and you know exactly what’s going in them.
Give it a go, and feel free to tweak it to your taste. And hey, if you enjoy these gummies, you might also appreciate some of my other easy comfort recipes like the crispy cheesy tater tot ranch bake for cozy dinners or the creamy buffalo chicken 7-layer dip for snack time fun.
Frequently Asked Questions
Can I use store-bought elderberry syrup for this recipe?
Yes, as long as it’s a quality syrup made with real elderberry extract and minimal added sugars. Homemade elderberry syrup works great too!
How long do these elderberry gummies last?
Stored in an airtight container in the refrigerator, they last about two weeks. You can also freeze them for longer storage.
Can I make these gummies vegan?
Absolutely. Replace the gelatin with agar-agar powder, but keep in mind the texture will be slightly different—firmer and less chewy.
Is raw honey necessary, or can I use regular honey?
Raw honey is preferred for its health benefits and flavor, but you can use regular honey if that’s what you have. Avoid processed sweeteners for the best results.
Can I add other flavors or spices to these gummies?
Yes! Adding cinnamon, ginger, or turmeric can boost the flavor and add extra immune support. Just a pinch goes a long way.
Pin This Recipe!
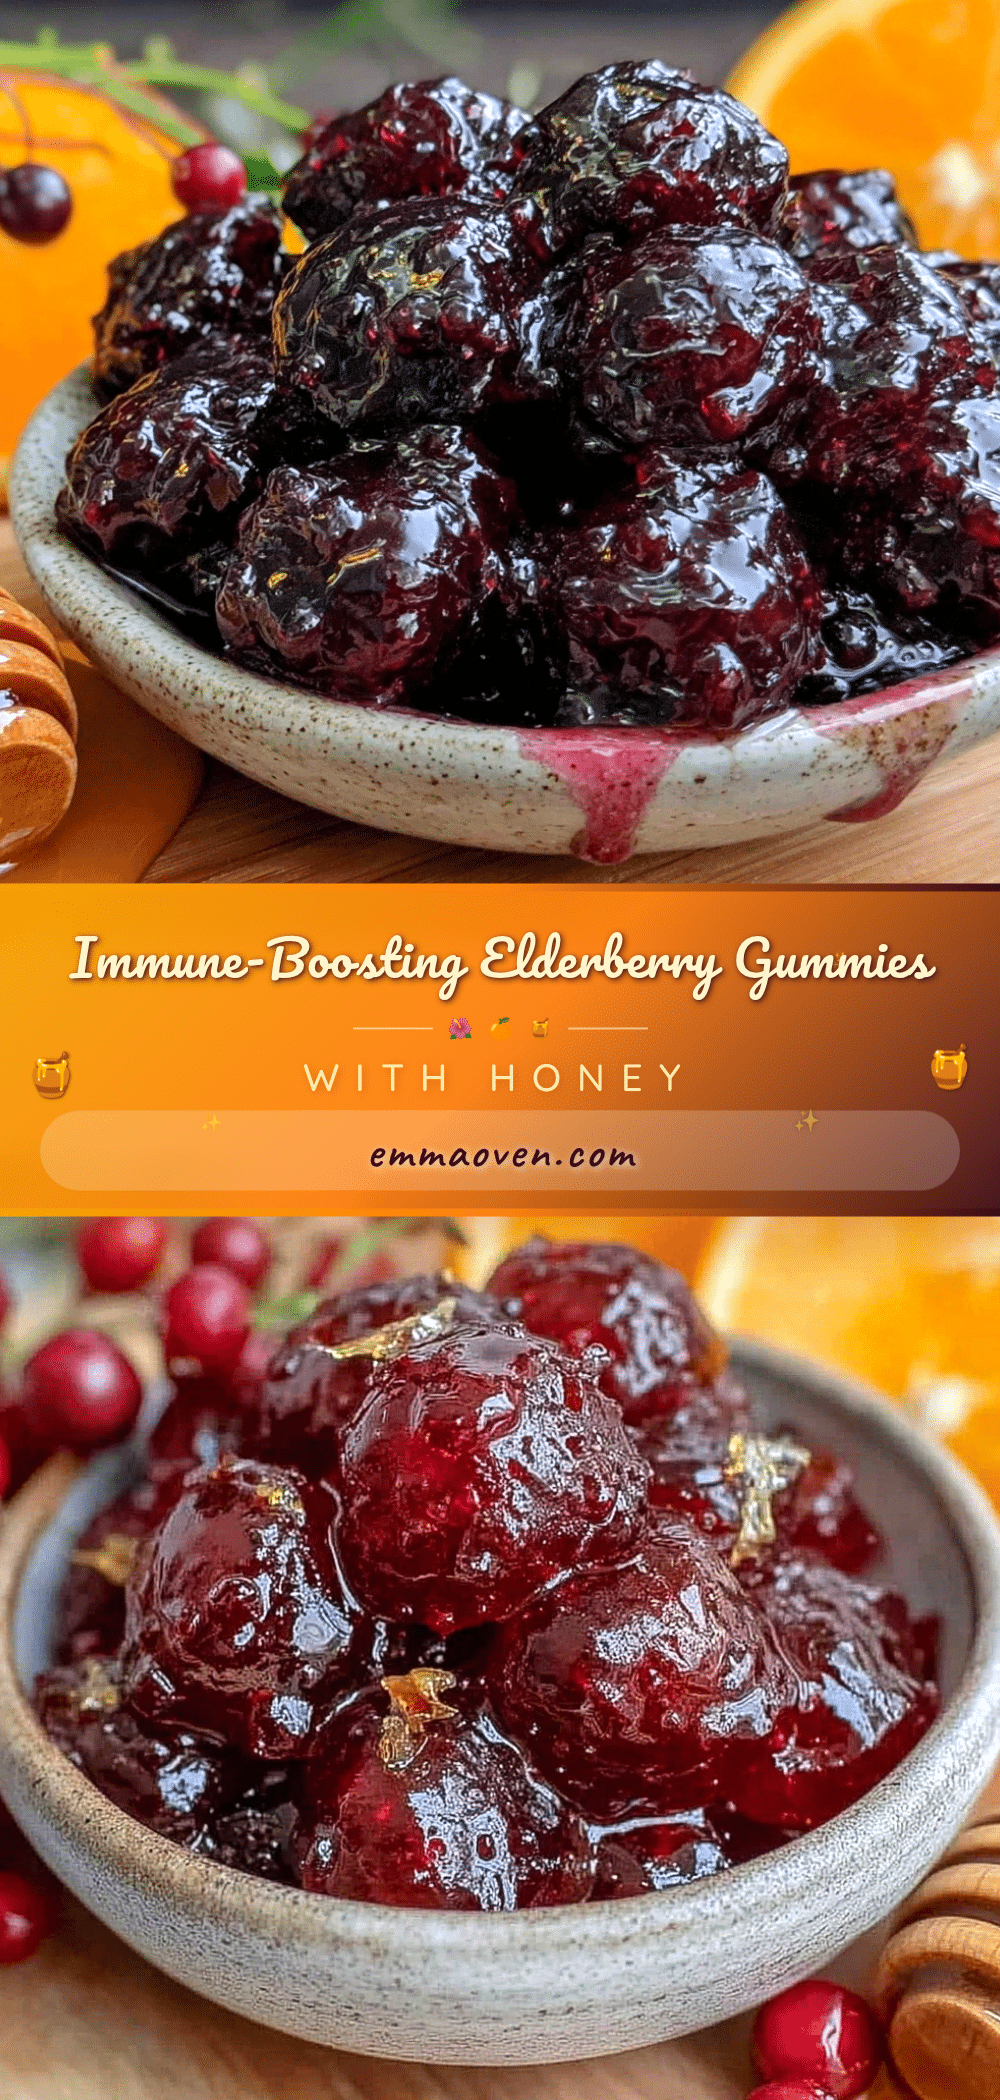
Healthy Elderberry Gummies Recipe with Raw Honey and Orange Juice Easy Homemade Immunity Boosters
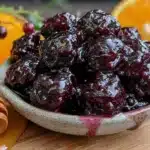
These healthy elderberry gummies combine raw honey and fresh orange juice for a tasty, chewable immunity booster that’s easy to make and enjoyable to eat.
- Prep Time: 10 minutes
- Cook Time: 10 minutes
- Total Time: 2 hours 20 minutes
- Yield: About 30 gummies (approximate) 1x
- Category: Snack
- Cuisine: American
Ingredients
- 1/2 cup (120 ml) elderberry syrup
- 1/4 cup (85 g) raw honey
- 1/2 cup (120 ml) fresh orange juice
- 3 tbsp (about 30 g) unflavored gelatin
- 1/2 cup (120 ml) water
- 1 tbsp (15 ml) lemon juice (optional)
- Pinch of cinnamon or ginger (optional)
Instructions
- Pour 1/2 cup (120 ml) of cold water into a mixing bowl. Sprinkle 3 tablespoons (about 30 g) of unflavored gelatin evenly over the surface. Let it sit for 5 minutes until it absorbs the water and becomes thick and spongy.
- In a small saucepan, combine 1/2 cup (120 ml) elderberry syrup, 1/4 cup (85 g) raw honey, 1/2 cup (120 ml) fresh orange juice, and 1 tablespoon (15 ml) lemon juice if using. Warm gently over low heat, stirring frequently to mix evenly and dissolve the honey completely. Avoid boiling.
- Remove from heat once warm (about 110°F or 43°C). Whisk in the bloomed gelatin until fully dissolved and smooth.
- Carefully ladle or pour the mixture into silicone gummy molds. Work quickly before it starts to set (about 10 minutes).
- Place the molds in the refrigerator for at least 2 hours, or until the gummies are firm to the touch.
- Gently pop the gummies out of the molds and store them in an airtight container in the refrigerator. They will last about 2 weeks.
Notes
Never skip blooming the gelatin to ensure smooth texture. Keep heat low when warming ingredients to preserve nutrients. If gummies are too soft, add more gelatin next time; if too hard, reduce gelatin or increase liquid. For vegan version, substitute gelatin with agar-agar powder (about 1 tablespoon dissolved in hot liquid). Store gummies in airtight container in fridge for up to 2 weeks or freeze for longer storage.
Nutrition
- Serving Size: Approx. 3 gummies
- Calories: 45
- Sugar: 12
- Carbohydrates: 12
- Protein: 1
Keywords: elderberry gummies, immunity booster, raw honey, orange juice, healthy gummies, homemade gummies, elderberry syrup, natural remedy