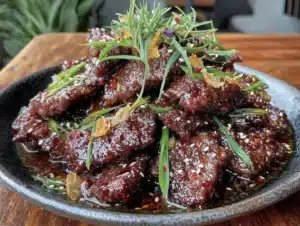
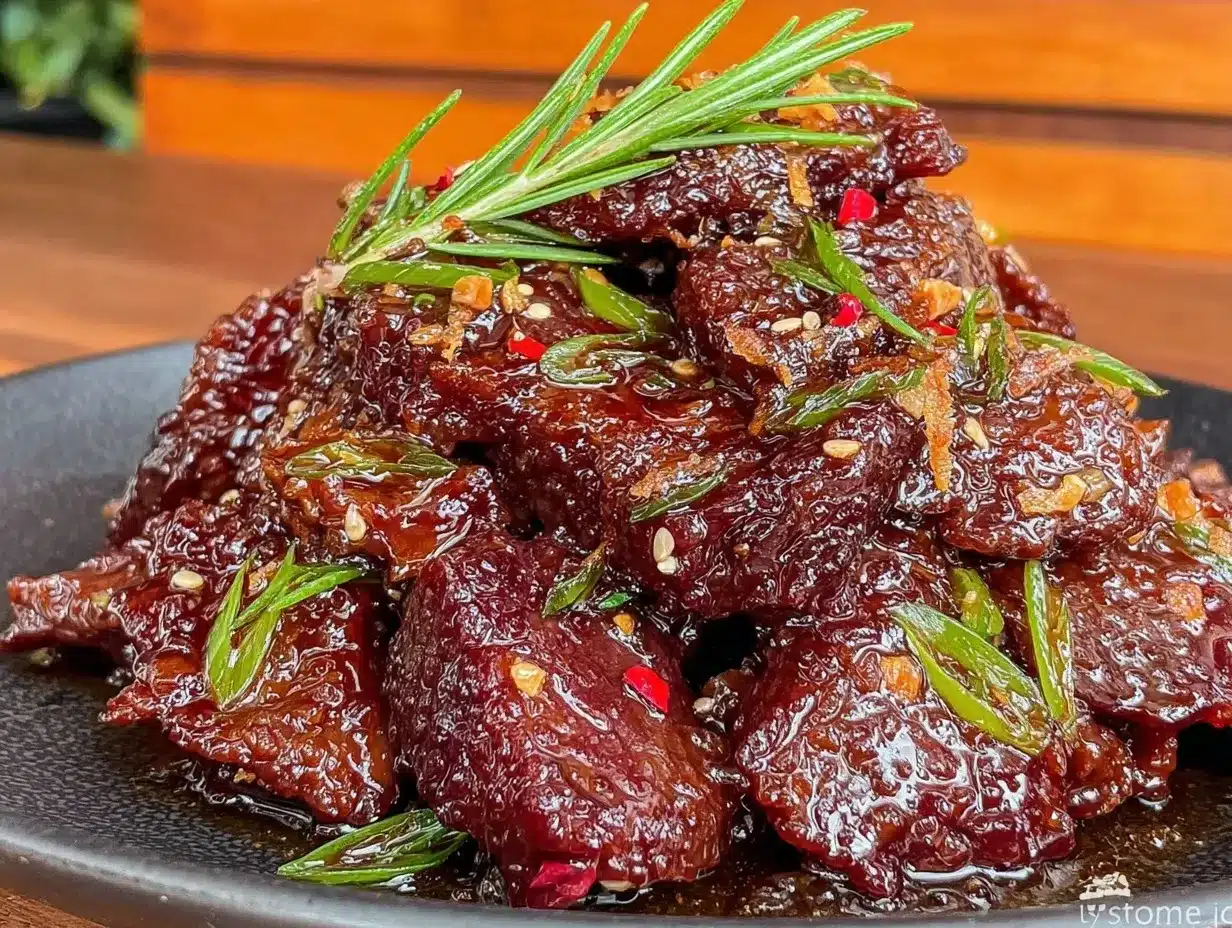
Glossy, sticky ribbons of sauce cling to tender slices of beef, and that’s the whole point. The way the sauce catches the light, pooling slightly at the edges of the plate, makes you want to reach in and grab a bite before it cools. Honestly, the texture here is what made me obsess over perfecting this flavorful Mongolian beef recipe — everything else, like aroma and taste, came second but quickly caught up once I took that first forkful. The beef isn’t just tossed in sauce; it’s slick with a caramelized sheen that promises a satisfying chew with every mouthful. I remember the first time I tried to replicate this dish at home, determined to beat the local Chinese takeout I’d been ordering on lazy weeknights. The challenge was nailing that unmistakable balance of sweet, savory, and a hint of heat without ending up with a syrupy mess or dry meat. After a few attempts and some tweaks to the sauce and cooking technique, I landed on this version that’s, honestly, better than takeout. It’s got that perfect bite of tender beef, a sauce that’s rich but not overly sweet, and the subtle snap of fresh green onions at the end.
What stuck with me wasn’t just the flavor but the whole mouthfeel — the way the beef slices hold their shape yet yield easily under your teeth, and the sauce that’s thick enough to coat without drowning. It’s a quiet promise of comfort food that feels both indulgent and homemade, the kind of dish that makes you savor each bite slowly, like you’re letting the texture and flavor settle in. That’s why this flavorful Mongolian beef recipe remains a staple in my kitchen, especially when I want a quick but impressive dinner. It’s reliable, satisfying, and just a little bit special — no takeout menu required.
Why You’ll Love This Recipe
After testing this flavorful Mongolian beef recipe multiple times, I can say it strikes a rare balance between convenience and restaurant-quality taste. I’m not just talking about quick weeknight dinners, but those moments when you want something that feels a bit fancy without the fuss.
- Quick & Easy: Ready in about 30 minutes, making it ideal for busy evenings or last-minute cravings.
- Simple Ingredients: Uses pantry staples like soy sauce, brown sugar, and garlic, so no special grocery runs needed.
- Perfect for Dinner: Whether it’s a solo meal or feeding a small crowd, it’s hearty and satisfying.
- Crowd-Pleaser: Kids and adults alike rave about the tender, flavorful beef and the addictive sauce.
- Unbelievably Delicious: The sauce has the perfect sweet-savory balance with a subtle kick, making the texture and flavor combo a true comfort food winner.
This isn’t just another stir-fry. The secret is in the way the beef is sliced thinly against the grain and quickly seared to lock in juiciness before being tossed in that thick, sticky sauce. Plus, I add a splash of hoisin for depth that most recipes miss. Honestly, it’s that little twist that gives it a richer flavor and makes it stand out from typical takeout versions. I love how this dish feels like a cozy dinner without the hassle or waiting time of delivery. If you’ve ever been frustrated by soggy or overly sweet Mongolian beef from takeout, this version will feel like a breath of fresh air in your kitchen.
What Ingredients You Will Need
This flavorful Mongolian beef recipe uses simple, wholesome ingredients to deliver bold flavor and satisfying texture without the fuss. Most of these are pantry staples you probably already have, and a few fresh items really bring the dish to life.
- Beef: 1 lb (450g) flank steak, thinly sliced against the grain (key for tenderness)
- Cornstarch: 1/3 cup (about 45g) for coating the beef to get that crispy exterior
- Vegetable oil: 2-3 tablespoons for frying (use a neutral oil with a high smoke point)
- Sauce ingredients:
- 1/2 cup (120ml) low sodium soy sauce (I recommend Kikkoman for best taste)
- 1/3 cup (70g) brown sugar, packed (balances the saltiness)
- 1/2 cup (120ml) water
- 2 teaspoons hoisin sauce (adds depth and richness)
- 2 teaspoons grated fresh ginger (optional, but highly recommended)
- 3 cloves garlic, minced (for that punch of aroma)
- Vegetables:
- 4-5 green onions, sliced thin on the diagonal (adds freshness and slight crunch)
- Optional garnish: Sesame seeds for a subtle nutty crunch
Substitution tips: If you want a gluten-free option, swap the soy sauce for tamari and use arrowroot powder instead of cornstarch. You can also swap flank steak with sirloin, but keep it thinly sliced for best results. For a vegetarian twist, try substituting with seitan or mushrooms and adjust cooking times accordingly.
Equipment Needed
- A sharp chef’s knife for slicing the beef thinly and prepping green onions
- A large mixing bowl for tossing the beef with cornstarch
- A heavy skillet or wok (cast iron or stainless steel works great) for frying and cooking the sauce
- A wooden spoon or silicone spatula for stirring the sauce without scratching your pan
- Measuring cups and spoons for precise ingredient amounts
- A wire rack or paper towels for draining fried beef (helps keep it crispy)
If you don’t have a wok, a large non-stick skillet will do just fine. I’ve found that cast iron skillets retain heat better and give a nice sear to the beef, but they require a bit more maintenance to keep seasoning intact. For budget-friendly options, a sturdy stainless steel pan is reliable and easy to clean. Just make sure your pan is hot before adding the beef to get that nice caramelization.
Preparation Method
- Slice the beef thinly — About 1/8 inch (3 mm) thick, cutting against the grain ensures tenderness. This can take 5-10 minutes depending on your knife skills. If the beef is slightly frozen, it’s easier to slice thin.
- Toss beef in cornstarch — Place the sliced beef in a large bowl and sprinkle 1/3 cup (45g) cornstarch over it. Use your hands or tongs to coat every piece evenly. This step is crucial for that signature crispy texture.
- Heat oil in skillet — Add 2-3 tablespoons vegetable oil over medium-high heat. You want it hot enough so the beef sizzles immediately but not smoking. This usually takes 2-3 minutes.
- Fry beef in batches — Don’t overcrowd the pan. Fry the beef slices for about 2 minutes per side until browned and slightly crispy. Remove and drain on a wire rack or paper towels. This prevents sogginess later.
- Prepare the sauce — In a small bowl, whisk together 1/2 cup (120ml) soy sauce, 1/3 cup (70g) brown sugar, 1/2 cup (120ml) water, 2 teaspoons hoisin sauce, minced garlic, and grated ginger.
- Cook the sauce — Pour the sauce mixture into the hot skillet, bring to a gentle boil, and let it simmer for 3-4 minutes until it thickens slightly. Stir frequently to prevent burning; the sauce should become glossy and coat the back of a spoon.
- Toss beef back in sauce — Add the fried beef and sliced green onions to the skillet. Toss everything together over medium heat for 1-2 minutes until the beef is fully coated and warmed through. The green onions should stay a little crisp, adding freshness.
- Serve immediately — Garnish with sesame seeds if desired. This dish is best enjoyed hot to keep that perfect sticky texture intact.
Pro tip: If the sauce becomes too thick, add a splash of water to loosen it. Watch the beef carefully at the end so it doesn’t overcook and turn chewy. I like to prep the sauce ingredients ahead of time to keep the cooking flow smooth and fast.
Cooking Tips & Techniques
Getting that authentic, better-than-takeout taste comes down to a few critical techniques. First, slicing the beef thinly and against the grain is non-negotiable for tenderness. I’ve learned the hard way that thicker cuts or slicing with the grain make the beef tough and stringy.
Coating beef lightly but thoroughly in cornstarch is key to that delightful crispy exterior. If you overdo the cornstarch, the beef can get gummy. Lightly toss and shake off excess before frying. Also, frying in small batches avoids steaming the beef, which ruins texture.
When making the sauce, don’t rush the simmer. The sugar needs time to dissolve and caramelize slightly, deepening flavor and creating the glossy finish. Stirring constantly helps prevent burning, especially with brown sugar involved.
Finally, timing is everything. Add the beef back just before serving so it stays crisp and doesn’t sit in the sauce too long. Green onions added last bring a pop of freshness and a little crunch that balances the rich sauce.
My first few attempts were overly sweet or the beef was too dry, but adjusting the sugar ratio and cooking time brought harmony to the dish. The lesson? Patience and precise slicing matter just as much as the sauce ingredients.
Variations & Adaptations
This flavorful Mongolian beef recipe is flexible and adapts well to different tastes and dietary needs.
- Spicy Kick: Add 1/2 teaspoon crushed red pepper flakes or a dash of chili garlic sauce to the sauce for a fiery twist.
- Vegetarian Version: Substitute beef with sliced mushrooms or seitan, adjusting cooking times to avoid overcooking. Use tamari for gluten-free soy sauce.
- Low-Carb Option: Skip the cornstarch and lightly dust with almond flour for a keto-friendly crust. Use coconut aminos instead of soy sauce for a milder flavor.
- Seasonal Veggies: Toss in bell peppers or snap peas with the green onions for more color and crunch.
- Personal Variation: I sometimes add a splash of dark balsamic vinegar just before serving for an unexpected tang that brightens up the sauce beautifully.
For different cooking methods, this recipe can be adapted to an air fryer for the beef coating step, or even baked briefly if you prefer less oil. Just keep an eye on the crispiness level.
Serving & Storage Suggestions
This Mongolian beef is best served hot over steamed white rice or fluffy jasmine rice to soak up the luscious sauce. I also love pairing it with simple steamed broccoli or a crisp cucumber salad for a fresh contrast.
If you’re feeling indulgent, a side of crispy egg rolls or even a cheesy tater tot casserole like the easy cheesy tater tot breakfast casserole works surprisingly well for a hearty meal. I’ve even enjoyed it alongside the crispy buffalo chicken tater tot casserole for a game day feast.
For storage, place leftovers in an airtight container and refrigerate for up to 3 days. The sauce thickens in the fridge, so reheat gently in a skillet over low heat with a splash of water to loosen it back up. Avoid microwaving if possible to keep the beef tender.
Flavors develop beautifully after resting overnight, making this a great make-ahead meal for busy days. Just reheat carefully to preserve that signature sticky texture.
Nutritional Information & Benefits
Per serving, this flavorful Mongolian beef recipe provides approximately 350-400 calories, with around 30 grams of protein thanks to the lean flank steak. The dish is relatively low in carbohydrates, primarily coming from the brown sugar and cornstarch.
Key ingredients like ginger and garlic offer natural anti-inflammatory benefits and support digestion. Using lean beef ensures a good dose of iron and B vitamins, essential for energy.
For those watching sodium, opting for low-sodium soy sauce helps keep salt content moderate. Gluten-free substitutions make this dish accessible for many dietary needs.
Overall, it’s a balanced dinner that satisfies cravings for rich, savory flavors without overwhelming fats or artificial additives like some takeout versions.
Conclusion
Making this flavorful Mongolian beef recipe at home means you’re getting a dish that’s rich in texture, packed with balanced flavors, and satisfying in every bite—better than most takeout versions I’ve tried. The combination of tender, cornstarch-crisped beef and that sticky, savory sauce is a winner every time.
Feel free to tweak the spice level or swap in seasonal veggies to make it your own. Personally, this recipe has stood the test of time in my kitchen as a go-to comfort meal that’s quick yet impressive. It’s a dish that invites you to slow down and savor the texture and flavors with every forkful.
If you try it, I’d love to hear how you made it yours or what sides you paired it with. Cooking at home can be both fun and rewarding, especially when the results taste this good. So, grab your skillet and get ready to impress yourself with a better-than-takeout dinner.
FAQs About Flavorful Mongolian Beef
Can I use a different cut of beef for Mongolian beef?
Yes, sirloin or skirt steak can work well if sliced thinly against the grain. Avoid tougher cuts that need long cooking times.
How do I keep the beef crispy after cooking?
Fry in small batches and drain on a wire rack to prevent sogginess. Toss the beef in sauce just before serving to maintain crispness.
Can I make this recipe gluten-free?
Absolutely! Use tamari instead of soy sauce and arrowroot powder instead of cornstarch for coating the beef.
Is there a vegetarian version of Mongolian beef?
You can substitute mushrooms or seitan for beef. Adjust cooking times since these ingredients cook faster and absorb sauce differently.
What should I serve with Mongolian beef?
Steamed rice is classic, but it also pairs nicely with simple steamed veggies or even a fresh cucumber salad for balance.
Pin This Recipe!
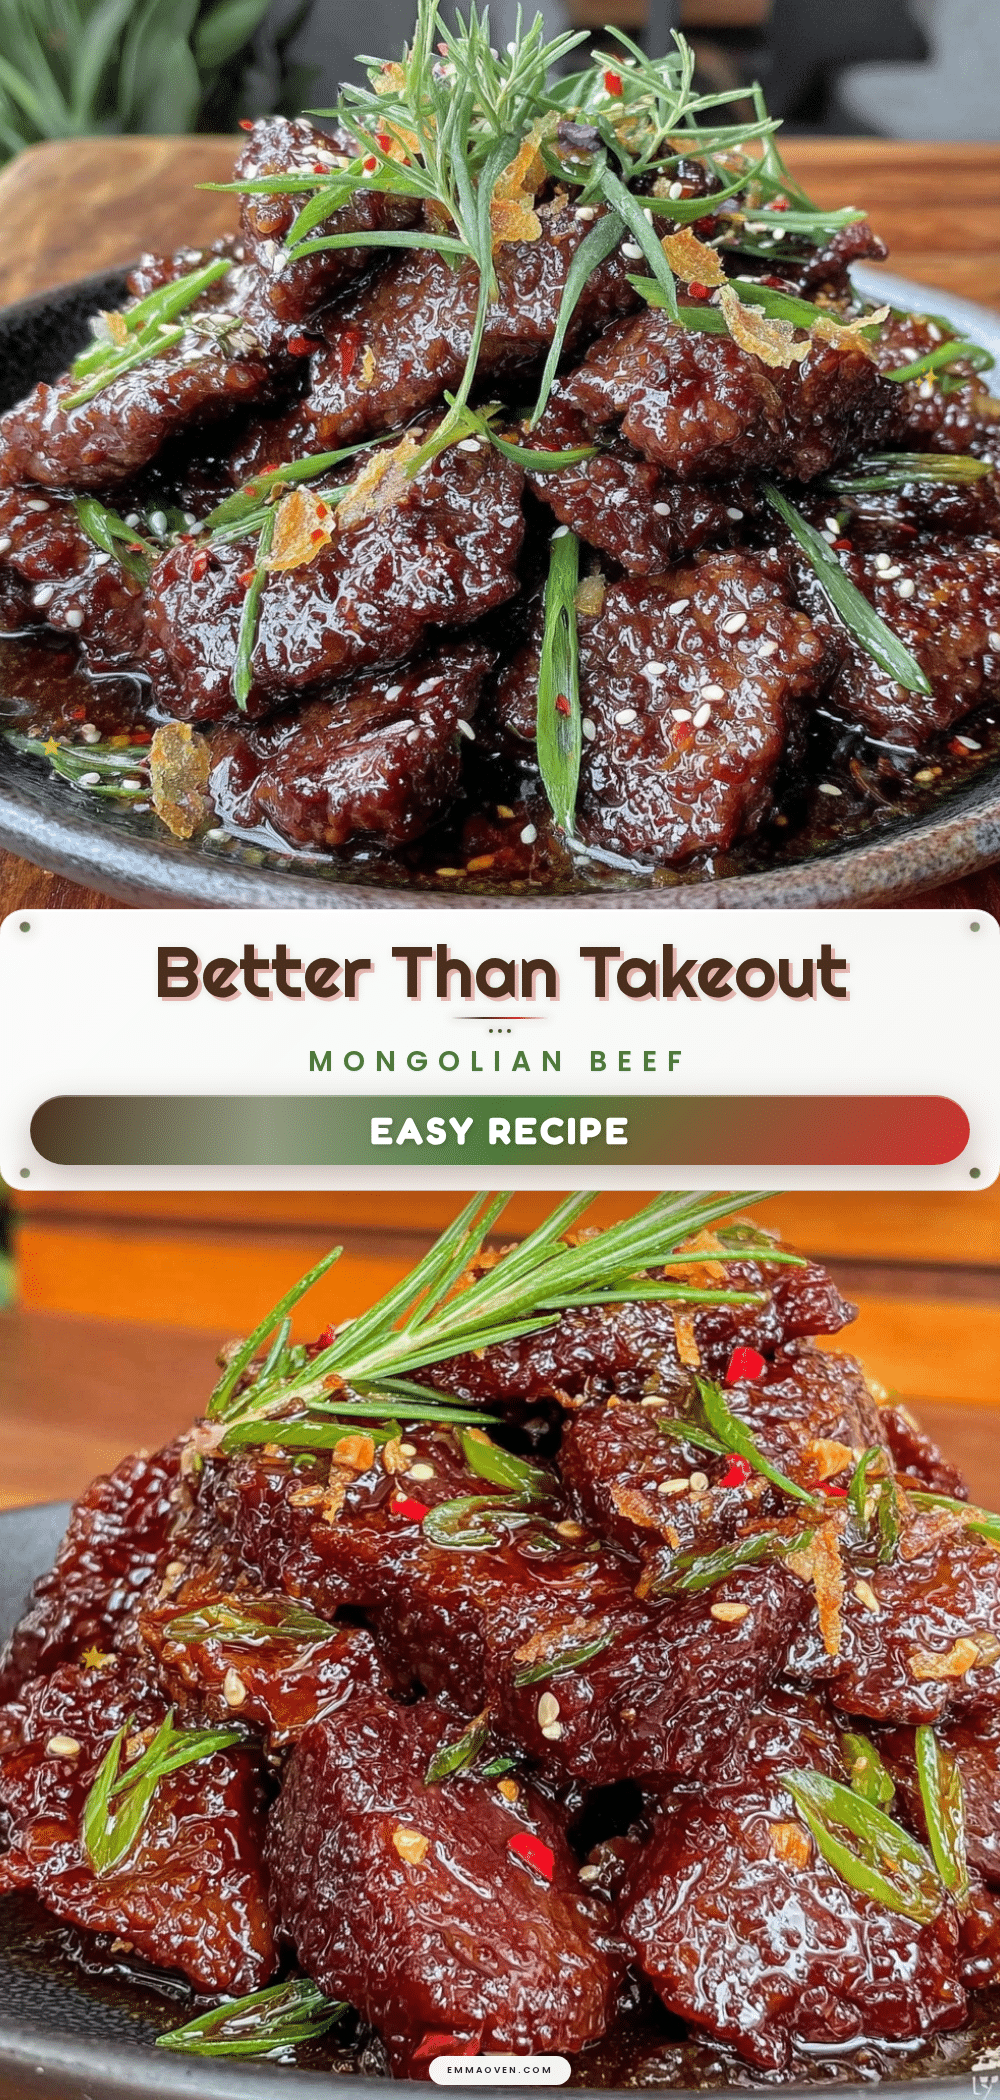
Flavorful Mongolian Beef Recipe Easy Better Than Takeout Dinner
This flavorful Mongolian beef recipe features tender, thinly sliced flank steak coated in a crispy cornstarch crust and tossed in a glossy, sweet-savory sauce with a hint of heat. It’s quick, easy, and better than takeout.
- Prep Time: 10 minutes
- Cook Time: 20 minutes
- Total Time: 30 minutes
- Yield: 4 servings 1x
- Category: Main Course
- Cuisine: Chinese
Ingredients
- 1 lb flank steak, thinly sliced against the grain
- 1/3 cup cornstarch (about 45g)
- 2–3 tablespoons vegetable oil
- 1/2 cup low sodium soy sauce (120ml)
- 1/3 cup brown sugar, packed (70g)
- 1/2 cup water (120ml)
- 2 teaspoons hoisin sauce
- 2 teaspoons grated fresh ginger (optional)
- 3 cloves garlic, minced
- 4–5 green onions, sliced thin on the diagonal
- Optional: sesame seeds for garnish
Instructions
- Slice the beef thinly, about 1/8 inch (3 mm) thick, cutting against the grain.
- Toss the sliced beef in cornstarch until evenly coated.
- Heat 2-3 tablespoons vegetable oil in a skillet over medium-high heat until hot but not smoking.
- Fry the beef in batches for about 2 minutes per side until browned and slightly crispy. Drain on a wire rack or paper towels.
- In a small bowl, whisk together soy sauce, brown sugar, water, hoisin sauce, minced garlic, and grated ginger.
- Pour the sauce mixture into the hot skillet and bring to a gentle boil. Simmer for 3-4 minutes until slightly thickened, stirring frequently.
- Add the fried beef and sliced green onions to the skillet. Toss together over medium heat for 1-2 minutes until beef is coated and warmed through.
- Serve immediately, garnished with sesame seeds if desired.
Notes
Slice beef thinly against the grain for tenderness. Fry in small batches to keep beef crispy. If sauce thickens too much, add a splash of water to loosen. For gluten-free, use tamari and arrowroot powder instead of soy sauce and cornstarch. Vegetarian version can use mushrooms or seitan.
Nutrition
- Serving Size: 1 serving (about 1/4
- Calories: 375
- Sugar: 20
- Sodium: 700
- Fat: 15
- Saturated Fat: 3.5
- Carbohydrates: 25
- Fiber: 1
- Protein: 30
Keywords: Mongolian beef, beef stir-fry, easy dinner, quick recipe, Asian cuisine, sweet and savory sauce, better than takeout