That first bite — the way the oats and peanut butter sort of melt together, with just a tiny pop of chocolate — still takes me straight to my friend Jenna’s kitchen, three years ago. She was standing there, wiping sticky hands on a dish towel, laughing about how she’d just made a snack that required zero baking and tasted like dessert. I was skeptical, honestly. Most “healthy” snacks I’d tried tasted like cardboard dressed up in good intentions. But she handed me one of those little balls, and I took a bite while still mid-conversation, and I just stopped talking. That never happens.
She told me the recipe was something she’d thrown together during a chaotic semester in college, when she needed fuel between classes but couldn’t afford the fancy protein bars at the campus store. It was just peanut butter, oats, honey, and whatever else she had in her dorm pantry. No oven, no mixer, no fuss. Just a bowl, a spoon, and about five minutes. I remember thinking, why doesn’t everyone know about these?
I asked for the recipe right there, scribbled it on a napkin, and I’ve been making some version of it ever since. These easy no-bake peanut butter oat energy bites have become my go-to for everything — pre-workout fuel, afternoon slump rescue, late-night snack attacks. They’re not fancy. They’re not complicated. But they’re the kind of thing that makes you wonder why you ever bought packaged snacks in the first place. And once you make a batch, you’ll understand exactly what I mean.
Why You’ll Love This Recipe
Let’s be real — most of us don’t have time to bake a batch of cookies every time a craving hits. That’s where these energy bites come in. They’re the no-fuss, no-mess solution to snack time that actually works. I’ve made these more times than I can count, and they’ve never let me down.
- Ready in 5 Minutes — No oven, no waiting, no complicated steps. Just mix, roll, and eat. Perfect for those days when you need something now.
- Simple Ingredients — You probably have everything in your pantry already. No weird health food store finds, no expensive powders. Just real food.
- Perfect for Meal Prep — Make a batch on Sunday and grab them all week. They’re the ultimate grab-and-go snack for busy mornings or afternoon slumps.
- Kid-Approved — My niece calls them “cookie dough balls” and asks for them every time she visits. They’re sweet enough to feel like a treat but packed with good stuff.
- Naturally Gluten-Free — Made with certified gluten-free oats, these are a safe bet for anyone avoiding gluten.
What sets these apart from other energy bite recipes? It’s the texture. I spent months tweaking the ratios to get that perfect balance — not too sticky, not too dry, with just enough chew from the oats and creaminess from the peanut butter. I’ve tested this with different peanut butters, different oats, different sweeteners. This version? It’s the one I keep coming back to. It’s the one my friends request. It’s the one that actually works every single time.
And honestly? There’s something deeply satisfying about making your own snacks. You know exactly what’s in them. You control the sweetness. You can customize them however you want. It’s a small act of kitchen independence that makes you feel weirdly accomplished.
What Ingredients You Will Need
This recipe uses simple, wholesome ingredients that come together to create something genuinely delicious. No fancy health food store runs required — you probably have most of these in your kitchen right now.
- Old-Fashioned Rolled Oats (1 cup / 90g) — These give the energy bites their signature chewy texture. I prefer old-fashioned oats over quick oats because they hold their shape better and don’t turn mushy. If you’re gluten-sensitive, make sure to use certified gluten-free oats. Pro tip: Toasting the oats lightly in a dry pan adds a nutty flavor, but it’s totally optional.
- Creamy Peanut Butter (½ cup / 130g) — The heart of this recipe. Use a natural peanut butter with just peanuts and salt for the best flavor. Avoid the sugary, hydrogenated oil kinds — they make the bites greasy and weirdly sweet. I like Smucker’s Natural or Kirkland brand for consistent results. If your peanut butter is separated, stir it really well before measuring.
- Honey (⅓ cup / 110g) — This binds everything together and adds natural sweetness. Raw honey works beautifully here. For a vegan version, use maple syrup or agave nectar — just note that the texture will be slightly stickier.
- Mini Chocolate Chips (¼ cup / 45g) — Little bursts of chocolate in every bite. I use semi-sweet mini chips because they distribute evenly and don’t overwhelm the other flavors. Dark chocolate chips work great too. Pro tip: If you’re using regular-sized chips, give them a rough chop first.
- Ground Flaxseed (2 tablespoons / 14g) — This is my secret ingredient. It adds fiber, healthy omega-3s, and helps bind the mixture without making it dry. You can skip it, but I really recommend keeping it in. Store flaxseed in the fridge to keep it fresh.
- Vanilla Extract (1 teaspoon) — A little goes a long way in rounding out the flavors. Pure vanilla is best, but imitation works in a pinch.
- Pinch of Salt (¼ teaspoon) — Don’t skip this! Salt balances the sweetness and makes the peanut butter flavor pop. If your peanut butter is already salted, you can reduce this slightly.
That’s it. Seven ingredients, and you’re ready to go. No chilling required (though it helps), no complicated steps, no special equipment. Just good, honest food that tastes like a treat.
Equipment Needed
The beauty of this recipe is that you barely need anything to make it. Here’s what you’ll want on hand:
- Large Mixing Bowl — Any bowl will do, but a wide one makes mixing easier. I use a ceramic bowl because it doesn’t slide around on the counter.
- Measuring Cups and Spoons — Standard set for dry and wet ingredients. A liquid measuring cup for the honey makes cleanup easier.
- Rubber Spatula or Wooden Spoon — For mixing everything together. A spatula is great for scraping the sides of the bowl.
- Small Cookie Scoop (optional but helpful) — A 1-tablespoon scoop makes perfectly uniform bites. If you don’t have one, just use a regular spoon.
- Parchment Paper or Silicone Mat — For placing the rolled bites on while they set. A plate works fine too.
- Baking Sheet or Large Plate — To hold the bites while they chill. Any flat surface will do.
That’s genuinely it. No food processor, no mixer, no oven. Just a bowl and a spoon. This is the kind of recipe you can make in a dorm room, a tiny apartment, or even a hotel room if you’re desperate for a healthy snack.
Preparation Method
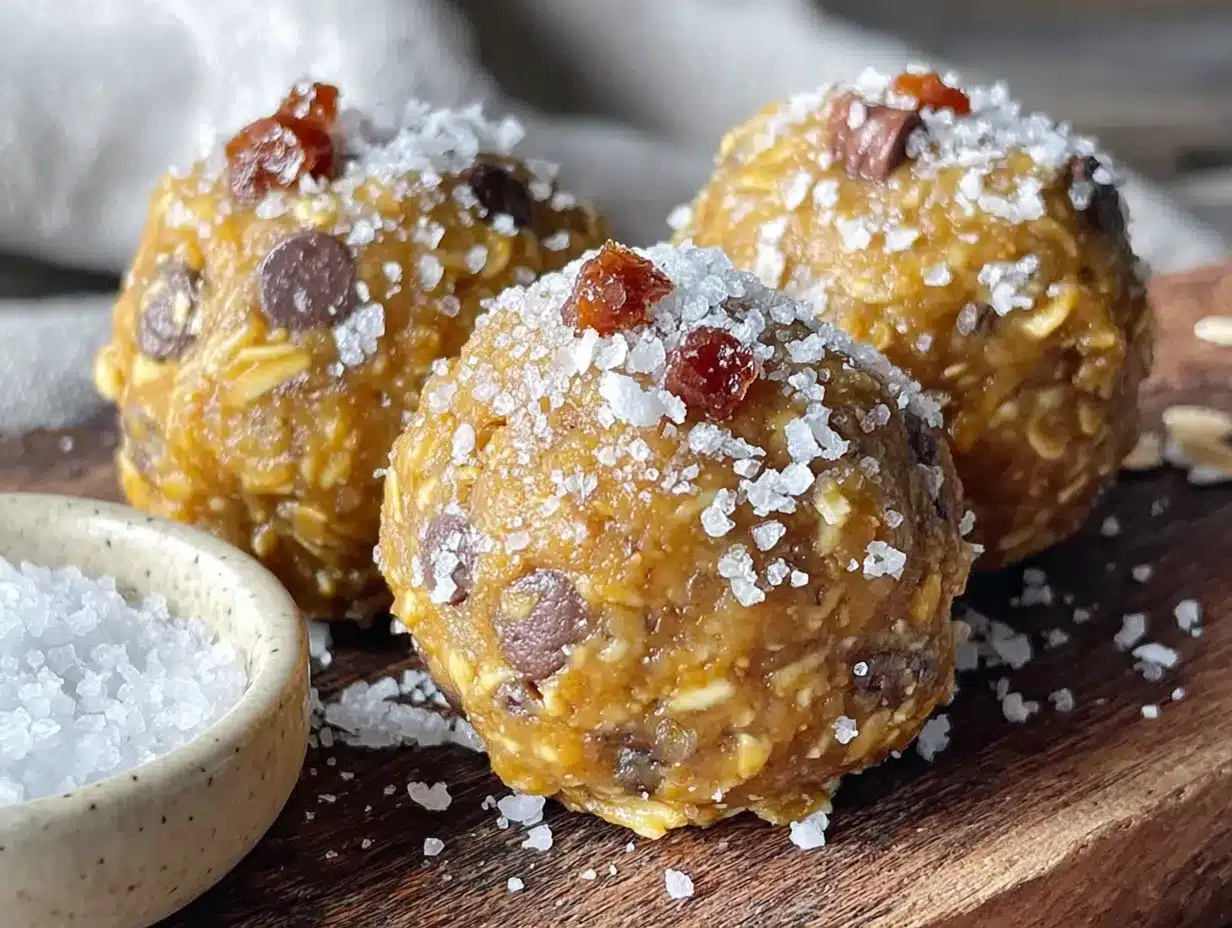
Making these energy bites is almost embarrassingly easy. But there are a few little tricks that make the difference between okay bites and amazing ones. Here’s exactly how I do it.
- Mix the dry ingredients first. In your large bowl, combine the rolled oats, ground flaxseed, and salt. Give them a quick stir with your spatula. This ensures the flaxseed is evenly distributed — nobody wants a bite that’s all flax.
- Add the wet ingredients. Spoon the peanut butter into the center of the oat mixture. Drizzle the honey over the top. Add the vanilla extract. The peanut butter should be at room temperature — if it’s straight from the fridge, it’ll be too stiff to mix properly. Quick tip: If your honey is crystallized, warm the jar in a bowl of hot water for 5 minutes.
- Mix until combined. Start stirring with your spatula, folding the wet ingredients into the dry. At first, it’ll look like a crumbly mess. Keep going. Press and fold, press and fold. After about a minute, it should start coming together into a cohesive, slightly sticky dough. If it seems too dry, add a teaspoon of honey or a splash of milk. If it’s too wet, add a tablespoon of oats.
- Fold in the chocolate chips. Sprinkle them over the dough and fold gently until they’re evenly distributed. Don’t overmix at this point or the chocolate might start melting from the warmth of your hands.
- Chill the mixture (optional but recommended). Pop the bowl in the fridge for 15-20 minutes. This firms up the dough and makes rolling much easier. If you’re in a hurry, you can skip this step — just expect slightly stickier hands.
- Roll into bites. Using a small cookie scoop or a tablespoon, scoop out portions of the dough. Roll them between your palms to form smooth balls. I aim for about 1-inch balls, which gives me roughly 18-20 bites per batch. If the mixture sticks to your hands, lightly dampen your palms with water.
- Place on a prepared surface. Set the rolled bites on a parchment-lined baking sheet or plate. They can touch — they won’t stick together.
- Chill to set. Refrigerate for at least 30 minutes before eating. This allows them to firm up completely. The texture is much better after chilling — soft but not mushy, with a satisfying chew.
And that’s it. From start to finish, you’re looking at about 5 minutes of active work. The hardest part is waiting for them to chill.
Cooking Tips & Techniques
Over the years, I’ve made a lot of batches of these energy bites. Some were perfect. Some were… educational. Here’s what I’ve learned.
The peanut butter matters more than you think. I once used a natural peanut butter that had been sitting in my pantry for months — it was dry and crumbly, not creamy at all. The bites turned out dry and fell apart. Always use fresh, well-stirred peanut butter. If yours seems thick, microwave it for 10-15 seconds to loosen it up.
Don’t overmix. I know it’s tempting to keep stirring until everything looks perfectly uniform, but overmixing can make the oats break down and turn the mixture gummy. Just mix until no dry spots remain.
Wet hands are your friend. When rolling the bites, keep a small bowl of water nearby. Dip your fingertips in water before rolling each ball — the mixture won’t stick to your hands, and you’ll get smoother, more uniform bites.
Taste before you roll. Before committing to the whole batch, taste a tiny bit of the mixture. Is it sweet enough? Needs more salt? This is your chance to adjust. I’ve saved many batches by adding a pinch of salt or an extra drizzle of honey at this stage.
Size consistency matters. Use a cookie scoop if you have one. Uniform bites look prettier and chill at the same rate. If you’re eyeballing it, aim for golf ball-sized portions.
Patience pays off. I know it’s hard to wait, but the 30-minute chill time isn’t optional if you want the best texture. Warm energy bites are soft and almost crumbly. Chilled ones hold together beautifully and have that perfect fudge-like consistency.
Variations & Adaptations
Once you’ve mastered the basic recipe, the possibilities are endless. Here are some of my favorite variations.
Chocolate Peanut Butter Dream. Swap half the chocolate chips for white chocolate chips and add a tablespoon of cocoa powder to the dry ingredients. It’s like eating a Reese’s cup in bite form.
Almond Joy Bites. Replace the peanut butter with almond butter, swap the chocolate chips for dark chocolate chunks, and fold in ¼ cup of shredded coconut. The texture is incredible.
Vegan Version. Use maple syrup instead of honey and dairy-free chocolate chips. Everything else stays the same. I’ve made this version for friends and they couldn’t tell the difference.
Protein-Packed Bites. Add 2 tablespoons of vanilla or chocolate protein powder to the dry ingredients. You’ll need to add an extra tablespoon of honey to compensate for the dryness. These are great post-workout fuel.
Nut-Free Option. Use sunflower seed butter (sun butter) instead of peanut butter. The color will be a little greenish from the reaction with the baking soda in the chocolate chips, but the taste is still amazing. Just make sure your oats are certified gluten-free if needed.
Spiced Apple Cinnamon. Replace the chocolate chips with ¼ cup of dried apple pieces (chopped small) and add 1 teaspoon of cinnamon and ¼ teaspoon of nutmeg. This version tastes like autumn in a bite.
I once made a batch with leftover pumpkin puree and pumpkin pie spice — it was a happy accident that turned into a seasonal favorite. Don’t be afraid to experiment. The basic formula is forgiving.
Serving & Storage Suggestions
These energy bites are best served cold, straight from the fridge. The texture is firm but not hard, with a satisfying chew. I like to grab a couple on my way out the door for a quick breakfast or pre-workout snack.
For a pretty presentation, arrange them on a plate with a sprinkle of flaky sea salt on top. They’re perfect for parties, picnics, or just keeping in the fridge for when a craving hits. I’ve brought them to potlucks and they disappear faster than the brownies.
Storage: Keep the bites in an airtight container in the refrigerator for up to 2 weeks. I use a glass container with a tight-fitting lid. Layer them between sheets of parchment paper to prevent sticking.
Freezer: These freeze beautifully. Place the bites on a baking sheet in a single layer and freeze for 1 hour. Then transfer to a freezer-safe bag or container. They’ll keep for up to 3 months. Eat them straight from the freezer — they’re like little frozen cookie dough bites.
Room Temperature: They can sit out for a few hours without issue, making them great for lunchboxes or road trips. Just don’t leave them in a hot car — the chocolate will melt.
One thing I love about these is that the flavors actually develop over time. Day-old bites taste more cohesive, with the honey and peanut butter marrying together beautifully. They’re good immediately, but they’re even better the next day.
Nutritional Information & Benefits
Per serving (1 energy bite), based on a batch of 18:
- Calories: 115
- Protein: 4g
- Carbohydrates: 14g
- Fiber: 2g
- Sugar: 8g
- Fat: 6g
- Saturated Fat: 1.5g
- Sodium: 55mg
These numbers are estimates and will vary based on your specific ingredients.
These little bites pack a surprising nutritional punch. The oats provide complex carbohydrates for sustained energy, while the peanut butter offers protein and healthy fats to keep you full. The flaxseed adds omega-3 fatty acids and extra fiber, which is great for digestion. And the honey gives you a quick natural energy boost without the crash of refined sugar.
They’re naturally gluten-free (with certified oats), dairy-free, and can easily be made vegan. The only potential allergen is peanuts, but that’s easily swapped. For a lower-sugar version, reduce the honey to ¼ cup and add an extra tablespoon of peanut butter.
I personally love that I can grab two of these before a workout and feel fueled without feeling heavy. They’re not a meal replacement, but they’re a perfect snack that actually supports your body instead of just filling space.
Conclusion
These easy no-bake peanut butter oat energy bites are the kind of recipe that becomes a staple — the one you make without thinking, the one you always have in the fridge, the one you share with friends who ask for the recipe every single time. They’re simple, they’re fast, and they’re genuinely delicious.
What I love most about this recipe is how forgiving it is. You can tweak it based on what you have, what you’re craving, or what you’re avoiding. It’s a template for healthy snacking that works with your life, not against it. And honestly? In a world that’s constantly telling us we need more time, more equipment, more complicated steps, it’s nice to have something that just works.
I’d love to hear how yours turn out. Did you add something unexpected? Swap an ingredient? Make a mess of your kitchen and still end up with something delicious? Drop a comment below — I read every single one. And if you loved these, share this post with someone who needs a quick, healthy snack in their life. Trust me, they’ll thank you.
Now go make some energy bites. Your future self (the one who’s hungry and busy) will be very, very grateful.
Frequently Asked Questions
Can I use quick oats instead of rolled oats?
Yes, but the texture will be different. Quick oats are more finely processed, so they absorb moisture faster and create a softer, almost paste-like consistency. I prefer rolled oats for their chewy texture, but quick oats work in a pinch. Just reduce the honey slightly since they absorb less liquid.
Why are my energy bites too dry?
This usually happens if your peanut butter is too thick or if you’ve overmeasured the oats. Try adding an extra tablespoon of honey or a splash of milk (dairy or non-dairy) and mix again. If the mixture still feels dry, let it sit for 5 minutes — the oats will absorb some moisture and the texture will improve.
Can I make these without honey?
Absolutely. Maple syrup is the best substitute — use the same amount. Agave nectar works too, though it’s sweeter so you might want to reduce it slightly. For a sugar-free option, try using 2-3 tablespoons of unsweetened applesauce, but note that the texture will be softer and you’ll need to chill them longer.
How long do these last at room temperature?
They’re fine at room temperature for up to 4-6 hours, making them great for lunchboxes or road trips. But for longer storage, keep them in the fridge. If you’re taking them to a picnic or potluck, just pack them in a cooler bag with an ice pack.
Can I double this recipe?
Yes, and I often do. Double everything and mix in a larger bowl. The only thing to watch is the chilling time — a bigger batch might need an extra 10-15 minutes in the fridge before rolling. I usually make a double batch on Sunday and we snack on them all week.
Pin This Recipe!
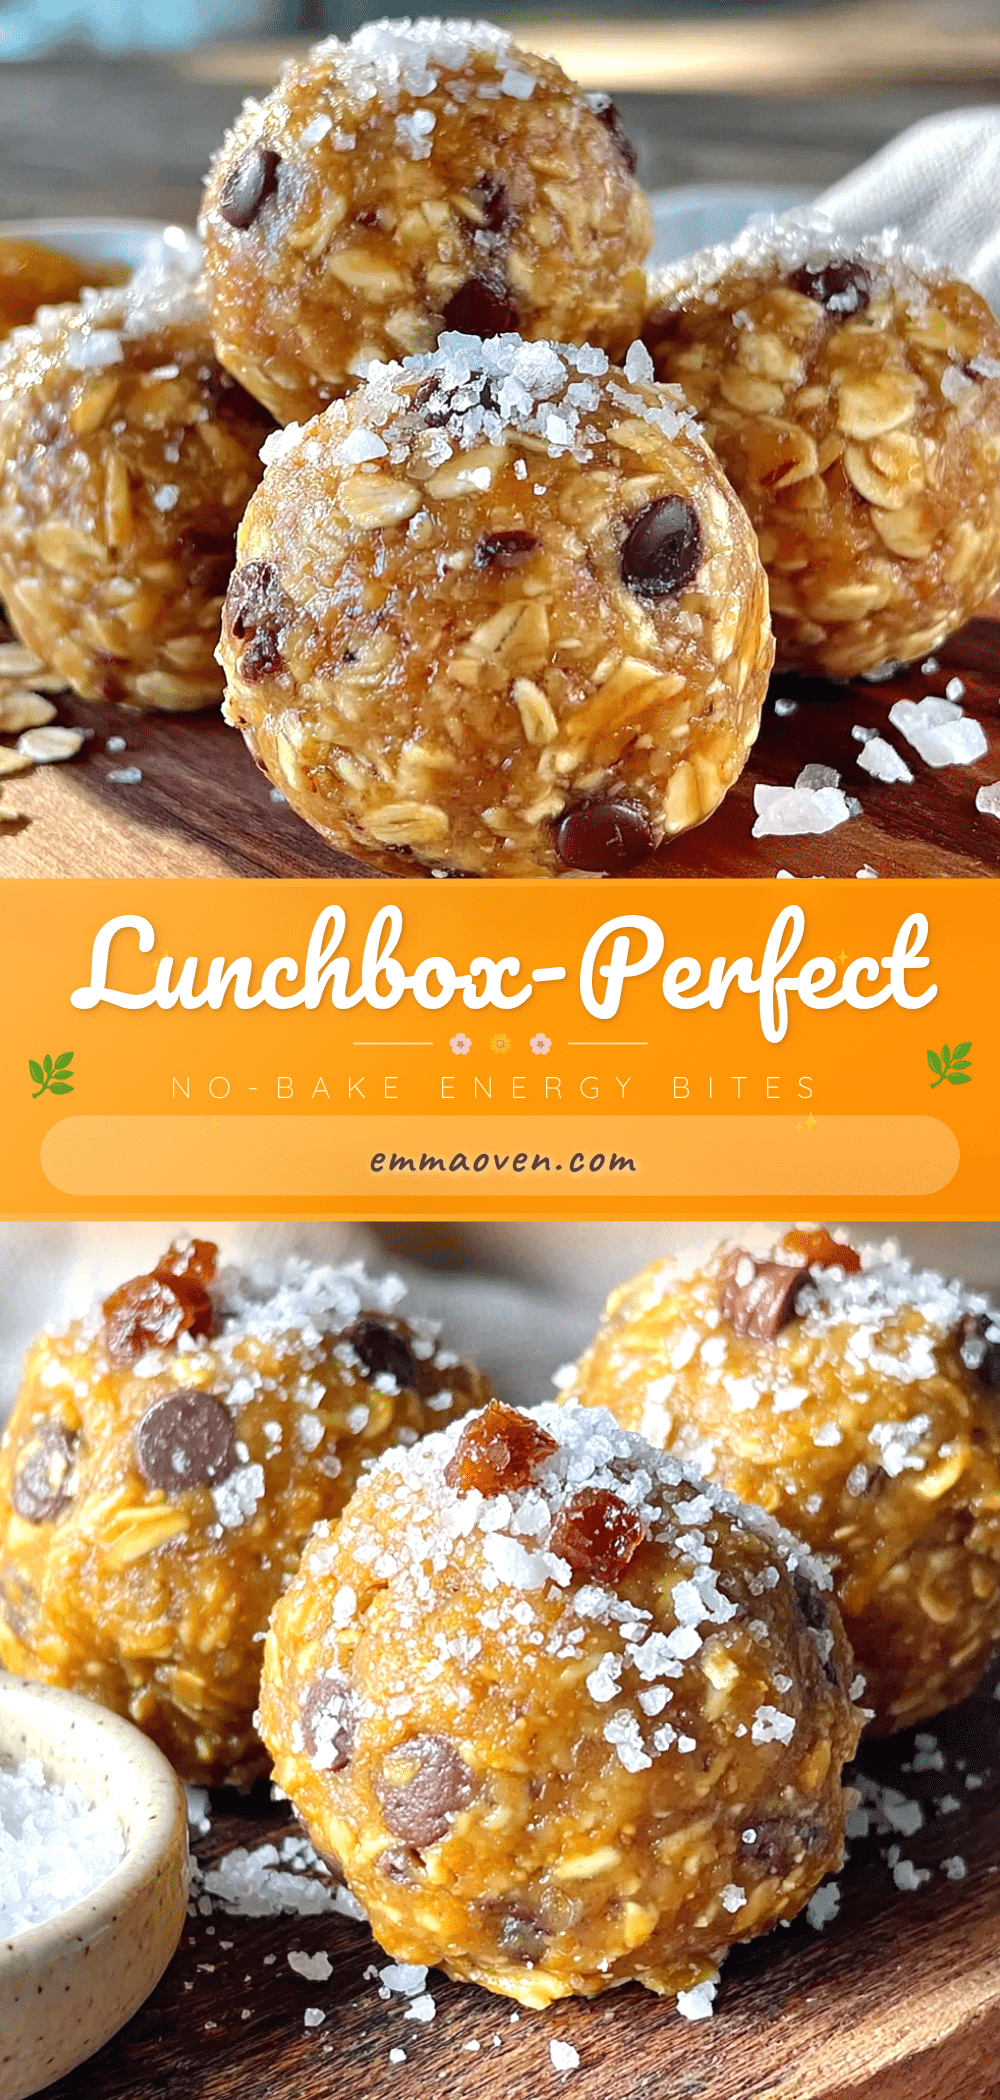
Easy No-Bake Peanut Butter Oat Energy Bites: Perfect 5-Minute Snack

These easy no-bake peanut butter oat energy bites are the perfect 5-minute snack. Made with simple pantry ingredients, they’re naturally gluten-free, kid-approved, and ideal for meal prep.
- Prep Time: 5 minutes
- Cook Time: 0 minutes
- Total Time: 35 minutes
- Yield: 18-20 servings 1x
- Category: Snack
- Cuisine: American
Ingredients
- 1 cup (90g) old-fashioned rolled oats
- ½ cup (130g) creamy peanut butter
- ⅓ cup (110g) honey
- ¼ cup (45g) mini chocolate chips
- 2 tablespoons (14g) ground flaxseed
- 1 teaspoon vanilla extract
- ¼ teaspoon salt
Instructions
- In a large bowl, combine the rolled oats, ground flaxseed, and salt. Stir to distribute evenly.
- Add the peanut butter, honey, and vanilla extract to the center of the oat mixture. Stir until a cohesive, slightly sticky dough forms. If too dry, add a teaspoon of honey or splash of milk; if too wet, add a tablespoon of oats.
- Fold in the mini chocolate chips until evenly distributed.
- Chill the mixture in the refrigerator for 15-20 minutes (optional but recommended for easier rolling).
- Using a small cookie scoop or tablespoon, scoop portions of dough and roll into 1-inch balls. Lightly dampen hands with water if mixture sticks.
- Place the rolled bites on a parchment-lined baking sheet or plate.
- Refrigerate for at least 30 minutes to set before serving.
Notes
For best texture, chill for at least 30 minutes. Use fresh, well-stirred peanut butter. Wet hands help prevent sticking when rolling. Bites can be stored in the refrigerator for up to 2 weeks or frozen for up to 3 months.
Nutrition
- Serving Size: 1 energy bite
- Calories: 115
- Sugar: 8
- Sodium: 55
- Fat: 6
- Saturated Fat: 1.5
- Carbohydrates: 14
- Fiber: 2
- Protein: 4
Keywords: energy bites, no-bake, peanut butter, oats, healthy snack, gluten-free, meal prep, 5-minute snack