That first little sizzle when the roasting pan hits the burner — the sound alone makes me slow down. It’s the kind of noise that means something good is about to happen, and I’ve learned not to rush past it. Honestly, for years I didn’t even bother with homemade turkey gravy from scratch. I’d grab those little packets at the store, mix them with water, and call it a day. It worked, sort of. But there was always this moment during the meal where I’d look at the gravy boat and feel a little let down — like we were settling.
Then one Thanksgiving, the turkey came out beautifully golden, but the drippings pan was practically empty. I had no packet backup, and I panicked. So I did what any desperate cook would do — I grabbed butter, flour, and some chicken broth I had stashed in the pantry, and I just started whisking. That was the moment everything clicked. The gravy that came together on that stovetop was richer, silkier, and honestly more satisfying than anything from a box. It had depth. It had personality.
That accident turned into a tradition. Now I don’t even think about using shortcuts anymore. The process of making homemade turkey gravy from scratch has become one of my favorite parts of the holiday meal — right up there with carving the bird. It’s not complicated, and it doesn’t require any fancy skills. You just need a little patience and a willingness to stand at the stove for ten minutes. The payoff is worth every second.
Why You’ll Love This Recipe
Let me tell you why this homemade turkey gravy from scratch is going to change your holiday spread. First off, it’s made from real drippings — the good stuff that comes straight from your roasted turkey. That means every spoonful carries that deep, roasty flavor you can’t fake with a powder mix. And honestly, it’s not hard. Once you’ve done it once, you’ll wonder why you ever bought those envelopes.
- Rich, Real Flavor: No artificial aftertaste here. You get pure turkey essence, thanks to those pan drippings.
- Simple Pantry Ingredients: Butter, flour, broth, and drippings. That’s basically it. You probably have most of it already.
- Perfect for Holidays: Whether it’s Thanksgiving, Christmas, or a Sunday roast, this gravy makes the meal feel complete.
- Completely Customizable: Want it thicker? Add a little more flour. Prefer it thinner? Splash in more broth. You’re in control.
- Crowd-Pleaser: I’ve never met a person who didn’t go back for seconds of this gravy. It’s that good.
What makes this recipe different from the rest? It’s the technique of building a proper roux with the drippings. That little bit of patience — letting the flour cook until it smells nutty and toasted — creates a gravy that’s smooth, not lumpy, and packed with flavor. It’s not just another version. It’s the best version, born from a moment of panic and perfected over many holiday tables.
What Ingredients You Will Need
This recipe uses simple, wholesome ingredients that come together to create a gravy that’s rich, smooth, and deeply satisfying. Most of these are pantry staples, and the star of the show is, of course, those turkey drippings.
- Turkey Drippings: About 1/4 cup of fat skimmed from the roasting pan, plus all the browned bits stuck to the bottom. This is where the flavor lives. Don’t skip scraping those bits up!
- Unsalted Butter: 4 tablespoons (1/2 stick). Using unsalted butter lets you control the salt level later. I prefer Kerrygold for its rich taste, but any good brand works.
- All-Purpose Flour: 1/4 cup. This thickens the gravy and gives it body. For a gluten-free version, you can swap in a 1:1 gluten-free flour blend.
- Chicken or Turkey Broth: 2 cups (480 ml). Low-sodium is best so you can season to your liking. I like Swanson or homemade if I have it on hand.
- Salt and Black Pepper: To taste. Start with 1/2 teaspoon salt and 1/4 teaspoon pepper, then adjust.
- Optional Add-Ins: A splash of heavy cream for extra richness, or a few sprigs of fresh thyme and rosemary for an herbal note. Sometimes I add a teaspoon of Worcestershire sauce for depth.
When you’re shopping, look for a good-quality broth — it makes a difference. And if you’re using a turkey that’s been brined, go easy on the salt at first. The drippings might already be salty enough.
Equipment Needed
You don’t need a lot of fancy tools for this recipe, which is part of what makes it so approachable. Here’s what you’ll need:
- Roasting Pan: The same one you cooked the turkey in. Non-stick or stainless steel both work fine.
- Fat Separator (Optional): This little gadget makes skimming the fat from the drippings a breeze. If you don’t have one, a large spoon works just as well.
- Medium Saucepan or Skillet: For building the roux and simmering the gravy. I prefer a heavy-bottomed pan for even heat.
- Whisk: A good whisk is your best friend here. It helps prevent lumps and keeps the gravy smooth.
- Measuring Cups and Spoons: For accuracy, especially with the flour and broth.
- Fine-Mesh Strainer (Optional): If you want an ultra-smooth gravy, straining it at the end removes any stray lumps or herb bits.
If you don’t have a fat separator, just let the drippings sit for a few minutes after pouring them from the pan. The fat will rise to the top, and you can spoon it off. I’ve done it that way for years, and it works perfectly.
Preparation Method
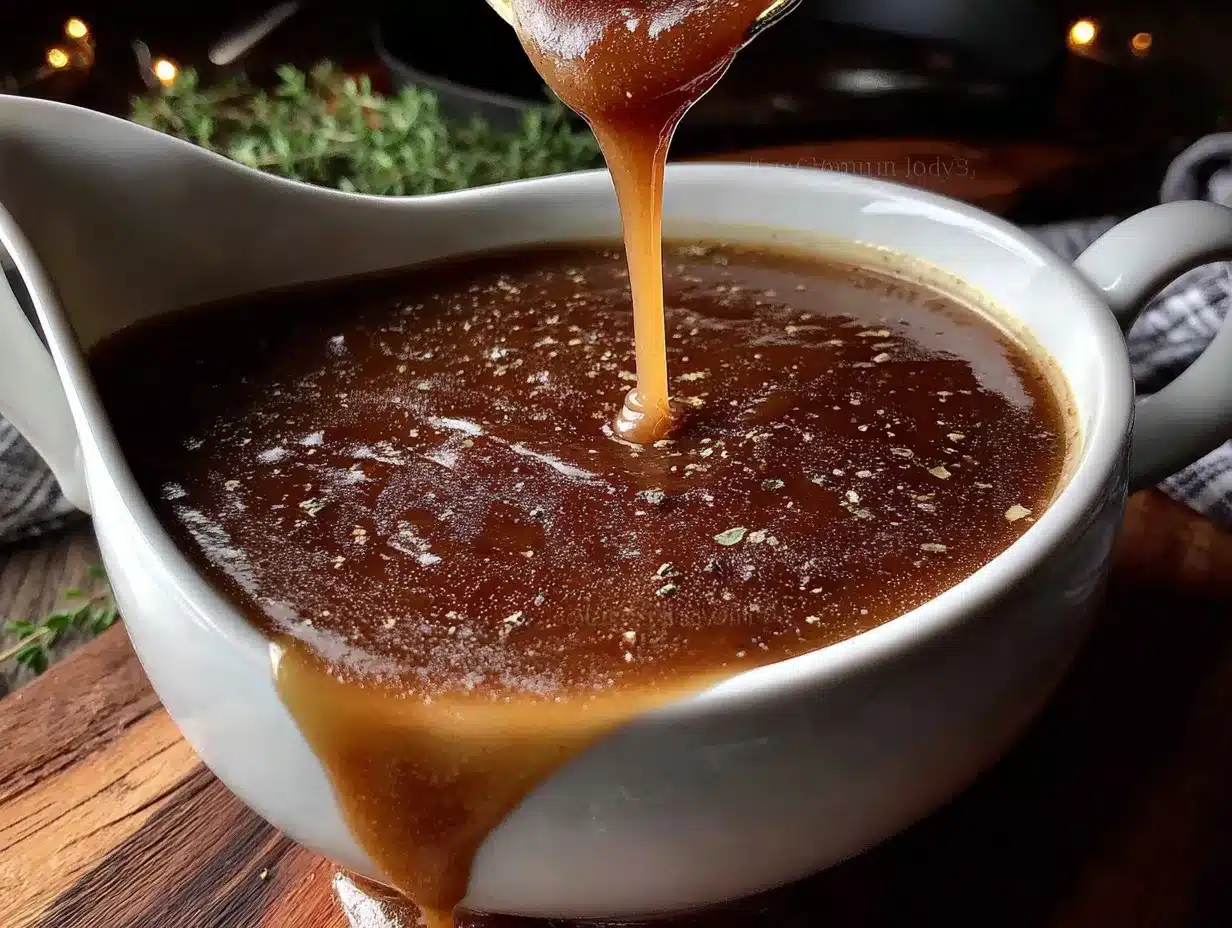
Making homemade turkey gravy from scratch is a process, but it’s a rewarding one. Follow these steps, and you’ll have a gravy that’s smooth, rich, and full of flavor.
- Prepare the Drippings: Once your turkey is resting on a cutting board, pour the pan drippings through a fine-mesh strainer into a fat separator or a large measuring cup. Let it sit for 5 minutes so the fat rises to the top. Skim off the fat, reserving about 1/4 cup of it. Set aside the defatted juices.
- Deglaze the Pan: Place the roasting pan over two burners on medium heat. Add about 1/2 cup of the broth and use a wooden spoon to scrape up all the browned bits from the bottom. This is where so much flavor hides. Pour this liquid into the reserved juices.
- Make the Roux: In a medium saucepan, melt the butter over medium heat. Add the reserved turkey fat and whisk in the flour. Cook, whisking constantly, for 2-3 minutes until the mixture turns a light golden brown and smells nutty. Don’t rush this step — raw flour taste is not your friend.
- Add the Liquid: Slowly whisk in the reserved juices and deglazing liquid, followed by the remaining broth. Keep whisking as you pour to prevent lumps from forming. The mixture will start to thicken almost immediately.
- Simmer and Season: Bring the gravy to a gentle simmer, then reduce the heat to low. Let it cook for 5-7 minutes, stirring occasionally, until it reaches your desired consistency. It should coat the back of a spoon. Season with salt and pepper to taste.
- Strain (Optional): For a silky-smooth gravy, pour it through a fine-mesh strainer into a serving bowl. This catches any rogue lumps or herb bits.
- Keep Warm: If you’re not serving immediately, cover the gravy and keep it warm over very low heat. Stir occasionally to prevent a skin from forming. Add a splash of broth if it thickens too much.
A quick tip: if your gravy ends up too thick, just whisk in a little more broth or water, a tablespoon at a time, until it loosens up. If it’s too thin, mix a teaspoon of cornstarch with a tablespoon of cold water and whisk it in, then simmer for another minute.
Cooking Tips & Techniques
Over the years, I’ve made my share of gravy mistakes — lumpy gravy, greasy gravy, bland gravy. Here’s what I’ve learned so you don’t have to repeat my errors.
Don’t Skip the Roux: I know it’s tempting to just whisk flour into the hot liquid, but that’s a fast track to lump city. Cooking the flour with the fat first (that’s the roux) ensures a smooth, velvety texture. Let it bubble for a full 2-3 minutes — you want that nutty aroma.
Watch Your Heat: Gravy can go from perfect to scorched in seconds. Keep the heat at medium-low once you add the liquid, and stir often. If you step away, you might come back to a burnt mess. Ask me how I know.
Season Gradually: Remember that the drippings might already be salty, especially if you brined your turkey. Add salt in small increments, tasting as you go. You can always add more, but you can’t take it out.
Use Room Temperature Broth: If your broth is cold, it can cause the roux to seize up and create lumps. Warm it up in the microwave or a small pot before adding it. This little step makes a big difference.
Make It Ahead: You can make this gravy up to three days in advance. Just cool it completely, then store it in an airtight container in the fridge. Reheat it gently on the stovetop, whisking in a splash of broth to bring it back to life.
Variations & Adaptations
This homemade turkey gravy from scratch is a great base, but it’s also super flexible. Here are some ways to make it your own.
- Herb-Infused Gravy: Add a few sprigs of fresh thyme, rosemary, or sage to the pan while the gravy simmers. Remove them before serving. The herbal notes pair beautifully with turkey.
- Mushroom Gravy: Sauté 1 cup of sliced cremini mushrooms in the butter before adding the flour. Proceed with the recipe as usual. This version is fantastic for vegetarians if you use vegetable broth instead of turkey drippings.
- Giblet Gravy: While the turkey roasts, simmer the giblets (neck, heart, gizzard) in a small pot with water and a bay leaf for about an hour. Chop the cooked giblets finely and stir them into the finished gravy for extra texture and flavor.
- Dairy-Free Gravy: Swap the butter for a plant-based butter or use olive oil. The roux will still work perfectly. Use a good quality vegetable broth for the liquid.
- Spicy Kick: Add a pinch of cayenne pepper or a dash of hot sauce to the finished gravy. It cuts through the richness and adds a surprising warmth.
I once tried a version with a splash of bourbon — added it right after the roux, let it cook off for a minute, then added the broth. It was incredible. Don’t be afraid to experiment.
Serving & Storage Suggestions
This gravy is best served hot, straight from the stovetop. Pour it into a warmed gravy boat or a serving bowl. It’s perfect over mashed potatoes, stuffing, turkey slices, or even biscuits for a post-holiday breakfast.
Storage: Let the gravy cool completely, then transfer it to an airtight container. It will keep in the refrigerator for up to 4 days. The flavors actually deepen a bit overnight — it’s even better the next day.
Freezing: This gravy freezes beautifully. Pour it into a freezer-safe bag or container, leaving a little room for expansion. It will keep for up to 3 months. Thaw it overnight in the fridge before reheating.
Reheating: Warm the gravy in a small saucepan over low heat, whisking occasionally. If it’s too thick after thawing, stir in a splash of broth or milk until it reaches your desired consistency. Don’t microwave it unless you want a splattered mess — trust me on this one.
Nutritional Information & Benefits
While gravy isn’t exactly health food, it does have some redeeming qualities. Here’s a rough estimate per 1/4 cup serving:
| Nutrient | Amount |
|---|---|
| Calories | 110 |
| Total Fat | 9g |
| Saturated Fat | 4g |
| Cholesterol | 25mg |
| Sodium | 350mg |
| Carbohydrates | 5g |
| Protein | 2g |
The turkey drippings provide some protein and minerals like zinc and B vitamins. Using low-sodium broth helps keep the salt in check. If you’re watching your fat intake, you can skim off more of the turkey fat — just keep about 2 tablespoons for the roux to maintain that silky texture. This recipe is naturally gluten-free if you use a gluten-free flour blend, and dairy-free if you swap the butter for oil or plant-based butter.
Conclusion
This homemade turkey gravy from scratch is the kind of recipe that turns a good meal into a memorable one. It’s rich, smooth, and packed with real turkey flavor — no shortcuts, no artificial stuff. Just honest cooking that pays off in every spoonful. I love that it’s forgiving enough for beginners but impressive enough for seasoned cooks. Whether you’re making it for a holiday feast or a cozy Sunday dinner, this gravy is worth the extra few minutes at the stove.
I’d love to hear how yours turns out. Did you add any fun twists? Did it disappear as fast as mine always does? Drop a comment below and share your experience. And if you’re looking for more holiday recipes, you might enjoy my easy cheesy tater tot breakfast casserole for the morning after, or these crispy turkey club sliders for using up leftovers. Happy cooking, friend!
Frequently Asked Questions
Can I make this gravy without turkey drippings?
Absolutely. If you don’t have drippings, use 4 tablespoons of butter and 2 cups of chicken or turkey broth. You’ll miss a little of that roasted depth, but it’ll still be delicious. Add a splash of Worcestershire sauce or a pinch of poultry seasoning to boost the flavor.
Why is my gravy lumpy?
Lumpy gravy usually happens when you add the liquid too quickly or don’t whisk enough. The fix? Pour the gravy through a fine-mesh strainer into a clean bowl. Then whisk in a little more broth to smooth it out. Next time, add the liquid slowly while whisking constantly.
Can I use cornstarch instead of flour?
Yes! Mix 2 tablespoons of cornstarch with 1/4 cup of cold water until smooth. Whisk this slurry into the simmering gravy and cook for 1-2 minutes until thickened. Cornstarch gives a shinier, more translucent gravy than flour.
How do I make gravy ahead of time?
Make the gravy up to 3 days in advance. Cool it completely, then refrigerate in an airtight container. Reheat gently on the stovetop, whisking in a splash of broth to loosen it up. It might be thicker after chilling, but it’ll come back to life with a little heat and stirring.
Can I freeze leftover gravy?
Definitely. Let the gravy cool completely, then pour it into a freezer-safe bag or container. Freeze for up to 3 months. Thaw overnight in the fridge, then reheat on the stovetop over low heat, whisking until smooth. You might need to add a little broth to adjust the consistency.
Pin This Recipe!
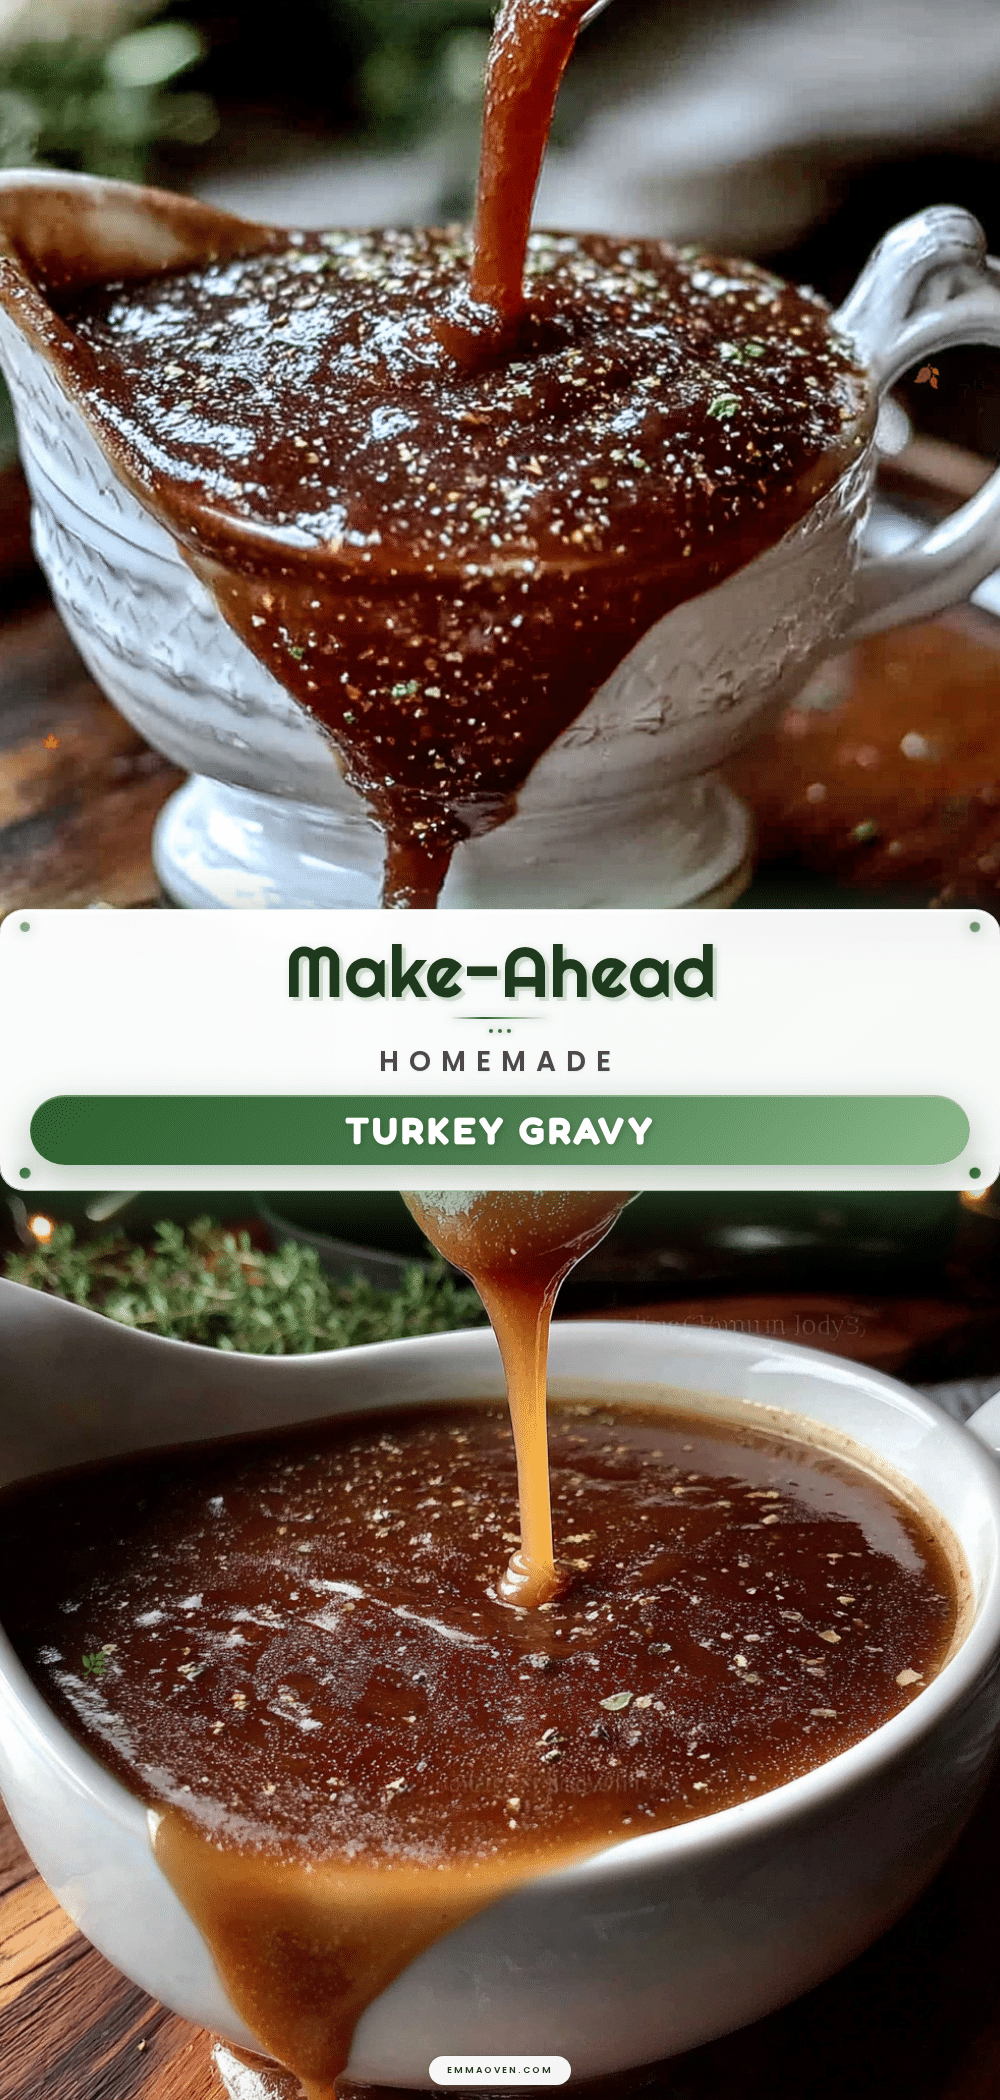
Easy Homemade Turkey Gravy from Scratch Recipe

Rich, silky, and deeply flavorful homemade turkey gravy made from scratch using pan drippings, butter, flour, and broth. This simple stovetop recipe transforms holiday meals with real turkey essence and a smooth, lump-free texture.
- Prep Time: 10 minutes
- Cook Time: 15 minutes
- Total Time: 25 minutes
- Yield: 8 servings 1x
- Category: Sauce
- Cuisine: American
Ingredients
- 1/4 cup turkey drippings (fat skimmed from roasting pan, plus browned bits)
- 4 tablespoons unsalted butter
- 1/4 cup all-purpose flour
- 2 cups low-sodium chicken or turkey broth
- Salt and black pepper to taste
- Optional: splash of heavy cream, fresh thyme or rosemary sprigs, 1 teaspoon Worcestershire sauce
Instructions
- Prepare the Drippings: Once turkey is resting, pour pan drippings through a fine-mesh strainer into a fat separator or large measuring cup. Let sit 5 minutes for fat to rise. Skim off fat, reserving 1/4 cup. Set aside defatted juices.
- Deglaze the Pan: Place roasting pan over two burners on medium heat. Add 1/2 cup broth and scrape up browned bits with a wooden spoon. Pour this liquid into reserved juices.
- Make the Roux: In a medium saucepan, melt butter over medium heat. Add reserved turkey fat and whisk in flour. Cook, whisking constantly, for 2-3 minutes until light golden brown and nutty.
- Add the Liquid: Slowly whisk in reserved juices and deglazing liquid, then remaining broth. Keep whisking to prevent lumps. Mixture will thicken quickly.
- Simmer and Season: Bring to a gentle simmer, reduce heat to low, and cook 5-7 minutes, stirring occasionally, until gravy coats the back of a spoon. Season with salt and pepper.
- Strain (Optional): For silky-smooth gravy, pour through a fine-mesh strainer into a serving bowl.
- Keep Warm: Cover and keep warm over very low heat, stirring occasionally. Add a splash of broth if too thick.
Notes
Don’t skip the roux—cook flour with fat for 2-3 minutes to avoid raw flour taste. Use room temperature broth to prevent lumps. Season gradually; drippings may already be salty. Gravy can be made up to 3 days ahead and reheated gently. For a thinner gravy, add more broth; for thicker, whisk in a cornstarch slurry.
Nutrition
- Serving Size: 1/4 cup
- Calories: 110
- Sodium: 350
- Fat: 9
- Saturated Fat: 4
- Carbohydrates: 5
- Protein: 2
Keywords: homemade turkey gravy, turkey gravy from scratch, easy gravy recipe, holiday gravy, Thanksgiving gravy, roux gravy, pan drippings gravy