I burned the syrup at least three times before I understood how delicate vanilla bean honey syrup really is. Honestly, I didn’t even expect to get into water bath canning pears—felt like something only grandma could nail. But after fumbling through a handful of batches, I found a way that makes the whole process less intimidating and, dare I say, kind of fun. Pears poaching gently in that sweet vanilla-honey bath fill the kitchen with this warm, fragrant hug that’s hard to beat.
At first, I was just chasing the idea of having homemade canned pears on hand—something nicer than the canned stuff at the store, you know? But what stuck with me was how the vanilla bean honey syrup adds this subtle floral depth that makes the pears taste like a treat, not just preserved fruit. It’s weird how something so simple can make you feel like you’re holding onto summer in a jar.
There’s a quiet satisfaction in learning to water bath can pears right, especially when you realize it’s not about fancy equipment or perfect technique but a little patience and the right syrup recipe. This one’s stuck around because it’s forgiving, straightforward, and the results actually impress people who don’t even like pears much. If you’ve ever thought canning was out of your league, this recipe is your honest, no-frills starting point.
So, here’s how to make easy beginner water bath canned pears with that unforgettable vanilla bean honey syrup—without the usual canning jitters.
Why You’ll Love This Recipe
Let me share why this easy beginner water bath canning pears recipe with vanilla bean honey syrup became a staple in my kitchen, and why it can be in yours too:
- Simple & approachable: Even if you’ve never canned before, this recipe breaks it down into clear steps you can actually follow without stress.
- Uses everyday ingredients: No obscure stuff here—just ripe pears, honey, vanilla bean, and a few pantry basics you likely already have.
- Long-lasting homemade goodness: Perfect for keeping a taste of fresh pears all year long, whether for desserts, breakfasts, or snacks.
- Flavor that stands out: The vanilla bean honey syrup isn’t just sweet; it adds a warm, complex note that makes these pears feel special.
- Great for gifting or entertaining: Homemade canned fruit jars look impressive and thoughtful, ideal for holiday gifts or bringing to potlucks.
What makes this recipe different from others you might find is the care in balancing the syrup—not too sweet, with just enough vanilla bean to make the flavor sing without overpowering the pears. Plus, the instructions are tailored for beginners, so I’ve included tips to avoid the common pitfalls I encountered.
This recipe isn’t just about preserving fruit; it’s about capturing a moment of calm in the kitchen and turning it into something delicious you can savor later. It’s why I keep coming back to it, season after season.
What Ingredients You Will Need
This recipe uses simple, wholesome ingredients to deliver pears packed with flavor and a silky honey-vanilla syrup that’s anything but ordinary. Most of these are pantry staples or easy to source, with a few little touches that make all the difference.
- Fresh Pears: About 6-8 medium-sized firm pears (Bosc or Anjou work beautifully for canning)
- Honey: 1 cup (240 ml) of good-quality raw honey (I like local honey—adds a subtle floral note)
- Vanilla Bean: 1 whole vanilla bean, split lengthwise (the real deal, not extract, for that rich aroma)
- Water: 4 cups (960 ml) to make the syrup base
- Lemon Juice: 2 tablespoons (30 ml) freshly squeezed (helps keep pears from browning and brightens flavor)
- Granulated Sugar: ½ cup (100 g) (optional, balances honey’s intensity if desired)
- Canning Salt: 1 teaspoon (optional for flavor enhancement)
- Citric Acid or Ascorbic Acid Powder: 1 teaspoon (optional, but recommended to prevent discoloration during processing)
For a gluten-free and natural sweetener recipe, honey is my go-to. If you want to swap it out, maple syrup can work, but it changes the flavor profile quite a bit. When picking pears, look for ones that are ripe but still firm enough to hold shape after cooking—overripe pears will turn mushy.
In summer, I sometimes toss in a few fresh mint leaves into the syrup for a cool twist. And if you can’t find vanilla beans, vanilla extract is a fallback, but the syrup won’t be quite as fragrant.
Equipment Needed
- Large Water Bath Canner or Stockpot: Needed for sterilizing jars and processing the canned pears. A 20-quart water bath canner is ideal but a deep stockpot with a rack works fine for beginners.
- Mason Jars and Lids: Quart-sized jars (32 oz/946 ml) are perfect for pears. I recommend using new lids to ensure a proper seal.
- Jar Lifter: Essential for safely handling hot jars — don’t try this with tongs or bare hands!
- Large Bowl: For holding peeled pears in lemon water to prevent browning.
- Sharp Paring Knife and Peeler: For prepping pears neatly.
- Measuring Cups and Spoons: For syrup ingredients — precision matters for taste and safety.
- Wide-Mouth Funnel: Makes filling jars with syrup less messy.
- Clean Towels or Paper Towels: For wiping jar rims before sealing.
If you’re just starting and don’t have a water bath canner, a tall stockpot with a rack on the bottom is a budget-friendly alternative. I learned this the hard way and still got consistent seals. Just double-check that jars are fully covered by at least an inch of boiling water during processing. Also, keep your jar lifter handy; it’s worth investing in for safety and confidence.
Preparation Method
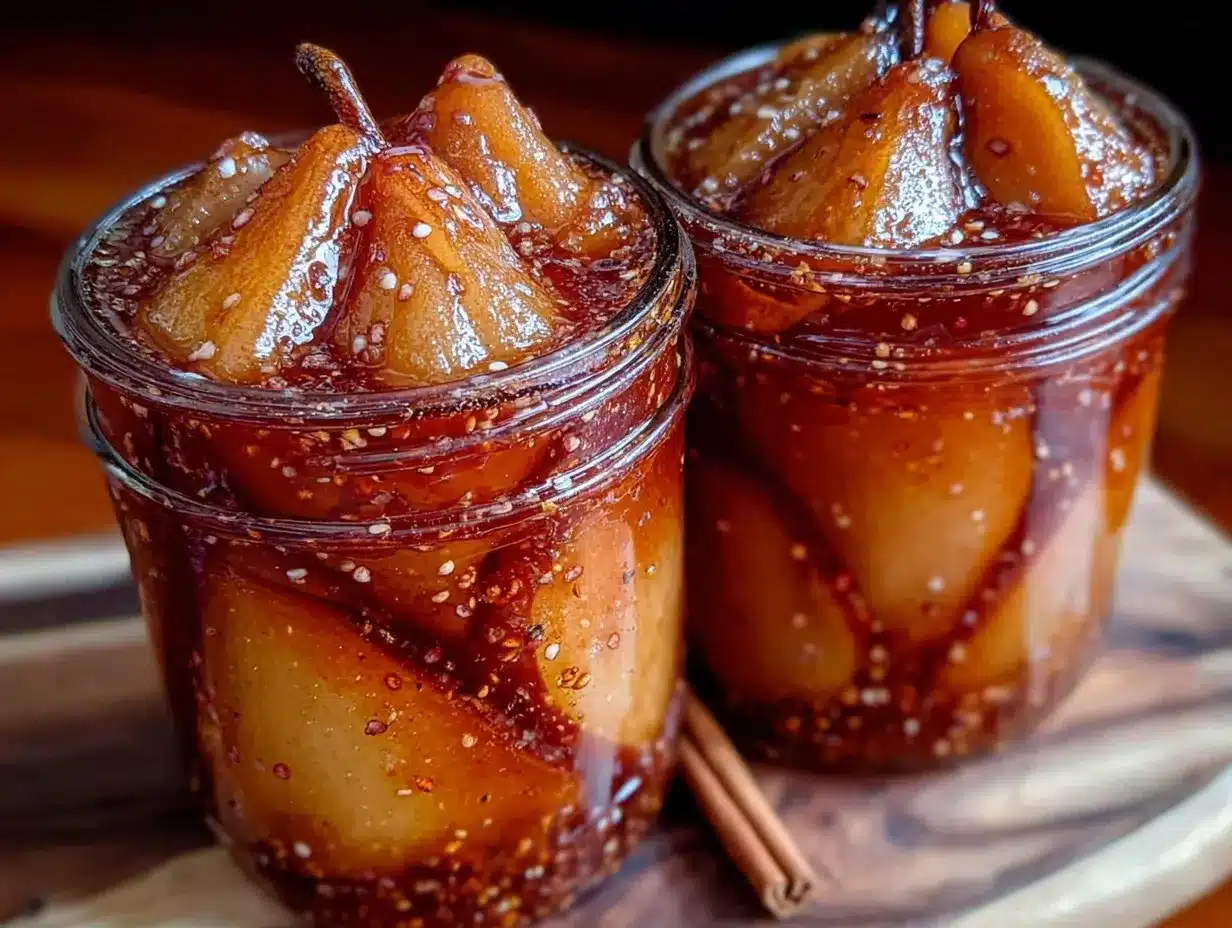
- Prepare the Jars and Lids (10-15 minutes): Wash jars, lids, and bands in hot soapy water, rinse well. Place jars in the water bath canner or stockpot filled with water, bring to a simmer (180°F/82°C) to sterilize. Keep them hot until ready to fill to avoid cracking.
- Make the Vanilla Bean Honey Syrup (15 minutes): In a large saucepan, combine 4 cups (960 ml) water, 1 cup (240 ml) honey, ½ cup (100 g) sugar (if using), and the split vanilla bean pod. Bring to a gentle boil, stirring to dissolve honey and sugar. Reduce heat and simmer for 5 minutes to infuse flavor. Remove from heat and set aside.
- Prepare the Pears (20 minutes): Peel, core, and halve the pears. To keep them from browning, place the prepared pears in a large bowl of cold water mixed with 2 tablespoons (30 ml) lemon juice and 1 teaspoon citric acid or ascorbic acid powder. Let them sit until ready to pack.
- Heat the Pears in Syrup (10 minutes): Drain pears briefly from lemon water and add them to the hot vanilla honey syrup (remove the vanilla bean pod if you prefer less intense flavor). Gently simmer pears for about 5 minutes — they should be tender but not falling apart. This step helps remove air and prepares pears for canning.
- Pack Jars (15 minutes): Using a wide-mouth funnel, pack the hot pears into hot sterilized jars, leaving about ½ inch (1.3 cm) headspace. Pour the hot syrup over the pears, maintaining the same headspace. Remove air bubbles by running a non-metallic spatula around the jar. Wipe jar rims clean with a damp cloth.
- Seal and Process (40 minutes): Place lids on jars and screw bands fingertip-tight. Lower jars into the boiling water bath (water should cover jars by at least 1 inch/2.5 cm). Process for 25 minutes for quarts (adjust time if at high altitude). Remove jars carefully with a jar lifter and place on a towel to cool undisturbed for 12-24 hours.
- Check Seals and Store: After cooling, test seals by pressing the center of each lid—should not pop back. Store sealed jars in a cool, dark place. Refrigerate any jars that didn’t seal properly and use within a week.
Note: If you notice cloudy syrup or floating fruit bits after canning, it’s usually harmless but make sure jars were processed at a full boil to avoid spoilage. If in doubt, discard.
Cooking Tips & Techniques
Water bath canning can feel like a lot at first, but here are some tips I picked up that will smooth your path:
- Don’t rush peeling: Use a sharp paring knife and a good vegetable peeler; uneven pears make packing tricky and can cause breakage during processing.
- Keep everything hot: Cold jars or syrup can cause jars to crack when filled with hot pears. I learned this the hard way and replaced a cracked jar mid-canning session.
- Headspace is important: Leave the recommended ½ inch (1.3 cm) to allow for expansion and proper vacuum seal.
- Watch your water level: Always ensure jars are fully submerged during the water bath to avoid spoilage.
- Use fresh, firm pears: Overripe pears turn mushy and don’t hold texture well after canning.
- Simmer syrup gently: Honey burns easily, so keep heat moderate and stir often when making the syrup.
- Label your jars: Note the date and contents so you don’t forget what’s inside after a few months.
It’s also helpful to prepare your canning space ahead of time, with all tools within reach. Time management matters because you want to work efficiently while pears and syrup are hot. This recipe has a forgiving syrup base, so if you overcook pears slightly, it’s not the end of the world.
Variations & Adaptations
Once you’ve got the basics down, trying variations keeps things interesting:
- Spiced Pears: Add cinnamon sticks, cloves, or star anise to the syrup for a cozy fall flavor. I like adding a cinnamon stick when making comfort food recipes too, so the spice vibe carries over.
- Low-Sugar Option: Reduce or omit the granulated sugar and use a lighter honey syrup, perfect if you want a less sweet preserve.
- Vanilla-Free: Skip the vanilla bean and add lemon zest or orange peel for a citrus twist.
- Different Fruit: Substitute pears with peeled peaches or apples using the same syrup method, adjusting processing time accordingly.
- Alcohol-Infused: After canning, add a splash of brandy or bourbon to the jar for adult-only jars (best consumed within a few months).
For a tech-savvy tweak, some folks use a pressure canner for longer shelf life, but for beginners, the water bath method is safer and simpler. I once tried a pressure canner with this recipe and found the syrup texture changed, so I stick to water bath.
Serving & Storage Suggestions
Once your jars are sealed and rested, serving these pears is a treat:
- Serving temperature: They’re delicious chilled or at room temperature. I like them spooned over vanilla ice cream or dolloped on pancakes (similar to the way I serve the easy cheesy tater tot breakfast casserole—comfort food for mornings!).
- Presentation: Serve right from the jar for rustic charm, or plate with a drizzle of extra honey and a sprinkle of toasted nuts.
- Storage: Store sealed jars in a cool, dark pantry for up to 1 year. Once opened, refrigerate and consume within 7 days.
- Flavor development: The pears mellow and soak up more syrup flavor over time, so if you can wait a few weeks before eating, you’ll be rewarded.
If you’re planning a party or cozy get-together, these pears make an elegant yet simple addition to dessert tables or brunch spreads. They pair wonderfully with soft cheeses or as a topping for yogurt parfaits.
Nutritional Information & Benefits
Each serving of these canned pears (about ½ cup/125 ml) provides roughly:
| Nutrient | Amount |
|---|---|
| Calories | 90-110 kcal |
| Carbohydrates | 25 g |
| Natural Sugars | 22 g |
| Fiber | 2 g |
| Vitamin C | 4% DV |
The pears offer dietary fiber and vitamin C, while the honey provides antioxidants and natural sweetness. This recipe is gluten-free, dairy-free, and vegetarian-friendly. Be mindful of the natural sugars if you are monitoring intake.
From a wellness perspective, preserving pears at home means avoiding the preservatives and added sugars found in many store-bought canned fruits. Plus, homemade syrup with real vanilla bean feels like a little self-care in a jar.
Conclusion
Easy beginner water bath canning pears with vanilla bean honey syrup is more than just a recipe; it’s a way to hold onto seasonal sweetness and turn it into something you can enjoy anytime. The straightforward method builds confidence, and the result is jars packed with tender pears swimming in a fragrant, lightly sweet syrup that’s honestly hard to beat.
Feel free to tweak the syrup or add spices to make it your own—there’s room for creativity here. I love this recipe because it’s approachable and brings a little joy in the kitchen, even for those who think canning is complicated. If you’ve ever wanted to try water bath canning but felt overwhelmed, this is your recipe.
I’d love to hear how your jars turn out or what variations you try—drop a comment or share your experience. There’s something special about swapping canning stories and tips, making this process feel less like a chore and more like a shared kitchen adventure.
Frequently Asked Questions
Can I use canned pears right away?
Yes, but the flavor improves if you let them sit for at least 2 weeks to develop fully. They’re safe to eat immediately after cooling if properly sealed.
What if my jars didn’t seal?
Refrigerate any unsealed jars and use within a week. You can try reprocessing them with new lids if you want longer storage.
Can I use frozen pears instead of fresh?
Fresh pears give the best texture. Frozen pears tend to become mushy and aren’t recommended for canning.
How long do canned pears last?
Stored properly, they keep for up to 1 year in a cool, dark place. Opened jars should be refrigerated and used within 7 days.
Is it necessary to use a vanilla bean?
Vanilla bean adds the richest flavor, but if unavailable, good-quality vanilla extract can be used. Just add it after cooking the syrup to preserve flavor.
Pin This Recipe!
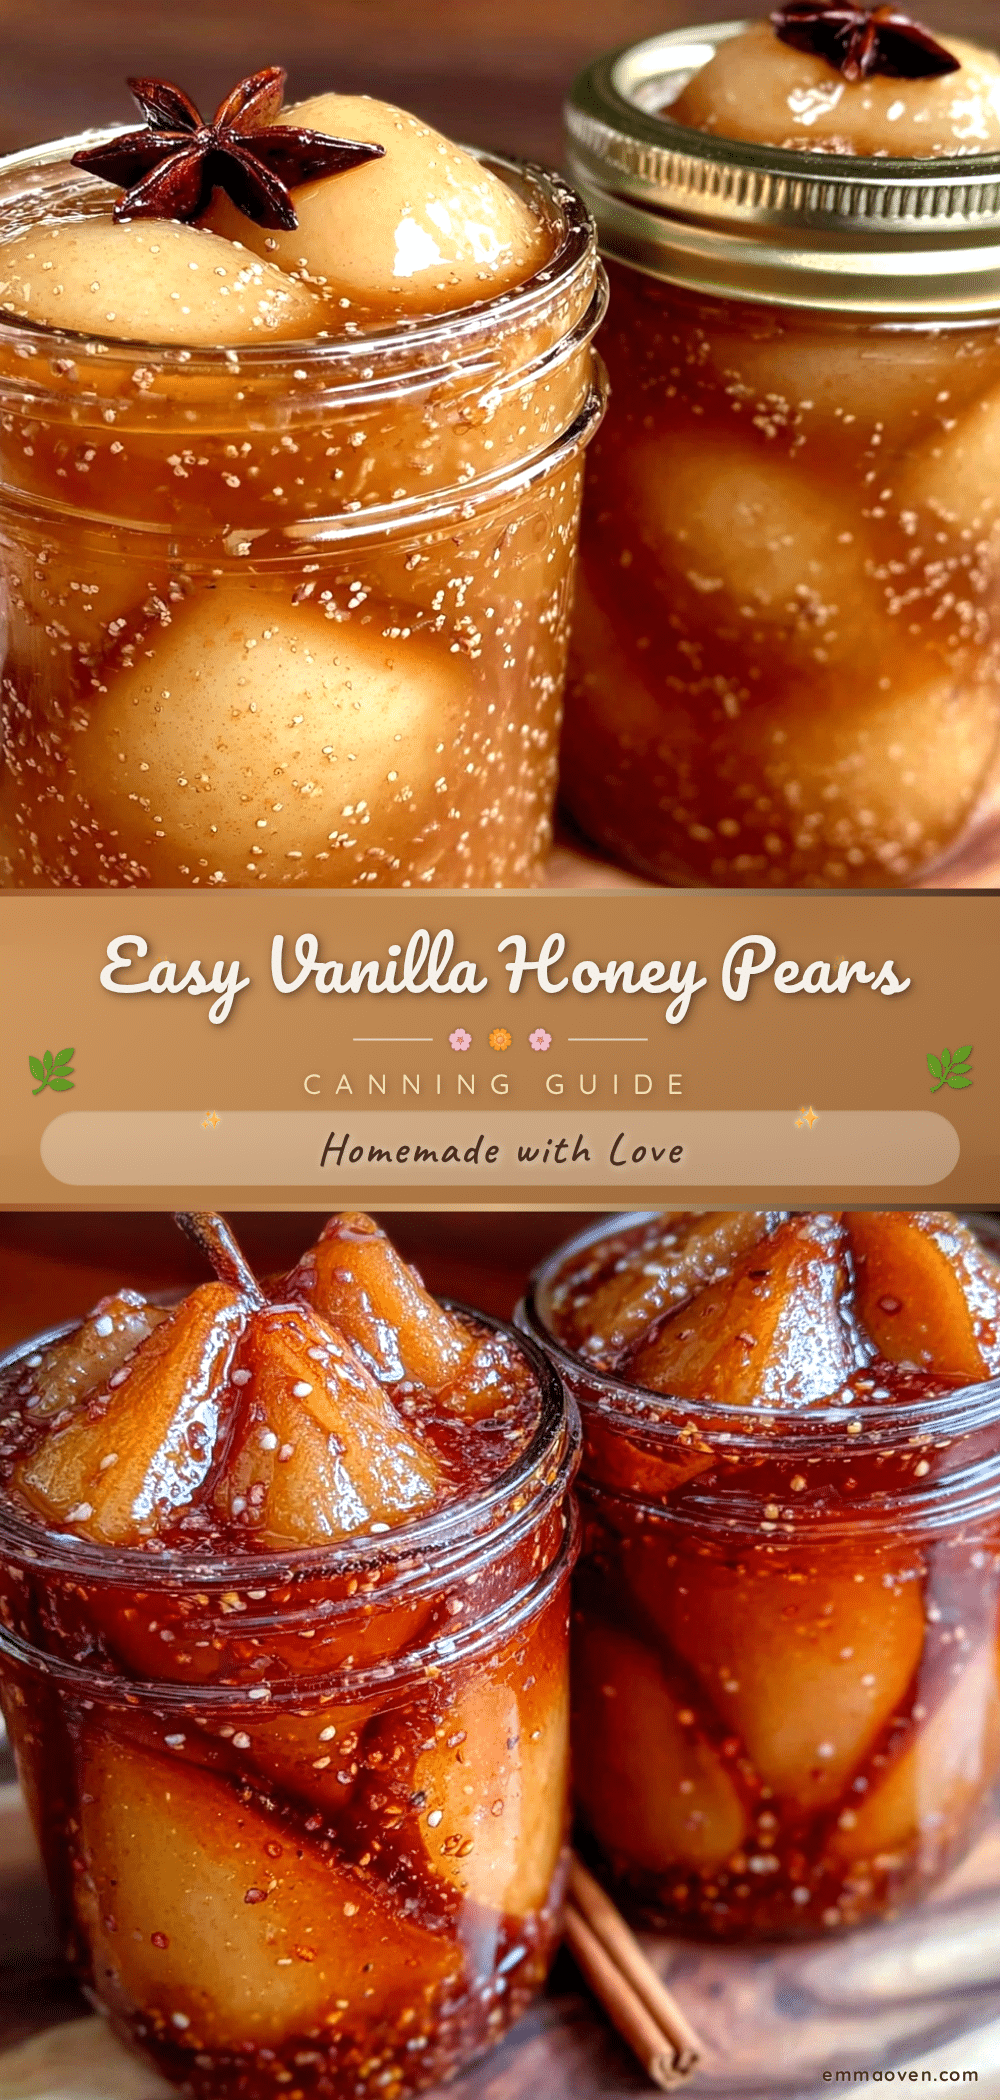
Easy Beginner Water Bath Canning Pears Recipe with Vanilla Bean Honey Syrup
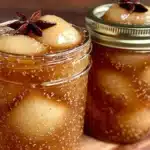
A simple and approachable recipe for water bath canning pears in a fragrant vanilla bean honey syrup, perfect for beginners and preserving seasonal sweetness.
- Prep Time: 45 minutes
- Cook Time: 40 minutes
- Total Time: 1 hour 25 minutes
- Yield: 4 quart jars (about 8 servings) 1x
- Category: Preserves
- Cuisine: American
Ingredients
- 6–8 medium-sized firm pears (Bosc or Anjou)
- 1 cup (240 ml) raw honey
- 1 whole vanilla bean, split lengthwise
- 4 cups (960 ml) water
- 2 tablespoons (30 ml) freshly squeezed lemon juice
- ½ cup (100 g) granulated sugar (optional)
- 1 teaspoon canning salt (optional)
- 1 teaspoon citric acid or ascorbic acid powder (optional)
Instructions
- Wash jars, lids, and bands in hot soapy water, rinse well. Place jars in the water bath canner or stockpot filled with water, bring to a simmer (180°F/82°C) to sterilize. Keep them hot until ready to fill.
- In a large saucepan, combine water, honey, sugar (if using), and the split vanilla bean pod. Bring to a gentle boil, stirring to dissolve honey and sugar. Reduce heat and simmer for 5 minutes to infuse flavor. Remove from heat and set aside.
- Peel, core, and halve the pears. Place prepared pears in a large bowl of cold water mixed with lemon juice and citric acid or ascorbic acid powder to prevent browning. Let sit until ready to pack.
- Drain pears briefly from lemon water and add them to the hot vanilla honey syrup (remove vanilla bean pod if preferred). Gently simmer pears for about 5 minutes until tender but not falling apart.
- Using a wide-mouth funnel, pack hot pears into hot sterilized jars, leaving ½ inch headspace. Pour hot syrup over pears, maintaining headspace. Remove air bubbles with a non-metallic spatula. Wipe jar rims clean.
- Place lids on jars and screw bands fingertip-tight. Lower jars into boiling water bath, ensuring water covers jars by at least 1 inch. Process for 25 minutes for quart jars. Remove jars with jar lifter and cool undisturbed for 12-24 hours.
- After cooling, test seals by pressing the center of each lid; it should not pop back. Store sealed jars in a cool, dark place. Refrigerate any unsealed jars and use within a week.
Notes
Keep jars and syrup hot to prevent cracking. Use firm, ripe pears to maintain texture. Simmer syrup gently to avoid burning honey. Leave ½ inch headspace for proper sealing. Label jars with date and contents. If jars do not seal, refrigerate and consume within a week or reprocess with new lids.
Nutrition
- Serving Size: ½ cup (125 ml)
- Calories: 90110
- Sugar: 22
- Sodium: 5
- Carbohydrates: 25
- Fiber: 2
Keywords: water bath canning, pears, vanilla bean, honey syrup, beginner canning, homemade preserves, canned fruit, easy canning recipe