Easy Garlic Dill Refrigerator Pickle Spears Recipe for Perfect Crunchy Snack
Introduction
Three-time in a week and the crunch still surprises me every single time. Honestly, I thought making garlic dill refrigerator pickle spears would be a quick “meh” project, but here I am, jars in the fridge, each batch a little sharper or tangier than the last. It’s kind of ridiculous how one small change — like crushing the garlic cloves instead of slicing — turned the whole flavor on its head. The smell alone, that fresh dill mingling with garlic and vinegar, haunts the kitchen for days.
Last Friday, while slicing cucumbers (and trying not to eat half before they hit the jar), I realized the magic was in the balance: the right snap of the pickle paired with that garlic punch and the subtle herbaceous whisper of dill. It’s weirdly addictive—every snack or sandwich suddenly feels incomplete without these spears chilling nearby.
I’ve made them every week for a month now, tweaking the brine and fiddling with the soaking time, and it’s become my go-to crunchy snack that’s way better than anything store-bought. It’s not just a pickle; it’s a little obsession that hides in the fridge. And I’m convinced once you try this easy garlic dill refrigerator pickle spears recipe, you’ll find yourself reaching for that jar, too.
Why You’ll Love This Recipe
- Quick & Easy: Ready to snack on in just 24 hours, perfect for last-minute cravings or when you want that fresh pickle punch without the wait.
- Simple Ingredients: No weird additives here—just fresh cucumbers, garlic, dill, and a few pantry staples you probably already have on hand.
- Perfect for Any Occasion: Whether it’s a casual snack, a side for your game day feast, or a tangy addition to sandwiches, these pickles fit in.
- Crowd-Pleaser: Kids and adults alike love the crisp texture and bright flavor. Honestly, I’ve had friends sneak these straight from the jar!
- Unbelievably Delicious: The garlic and dill combo is just right—no overpowering vinegar, just a fresh, crunchy, herb-infused bite.
- Unique Twist: I like to crush the garlic cloves instead of slicing for a bolder flavor, and a pinch of mustard seeds adds a subtle depth you won’t find in your average jar.
- Comfort with a Kick: These spears bring that punchy, homemade vibe that turns a simple sandwich or snack into something a little special.
What Ingredients You Will Need
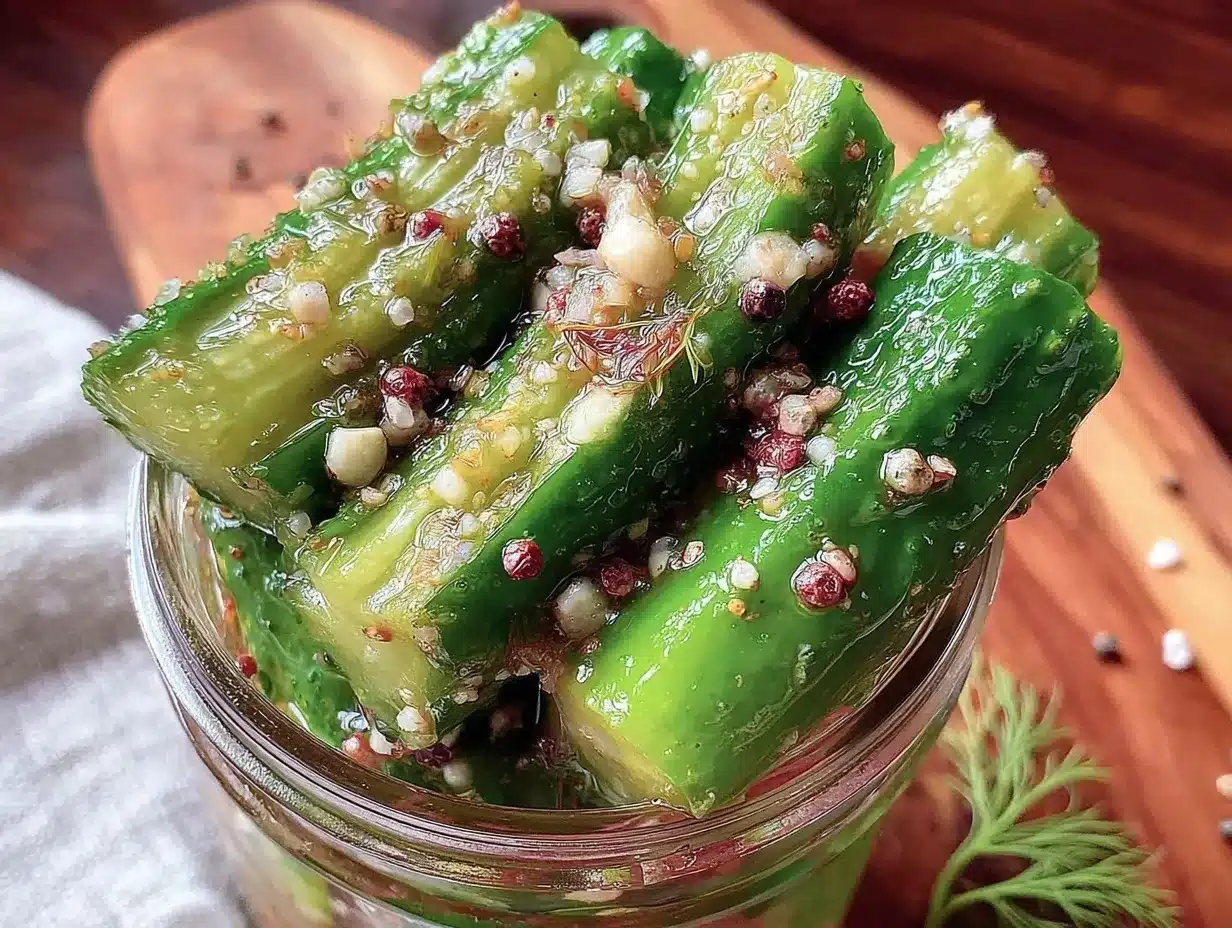
This recipe uses simple, wholesome ingredients to deliver bold flavor and satisfying crunch without any fuss. Most are pantry staples, and the fresh dill is the star that makes it sing. If you can’t find fresh dill, dried can work in a pinch, but fresh is the way to go.
- Cucumbers: 4-5 medium Kirby or pickling cucumbers, sliced into spears (these hold their crunch best)
- Fresh Dill: 3-4 sprigs per jar, roughly chopped (feel free to add a few more if you love that herbaceous punch)
- Garlic Cloves: 4 large cloves, lightly crushed (this releases more flavor than slicing)
- White Vinegar: 1 cup (240 ml) – I prefer Heinz for a clean, sharp acidity
- Water: 1 cup (240 ml) – balances the vinegar for perfect tang
- Pickling Salt or Kosher Salt: 1 tablespoon (keeps the brine clear and crisp; avoid iodized salt)
- Granulated Sugar: 1 teaspoon (just a touch to round out the acidity)
- Mustard Seeds: 1 teaspoon (optional, adds a subtle spicy warmth)
- Black Peppercorns: 1/2 teaspoon (adds a mild peppery bite)
If you want to switch it up, try swapping out white vinegar for apple cider vinegar for a fruitier note, or add a pinch of red pepper flakes for some heat. For a gluten-free option, all these ingredients are naturally gluten-free, so enjoy without worry.
Equipment Needed
- Glass Mason Jars: Quart-sized jars with lids are perfect for these pickles—easy to store and non-reactive with the brine.
- Sharp Knife: For slicing cucumbers into spears; a serrated knife works well for clean cuts.
- Cutting Board: A sturdy surface to slice safely.
- Measuring Cups & Spoons: For precise brine measurements.
- Small Saucepan: To warm the brine mixture slightly, which helps dissolve salt and sugar faster.
- Mixing Bowl: To combine brine ingredients before pouring over cucumbers.
Budget-friendly tip: You can reuse glass jars from store-bought pickles or sauces, just make sure they’re cleaned thoroughly and sterilized. I’ve found that smaller jars also work if you want to make single-serving portions for snacking on the go.
Preparation Method
- Wash cucumbers thoroughly under cold running water to remove any dirt or wax coating. Dry well with a clean towel.
- Slice cucumbers into spears by cutting each cucumber lengthwise into quarters. If some are larger, slice into sixths to keep the spears manageable.
- Lightly crush the garlic cloves with the flat side of a knife—don’t chop finely; you want big pieces that infuse flavor but don’t overpower.
- Prepare the brine: In a small saucepan, combine white vinegar, water, salt, and sugar. Warm gently over medium heat just until the salt and sugar dissolve—do not boil.
- Place cucumbers, garlic, dill sprigs, mustard seeds, and peppercorns into your clean mason jars, packing the spears snugly but without crushing.
- Pour the warm brine over the cucumbers until fully submerged. Leave about 1/2 inch of headspace at the top.
- Seal the jars tightly and let cool to room temperature before transferring to the refrigerator.
- Refrigerate for at least 24 hours before tasting. The flavors will deepen and the spears will firm up to that signature crunch.
Note: If you want an even crisper pickle, try adding a couple of grape leaves or a pinch of calcium chloride (pickle crisp) to the jar. Also, shaking the jar gently once or twice a day can help distribute flavors evenly.
Cooking Tips & Techniques
Honestly, the biggest trick with refrigerator pickles is patience. You have to give the cucumbers time to soak up the brine, or else it’s just salty water with cucumber chunks. I used to rush it, biting in too soon, and got bland, limp pickles. Now, waiting a full day (minimum) is non-negotiable.
When crushing garlic, be gentle—over-crushed garlic can turn bitter, and nobody wants that surprise in a crunchy snack. I learned that the hard way when I tried pulverizing the cloves in a mortar and pestle (seriously, don’t do it).
Keep your cucumbers as dry as possible before brining; excess moisture dilutes the brine and can lead to soggy spears. Also, always use pickling or kosher salt—table salt often clouds the brine and gives an off taste.
Multitasking tip: While the pickles soak, this is a great time to prep a hearty meal like the crispy loaded tater tot nachos. Both are crowd-pleasers that don’t skimp on flavor or texture!
Variations & Adaptations
- Spicy Garlic Dill Pickle Spears: Add 1/2 teaspoon red pepper flakes or a sliced fresh jalapeño to each jar for a fiery kick.
- Sweet & Tangy Pickles: Increase sugar to 2 tablespoons and add a cinnamon stick or two for a sweet twist.
- Low-Sodium Version: Cut salt in half and add extra garlic and dill to compensate for flavor.
- Herb Mix-Up: Swap dill for fresh tarragon or rosemary for different herb notes.
- Fermented Pickles: Leave out the vinegar and use just saltwater brine to ferment for 5-7 days at room temperature. This requires more attention but yields a probiotic-rich pickle.
One time, I tried adding a splash of buffalo sauce to the brine just for fun—it was surprisingly good on burgers and sandwiches, though not traditional. Experimentation keeps the obsession alive, you know?
Serving & Storage Suggestions
Serve these garlic dill refrigerator pickle spears chilled straight from the jar for that satisfying crunch. They’re fantastic alongside sandwiches, burgers, or even as a crunchy addition to a charcuterie board. I especially love pairing them with creamy dips—try them with a ranch or blue cheese dip for a snack that hits all the right notes.
Store pickles in the refrigerator, fully submerged in brine, and they’ll stay crisp and delicious for up to 4 weeks. Over time, the flavor deepens and mellows, so if you like your pickles a bit softer and more tangy, wait a few days before digging in.
When reheating isn’t really a thing here, but if you want to jazz up a hot dish, chop the spears and toss them into warm potato salad or mix into a creamy coleslaw for added crunch and zest. For easy entertaining, these pickles are a perfect bite alongside the savory bacon jam sliders with cheddar.
Nutritional Information & Benefits
These easy garlic dill refrigerator pickle spears are low in calories (roughly 5-10 calories per spear) and fat-free, making them a guilt-free crunchy snack. The vinegar helps regulate blood sugar levels, and garlic brings immune-boosting properties. Dill is packed with antioxidants and adds flavor without sodium.
Because the recipe uses simple, natural ingredients without preservatives or artificial additives, it’s suitable for gluten-free, keto, and paleo diets. Just watch out if you’re sensitive to vinegar or garlic. Personally, I appreciate how this snack satisfies cravings without the usual processed junk.
Conclusion
If you’re looking for a crunchy, flavorful snack that’s genuinely easy to make and keeps well in the fridge, these easy garlic dill refrigerator pickle spears are a winner. They’re adaptable, fresh, and bring a little homemade magic to any meal or munching moment.
Give yourself room to tweak the garlic or dill levels to your liking—personalizing this recipe is part of the fun. I love how these pickles make even the simplest sandwich feel like a mini celebration. And hey, if you ever want a hearty side to go with them, the crispy cheesy tater tot ranch bake is never far from my oven.
Try it out, share your pickle adventures, and enjoy that perfect crunchy snack anytime you want.
FAQs
How long do refrigerator pickles need to marinate before they’re ready to eat?
At least 24 hours in the fridge is ideal for the flavors to develop and the cucumbers to become crisp and tangy.
Can I use regular cucumbers instead of pickling cucumbers?
You can, but pickling cucumbers are preferable because they stay crisper and have fewer seeds.
Do I need to sterilize the jars for refrigerator pickles?
It’s best to clean jars thoroughly and sterilize them by boiling or washing in very hot water to ensure freshness and prevent spoilage.
Can I make these pickles spicy?
Yes! Adding red pepper flakes or fresh jalapeño slices to the jar will give your pickles a nice spicy kick.
How long will these pickles keep in the refrigerator?
They typically last up to 4 weeks when kept submerged in brine and stored in a sealed jar in the fridge.
Pin This Recipe!
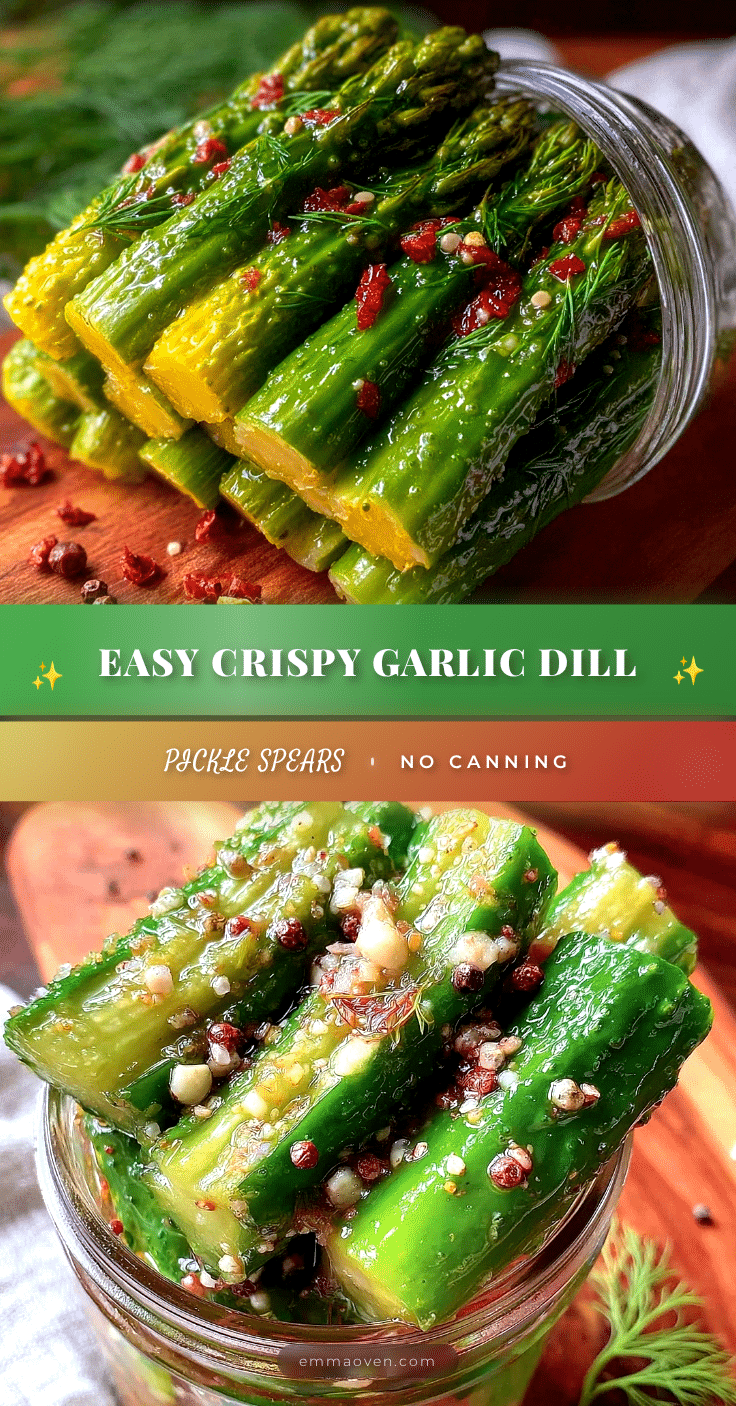
Easy Garlic Dill Refrigerator Pickle Spears Recipe for Perfect Crunchy Snack

A quick and easy recipe for crunchy garlic dill refrigerator pickle spears with a perfect balance of tangy, herbaceous, and garlicky flavors. Ready to enjoy in just 24 hours, these pickles are a delicious homemade snack or sandwich addition.
- Prep Time: 15 minutes
- Cook Time: 5 minutes
- Total Time: 24 hours 20 minutes
- Yield: 4-5 jars (about 8-10 servings) 1x
- Category: Snack
- Cuisine: American
Ingredients
- 4–5 medium Kirby or pickling cucumbers, sliced into spears
- 3–4 sprigs fresh dill per jar, roughly chopped
- 4 large garlic cloves, lightly crushed
- 1 cup (240 ml) white vinegar
- 1 cup (240 ml) water
- 1 tablespoon pickling salt or kosher salt
- 1 teaspoon granulated sugar
- 1 teaspoon mustard seeds (optional)
- 1/2 teaspoon black peppercorns
Instructions
- Wash cucumbers thoroughly under cold running water to remove any dirt or wax coating. Dry well with a clean towel.
- Slice cucumbers into spears by cutting each cucumber lengthwise into quarters. If some are larger, slice into sixths to keep the spears manageable.
- Lightly crush the garlic cloves with the flat side of a knife—don’t chop finely; you want big pieces that infuse flavor but don’t overpower.
- Prepare the brine: In a small saucepan, combine white vinegar, water, salt, and sugar. Warm gently over medium heat just until the salt and sugar dissolve—do not boil.
- Place cucumbers, garlic, dill sprigs, mustard seeds, and peppercorns into your clean mason jars, packing the spears snugly but without crushing.
- Pour the warm brine over the cucumbers until fully submerged. Leave about 1/2 inch of headspace at the top.
- Seal the jars tightly and let cool to room temperature before transferring to the refrigerator.
- Refrigerate for at least 24 hours before tasting. The flavors will deepen and the spears will firm up to that signature crunch.
Notes
For crisper pickles, add a couple of grape leaves or a pinch of calcium chloride (pickle crisp) to the jar. Shake the jar gently once or twice a day to distribute flavors evenly. Use pickling or kosher salt to keep the brine clear and avoid off flavors. Crushing garlic cloves releases more flavor than slicing but avoid pulverizing to prevent bitterness.
Nutrition
- Serving Size: 1 pickle spear
- Calories: 510
- Sugar: 0.5
- Sodium: 300
- Carbohydrates: 1
Keywords: garlic dill pickles, refrigerator pickles, crunchy pickles, easy pickle recipe, quick pickles, homemade pickles, dill pickles, garlic pickles