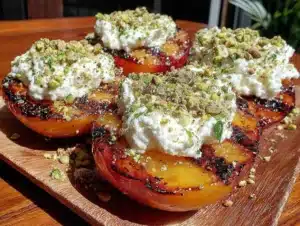
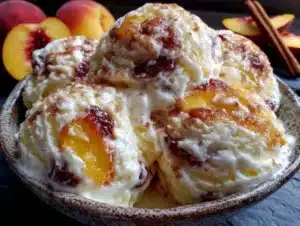
“Are you sure these are no-bake?” my cousin asked, eyeing the vibrant red, white, and blue layers stacked neatly in tiny cups. I laughed, wiping a smear of cream cheese off my fingers. Honestly, the first time I tossed together these Easy No-Bake Patriotic Cheesecake Cups, it was a bit of an experiment — a last-minute idea when the grill plans fell through on the Fourth of July. With the sun blazing and the kids running around, the kitchen felt more like a battlefield. But these little cheesecake cups? They saved the day.
It started with a craving for something sweet but light, something festive that wouldn’t require turning on the oven in the summer heat. I grabbed some cream cheese, mixed in a handful of berries, and layered it all over crushed graham crackers before chilling. By the time the fireworks started, everyone was grabbing these cups, spoons diving in eagerly, and the skeptics (including me) turned into believers. The best part? It felt like a treat without the fuss.
Since then, these no-bake cheesecake cups have popped up at backyard barbecues, neighborhood potlucks, and even casual weeknight dinners when a quick dessert is needed but the oven is just not an option. The colors bring a bit of joy to the table, and honestly, the creamy texture with that slight crunch makes you pause for a moment — a little summer happiness in every bite. They’re a small joy that reminds me why simple can be so satisfying.
These Easy No-Bake Patriotic Cheesecake Cups stuck with me not just because they’re delicious, but because they’re easy enough to throw together on a busy day and pretty enough to make you feel like you put in effort. It’s a little victory in a cup.
Why You’ll Love This Recipe
This Easy No-Bake Patriotic Cheesecake Cups recipe has become a go-to for many reasons, and I’m happy to share why it deserves a spot in your summer dessert lineup:
- Quick & Easy: Ready in under 20 minutes, perfect when you’re juggling kids, guests, or just craving something sweet without a long wait.
- Simple Ingredients: Uses staples like cream cheese, crushed graham crackers, and fresh berries — no fancy or hard-to-find items needed.
- Perfect for Summer Celebrations: The patriotic red, white, and blue layers make it ideal for July 4th, Memorial Day, or any sunny backyard party.
- Crowd-Pleaser: Whether it’s kids or adults, these cups always vanish fast. The balance of sweet, tangy, and crunchy is just right.
- Unbelievably Delicious: The creamy cheesecake filling contrasts beautifully with the graham cracker crust and fresh berries, offering a fresh, light flavor that doesn’t weigh you down.
What sets this recipe apart is the no-bake method that doesn’t skimp on texture or taste. The cream cheese is whipped to a fluffy, smooth consistency, making it feel almost like a mousse. Plus, layering the fresh blueberries and strawberries creates a natural sweetness and vibrant color that feels festive but not over the top. You won’t find complicated steps or long chill times here — just straightforward, honest dessert-making that works every time.
Honestly, this recipe feels like summer in a cup — refreshing, colorful, and a little indulgent without the guilt. It’s the kind of dessert that makes you pause, close your eyes, and enjoy the moment, especially when paired with a sunny afternoon or a casual family gathering.
What Ingredients You Will Need
This recipe calls for simple, wholesome ingredients that come together quickly to create something special. Most of these are pantry staples or easy to grab at any grocery store during summer.
- For the Crust:
- 1 ½ cups graham cracker crumbs (about 10 full sheets, crushed finely)
- 5 tablespoons unsalted butter, melted (adds richness and helps bind the crust)
- 2 tablespoons granulated sugar (balances the buttery crust)
- For the Cheesecake Filling:
- 16 ounces (450 g) cream cheese, softened (I prefer Philadelphia for smoothness)
- ½ cup powdered sugar (for a touch of sweetness without graininess)
- 1 teaspoon vanilla extract (pure vanilla gives the best flavor)
- 1 cup heavy whipping cream, cold (whipped to soft peaks for light texture)
- For the Topping:
- 1 cup fresh strawberries, diced (bright red and juicy)
- 1 cup fresh blueberries (look for firm, plump berries)
- Optional: fresh mint leaves for garnish
If you’re looking for a dairy-free twist, swapping cream cheese and heavy cream with coconut-based alternatives works well, though the texture will be slightly different. For a gluten-free crust, almond flour or gluten-free graham cracker crumbs are a perfect substitute. When fresh berries aren’t in season, frozen ones thawed and drained can be a handy alternative — just be sure to pat them dry so the cups don’t turn watery.
Equipment Needed
- Mixing bowls – a medium and a large one for separate components
- Electric hand mixer or stand mixer – whipping the cream cheese and cream is much easier with a mixer
- Measuring cups and spoons – precise measurements keep the texture just right
- Spatula – for folding whipped cream gently into the cream cheese mixture
- Serving cups or small mason jars – these cups are great for portion control and presentation
- Food processor or plastic bag and rolling pin – for crushing graham crackers
If you don’t have a food processor, using a rolling pin inside a sealed plastic bag works just fine to crush the graham crackers. For the electric mixer, a budget-friendly hand mixer is perfectly adequate and easier to clean. Whipping the cream by hand is possible but takes longer and may not yield the same fluffy texture.
Preparation Method
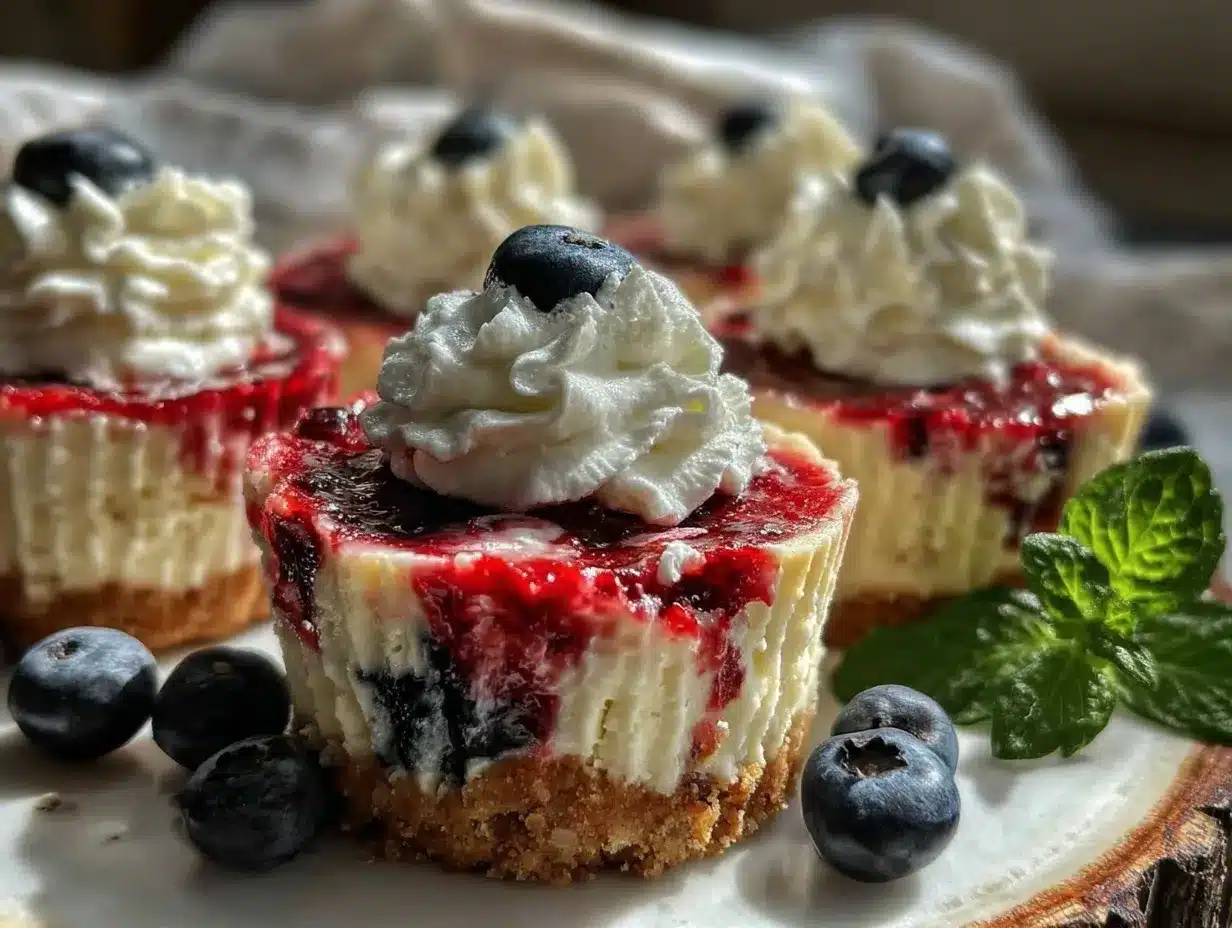
- Prepare the crust: Combine the graham cracker crumbs, melted butter, and sugar in a medium bowl. Stir until all crumbs are evenly coated and hold together when pressed. This should take about 3 minutes.
- Assemble the crust layer: Spoon about 2 tablespoons (30 g) of the crust mixture into each serving cup. Press gently with the back of a spoon to form a compact base. Set cups aside while you make the filling. This step should take around 5 minutes.
- Make the cheesecake filling: In a large bowl, beat the softened cream cheese until smooth and creamy, about 2 minutes on medium speed. Add powdered sugar and vanilla extract, then continue beating until fully combined.
- Whip the heavy cream: In a separate bowl, whip the cold heavy cream until soft peaks form. This can take 3-4 minutes with an electric mixer; watch closely to avoid over-whipping.
- Fold whipped cream into cream cheese mixture: Gently fold the whipped cream into the cream cheese mixture using a spatula. Take your time to keep the mixture light and airy, folding until no white streaks remain. This should take about 2 minutes.
- Layer the cheesecake cups: Spoon or pipe a generous layer of the cheesecake filling over the crust in each cup. Smooth the tops gently with the back of a spoon.
- Add the patriotic toppings: Sprinkle diced strawberries and blueberries on top, layering or mixing as you like. You can add a few fresh mint leaves for a pop of green and extra freshness.
- Chill: Place the cups in the refrigerator for at least 2 hours, ideally 3-4, to let everything set properly. If you’re short on time, 1 hour is workable but the texture won’t be as firm.
Quick tip: When folding the whipped cream, think of it like folding egg whites into batter — gentle and patient to keep the fluffiness. Also, if your cream cheese isn’t fully softened, it can cause lumps, so plan ahead for that step.
Cooking Tips & Techniques
This no-bake cheesecake is forgiving, but a few tips can take it from good to great. First, the cream cheese softening is key — if it’s too cold, lumps sneak in and the texture gets uneven. I usually let mine sit out for about 30 minutes, or zap it in the microwave for 10 seconds if I’m in a rush (watch closely!).
Whipping the heavy cream should be done just right. Under-whipped cream won’t provide the light texture we want, but over-whipping leads to butter-like clumps. Stop as soon as soft peaks form — the cream will hold shape but still be smooth.
When assembling, press the crust firmly but not too hard; you want it to hold together but not become rock solid. Also, layering the berries just before serving keeps them fresh and prevents the juices from making the crust soggy.
One mistake I learned the hard way: don’t skip chilling. It’s tempting to dig in immediately, but the cups need time to set or the filling doesn’t hold shape well. Patience pays off here.
For times when you’re hosting and want to multitask, assemble the crust and filling parts separately ahead of time. Then just layer and top when guests arrive — way less stress.
Variations & Adaptations
- Berry Swap: Use blackberries and raspberries instead of strawberries and blueberries for a deeper, earthier flavor while keeping the patriotic look.
- Chocolate Twist: Add a layer of mini chocolate chips or a thin drizzle of melted dark chocolate between crust and filling for a richer dessert.
- Vegan Version: Swap cream cheese with vegan cream cheese and use coconut whipped cream. Use gluten-free vegan graham crackers for the crust.
- Flavor Boost: Mix lemon zest or a splash of fresh lemon juice into the cheesecake filling for a tangy twist that brightens the whole cup.
- Crunch Upgrade: Add chopped toasted pecans or almonds into the crust for extra texture and nutty flavor.
Personally, I’ve tried adding a layer of crushed peppermint candies for a winter holiday spin (not exactly patriotic, but festive!). It’s fun how adaptable these cups are, making them a versatile go-to for many occasions.
Serving & Storage Suggestions
Serve these cheesecake cups chilled straight from the fridge for the best texture and flavor. They’re perfect as handheld treats at barbecues or picnics, making cleanup a breeze. If you want to dress them up, garnish with a sprig of fresh mint or a light dusting of powdered sugar just before serving.
Pair them with a sparkling lemonade or iced tea to complement the fresh berry flavors. For a grown-up twist, a splash of sparkling rosé works beautifully.
To store, cover the cups tightly with plastic wrap or use airtight lids if you’re using mason jars. Keep refrigerated and consume within 3 days for optimum freshness. These cups freeze well too — just pop them in the freezer uncovered for a couple of hours to set, then wrap individually. Thaw overnight in the fridge before enjoying.
Flavors meld over time, so if you prepare them a day ahead, the cheesecake filling becomes even creamier and the crust softens slightly, which some people actually prefer.
Nutritional Information & Benefits
Each serving of these Easy No-Bake Patriotic Cheesecake Cups offers a moderate amount of calories — around 250 to 300 depending on portion size — with a satisfying balance of protein and fats from the cream cheese and cream. The fresh berries add antioxidants, vitamins C and K, and fiber, making this dessert a better choice than many sugar-heavy alternatives.
This recipe is naturally gluten-free if you pick gluten-free graham crackers and can be adapted for dairy-free diets, making it accessible for various dietary needs. Just keep an eye on portion sizes if you’re watching sugar or fat intake, but honestly, it’s a treat that feels indulgent without going overboard.
From a wellness perspective, I appreciate how this dessert offers a balance — it feels like a celebratory indulgence but also includes real fruit and avoids overly processed ingredients.
Conclusion
These Easy No-Bake Patriotic Cheesecake Cups are a simple, cheerful dessert that works for any summer celebration. They’re quick enough to whip up on a busy day, look great on the table, and taste so fresh you’ll want to make them again and again. I love that they bring a bit of fun and color without requiring hours in the kitchen or turning on the oven.
Feel free to customize the toppings or try one of the variations to fit your crowd or occasion. Whether you’re serving them alongside a crispy buffalo chicken tater tot casserole or a simple batch of easy cheesy tater tot breakfast casserole, these cheesecake cups bring a sweet finish that’s just right.
Give them a try and let me know how you make them your own. I’m always excited to hear about your twists and how these little cups fit into your favorite summer moments.
FAQs About Easy No-Bake Patriotic Cheesecake Cups
Can I make these cheesecake cups ahead of time?
Absolutely! They can be assembled several hours or even a day before serving. Just keep them refrigerated and add fresh berries right before serving for best presentation.
What if I don’t have graham crackers?
You can substitute with digestive biscuits, vanilla wafers, or gluten-free cookies. Just crush them finely and use the same amount.
How long do these cheesecake cups keep in the fridge?
They stay fresh for about 3 days if covered properly. After that, the crust might get soggy and the berries may lose their freshness.
Can I freeze the cheesecake cups?
Yes, freeze uncovered for a couple of hours to firm up, then wrap or cover tightly. Thaw in the fridge overnight before serving.
Is it possible to make these cups dairy-free?
Yes! Use dairy-free cream cheese and coconut whipped cream substitutes. The texture will be slightly different but still delicious.
Pin This Recipe!
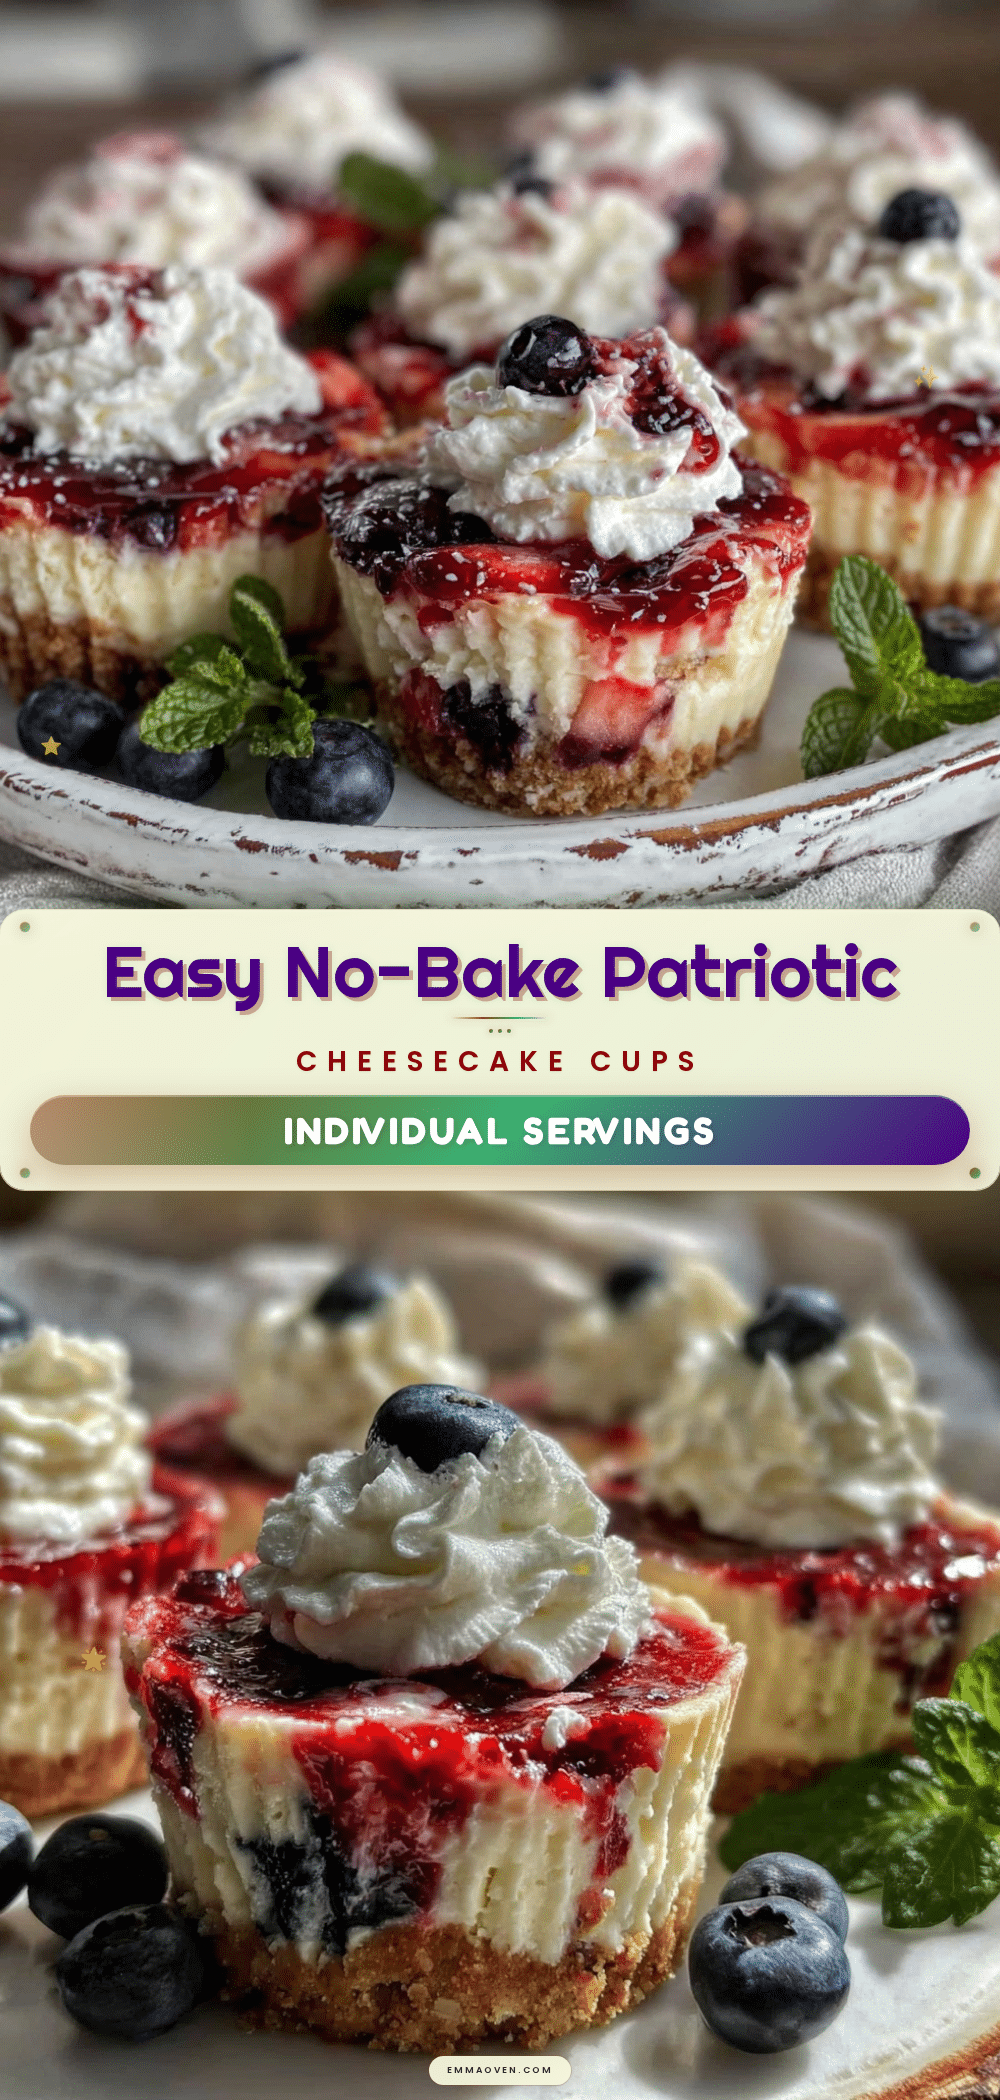
Easy No-Bake Patriotic Cheesecake Cups
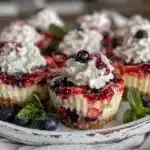
A quick and festive no-bake dessert featuring layers of creamy cheesecake filling, crushed graham cracker crust, and fresh red, white, and blue berries—perfect for summer celebrations.
- Prep Time: 15 minutes
- Cook Time: 0 minutes
- Total Time: 2 hours 15 minutes
- Yield: 8 servings 1x
- Category: Dessert
- Cuisine: American
Ingredients
- 1 ½ cups graham cracker crumbs (about 10 full sheets, crushed finely)
- 5 tablespoons unsalted butter, melted
- 2 tablespoons granulated sugar
- 16 ounces cream cheese, softened
- ½ cup powdered sugar
- 1 teaspoon vanilla extract
- 1 cup heavy whipping cream, cold
- 1 cup fresh strawberries, diced
- 1 cup fresh blueberries
- Optional: fresh mint leaves for garnish
Instructions
- Combine graham cracker crumbs, melted butter, and sugar in a medium bowl. Stir until crumbs are evenly coated and hold together when pressed, about 3 minutes.
- Spoon about 2 tablespoons (30 g) of crust mixture into each serving cup. Press gently with the back of a spoon to form a compact base. Set aside.
- In a large bowl, beat softened cream cheese until smooth and creamy, about 2 minutes on medium speed.
- Add powdered sugar and vanilla extract to cream cheese and beat until fully combined.
- In a separate bowl, whip cold heavy cream until soft peaks form, about 3-4 minutes.
- Gently fold whipped cream into cream cheese mixture using a spatula until no white streaks remain, about 2 minutes.
- Spoon or pipe a generous layer of cheesecake filling over the crust in each cup and smooth the tops.
- Sprinkle diced strawberries and blueberries on top. Add fresh mint leaves if desired.
- Chill cups in the refrigerator for at least 2 hours, ideally 3-4 hours, to set properly.
Notes
Ensure cream cheese is fully softened to avoid lumps. Whip heavy cream to soft peaks only to maintain light texture. Chill at least 2 hours for best set; 1 hour is workable but less firm. Fresh berries should be added just before serving to prevent sogginess. Can substitute dairy-free and gluten-free ingredients as needed.
Nutrition
- Serving Size: 1 cheesecake cup
- Calories: 275
- Sugar: 12
- Sodium: 180
- Fat: 20
- Saturated Fat: 12
- Carbohydrates: 18
- Fiber: 2
- Protein: 4
Keywords: no-bake cheesecake, patriotic dessert, summer dessert, easy cheesecake cups, berry cheesecake, graham cracker crust