“You’ve gotta try this jam,” my neighbor texted me one slow Sunday afternoon, right when I was debating between another round of coffee or just calling it quits on the kitchen experiments. Honestly, I wasn’t expecting much—jam-making always felt a bit intimidating, like a science experiment with a sticky ending. But curiosity got the best of me, and after a little coaxing, I found myself knee-deep in apricot pits and vanilla beans, my kitchen smelling like a cozy little orchard. The first spoonful was a quiet surprise; not too sweet, with this deep, mellow vanilla note that wrapped around the bright apricot flavor like a hug. It stuck with me because it wasn’t just jam—it was a small, homemade treasure that turned a lazy afternoon into something unexpectedly special. That’s the thing about this luscious apricot jam with vanilla bean: it kind of sneaks in, makes you slow down, and tastes like the best parts of summer even when it’s long gone.
There’s something unpretentious about making jam at home, especially this apricot jam recipe. It’s the kind of thing you don’t rush, but once it’s done, it feels like you’ve bottled a little magic. And believe me, I’m not usually one for complicated recipes, but this one became my go-to, especially when I found myself pairing it with everything from morning toast to a quick backdrop for a spontaneous cheese plate. It’s got this silky texture and that gentle vanilla undertone that makes it stand out from your usual fruity spreads. If you ever wondered how to make jam that’s both simple and a bit fancy, this one’s a quiet winner.
Why You’ll Love This Recipe
Having made apricot jam several times, I can say this version with vanilla bean really hits the sweet spot between easy and impressive. What makes it special isn’t just the flavor but the way it comes together so reliably, even if you’re not a seasoned jam-maker.
- Quick & Easy: You’ll have this luscious apricot jam ready in about an hour, making it perfect for those weekends when you want something homemade without an all-day commitment.
- Simple Ingredients: No need for fancy stuff — just ripe apricots, sugar, lemon juice, and that one magical vanilla bean. Most of these are probably already in your pantry or fridge.
- Perfect for Gifting or Brunch: Whether you’re hosting a brunch or need a thoughtful homemade gift, this jam feels special without being fussy.
- Crowd-Pleaser: I’ve had it disappear at gatherings faster than any store-bought jam, especially when paired with a warm buttery biscuit or a slice of your favorite bread.
- Unbelievably Delicious: The vanilla bean adds a subtle depth that makes this jam feel gourmet but still cozy and approachable.
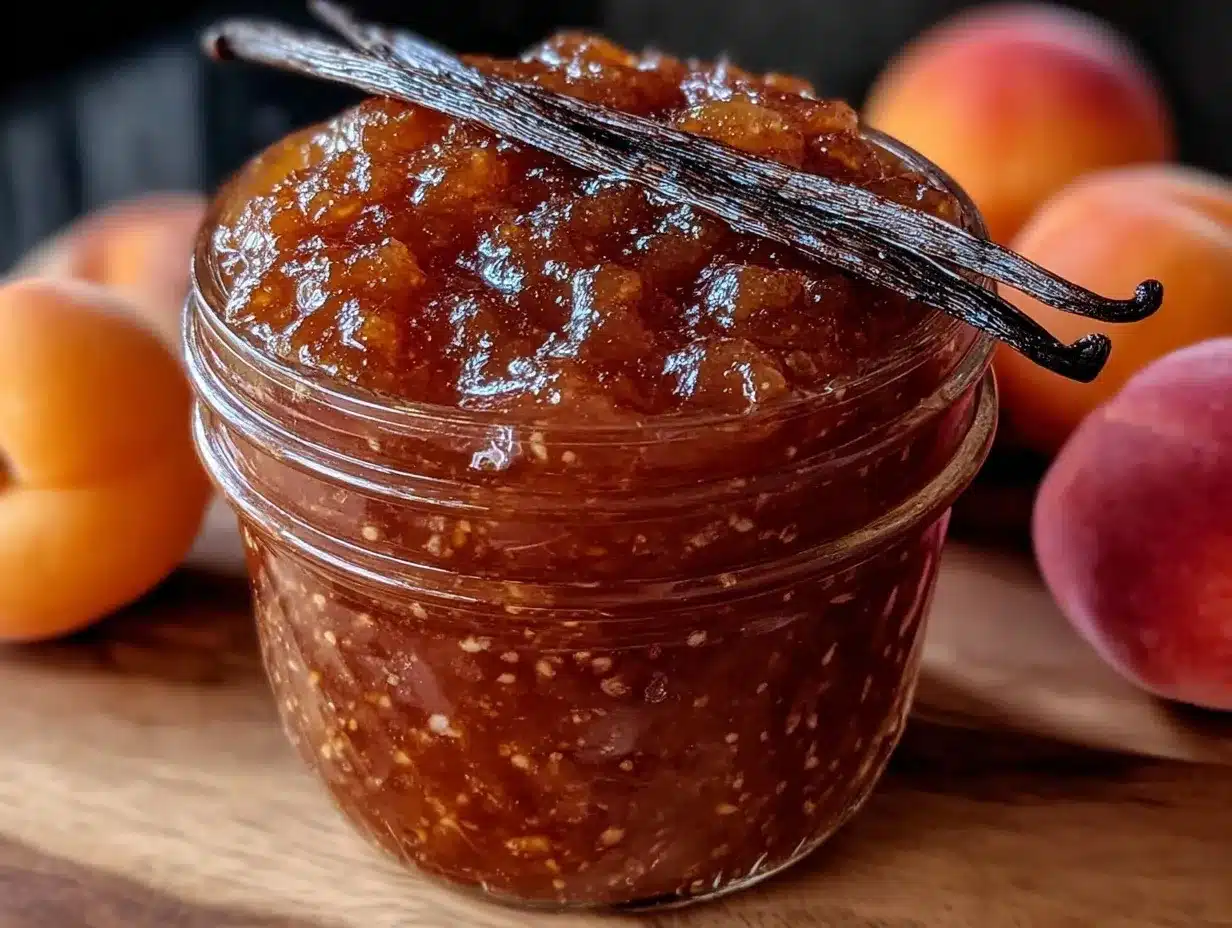
This isn’t just another jar on the shelf. The trick is gently simmering the apricots with that split vanilla bean so the flavor infuses naturally — no extracts or shortcuts here. It’s a texture that’s thick enough to spread but still soft, with a bright tang from fresh lemon juice that keeps it lively. Honestly, it’s the kind of jam that makes you close your eyes after the first bite. If you want a homemade jam with personality and soul, this recipe delivers every time.
What Ingredients You Will Need
This luscious apricot jam recipe keeps things straightforward but thoughtful. Each ingredient plays a clear role in building that balanced flavor and smooth texture. Most are pantry staples, with the vanilla bean adding that little extra something you didn’t know you needed.
- Fresh apricots – About 3 pounds (1.4 kg), ripe but firm (too soft and they’ll get mushy fast)
- Granulated sugar – 4 cups (800 g), adjust slightly if your apricots are very sweet or tart
- Lemon juice – 2 tablespoons (30 ml), freshly squeezed (this brightens and helps with setting)
- Vanilla bean – 1 whole bean, split and seeds scraped (trust me, the whole bean steeped in the jam is worth the effort!)
- Water – ½ cup (120 ml), just enough to keep things from sticking at the start
Pro tip: For the best jam texture, I like to use small-curd apricots – they break down nicely but keep a bit of body. If you don’t have vanilla beans on hand, high-quality vanilla extract can work, but it won’t be quite the same. I recommend brands like Nielsen-Massey if you go that route. Also, if you’re looking to make this gluten-free or paleo, this jam fits right in with no modifications needed.
Equipment Needed
- Large heavy-bottomed pot or Dutch oven: Essential for even heat distribution and preventing burning.
- Wooden spoon or silicone spatula: For stirring without scratching your pot.
- Sharp paring knife: To pit and slice your apricots.
- Measuring cups and spoons: Precision matters when balancing sugar and lemon juice.
- Heatproof jars with lids: For storing your jam safely.
- Optional: A candy thermometer can help if you want to test the jam’s set point, but it’s not a must.
If you don’t have a heavy pot, just stir frequently to avoid scorching. I once tried making this jam in a thin pan, and let’s say the bottom layer definitely added a smoky twist that wasn’t planned! For storage, I find glass mason jars easiest and most reusable. Keeping them clean and sterilized means your jam will stay fresh longer.
Preparation Method
- Prep the apricots (about 15 minutes): Rinse your apricots, then carefully pit and halve them. No need to peel; the skins add a nice color and body to the jam.
- Combine ingredients (5 minutes): In your large pot, add the apricots, sugar, lemon juice, and water. Stir gently to coat the fruit in sugar. Add the split vanilla bean and scrape in the seeds, then toss the pod in as well.
- Let it macerate (about 30 minutes): Allow the mixture to sit at room temperature. This softens the apricots and starts releasing their juices, which helps the cooking process.
- Cook the jam (30-40 minutes): Place the pot over medium heat. Stir frequently, especially as it starts to bubble. You’ll see the mixture thicken and reduce. Watch for the jam to reach a gentle boil, then test for thickness by spooning a little onto a chilled plate – if it wrinkles when pushed, it’s ready.
- Remove vanilla bean pod: Before transferring the jam to jars, fish out the bean pod and discard.
- Jar and cool: Pour the hot jam into sterilized jars, leaving about ¼ inch of headspace. Seal tightly and let cool completely at room temperature. The jam will thicken a bit more as it cools.
Watch the pot carefully as the jam thickens. If the heat is too high, it can burn or become too stiff. Stirring helps avoid hot spots and keeps the vanilla evenly infused. I usually prepare the jam while playing my favorite kitchen playlist — it somehow makes the time fly and the process less like work.
Cooking Tips & Techniques
Making jam can feel a little unpredictable, but a few tricks help keep things on track. First, patience is key. Don’t rush the simmering stage; that’s where the magic happens. The sugar and lemon juice work together to help the jam set and balance the flavor.
Another tip: scrap the vanilla bean seeds right into the pot and toss in the pod itself. It’s like an all-natural flavor bomb. I once tried just vanilla extract, and while it was tasty, the bean adds this subtle complexity that sticks around in every bite.
Beware of overcooking. If your jam gets too thick or dark, it can taste burnt or bitter. If that happens, stirring in a little water and reheating gently can sometimes rescue it. And use a wide, heavy pot to help the liquid evaporate evenly — it makes a big difference.
Finally, don’t skip the lemon juice. It’s not just for acidity but also for pectin activation, which helps the jam get that perfect spreadable texture. Multitasking during jam-making? Try prepping your next breakfast casserole, like the easy cheesy tater tot breakfast casserole, while your jam simmers — two homemade treats in one kitchen session.
Variations & Adaptations
- Spiced apricot jam: Add a pinch of ground cinnamon or cardamom during cooking for a warm, cozy twist.
- Low-sugar option: Reduce sugar by 25% and add a tablespoon of chia seeds for natural thickening.
- Orange vanilla apricot jam: Swap half the lemon juice with fresh orange juice and add a bit of zest for a citrusy lift.
- Vanilla-free version: If you don’t have vanilla beans, stir in a teaspoon of almond extract after cooking for a different but delicious flavor note.
- Quick freezer jam: Skip the cooking; mash apricots with sugar, lemon juice, and vanilla seeds, then freeze in containers for a fresh-tasting jam alternative.
I once tried adding a splash of bourbon during the simmering stage — it gave the jam a subtle warmth that paired wonderfully with cream cheese on crackers. Don’t be afraid to make this jam your own; it’s forgiving and versatile.
Serving & Storage Suggestions
This luscious apricot jam shines best at room temperature, spread thickly on warm toast or swirled into plain yogurt. It’s also a secret weapon for quick desserts — dollop it over vanilla ice cream or spoon into crepes for an easy treat.
For storage, keep your jars in the fridge once opened; they’ll last for about 3 weeks. Unopened, sealed jars can be refrigerated or stored in a cool, dark place for several months. Freezing jam is also an option — just thaw in the fridge overnight before use. Reheating gently on the stove with a splash of water helps if it’s too thick after chilling.
Over time, the flavors deepen, especially the vanilla note. So if you make a batch ahead of a brunch or party, you might find it tastes even better the next day. This jam pairs nicely with savory dishes too — I’ve used it alongside a baked brie or with a savory bacon jam slider for a sweet-savory combo that always gets compliments.
Nutritional Information & Benefits
Per serving (approx. 1 tablespoon):
| Calories | 50 |
|---|---|
| Total Carbohydrates | 13g |
| Sugars | 12g |
| Vitamin C | 10% DV |
| Fiber | 0.5g |
Apricots are a decent source of vitamin A and C, supporting immune health and skin. The lemon juice adds extra antioxidants and helps preserve freshness. While this jam is sugary, making it at home means you control the sweetness and avoid preservatives found in store-bought versions. It’s gluten-free and naturally vegan, fitting into many dietary preferences.
Conclusion
This luscious apricot jam with vanilla bean quickly became a quiet favorite in my kitchen for good reason. It’s approachable, comforting, and just a bit special — the kind of homemade treat that feels like a little celebration in a jar. Whether you’re a jam-making newbie or someone who’s tried a dozen recipes before, this one is worth a shot. Make it yours by tweaking sweetness or spices, and don’t hesitate to pair it with your favorite breads, cheeses, or even alongside a hearty dish like a crispy BBQ bacon tater tot casserole for a sweet-savory balance that’s hard to beat.
Give it a try, and when you do, I’d love to hear how your batch turns out or if you’ve made your own twist. Homemade jam is better when shared — in stories, spoons, and smiles. Here’s to many mornings with a little jar of sunshine close at hand.
FAQs
How long does homemade apricot jam last?
Unopened and properly sealed jars can last up to a year in a cool, dark place. Once opened, store in the fridge and consume within 3 weeks.
Can I use frozen apricots for this jam?
Yes, frozen apricots work fine. Just thaw them completely and drain any excess liquid before cooking.
Do I really need a vanilla bean, or can I use vanilla extract?
A vanilla bean gives a richer, more natural flavor, but good-quality vanilla extract can be used in a pinch. Add it after cooking to preserve flavor.
What if my jam is too runny?
Simmer it a bit longer to reduce excess liquid. Alternatively, stir in a teaspoon of pectin or chia seeds to help thicken.
Is it necessary to sterilize the jars?
Yes, sterilizing jars helps prevent spoilage and extends shelf life. You can boil jars and lids in water or use a dishwasher sanitize cycle.
Pin This Recipe!
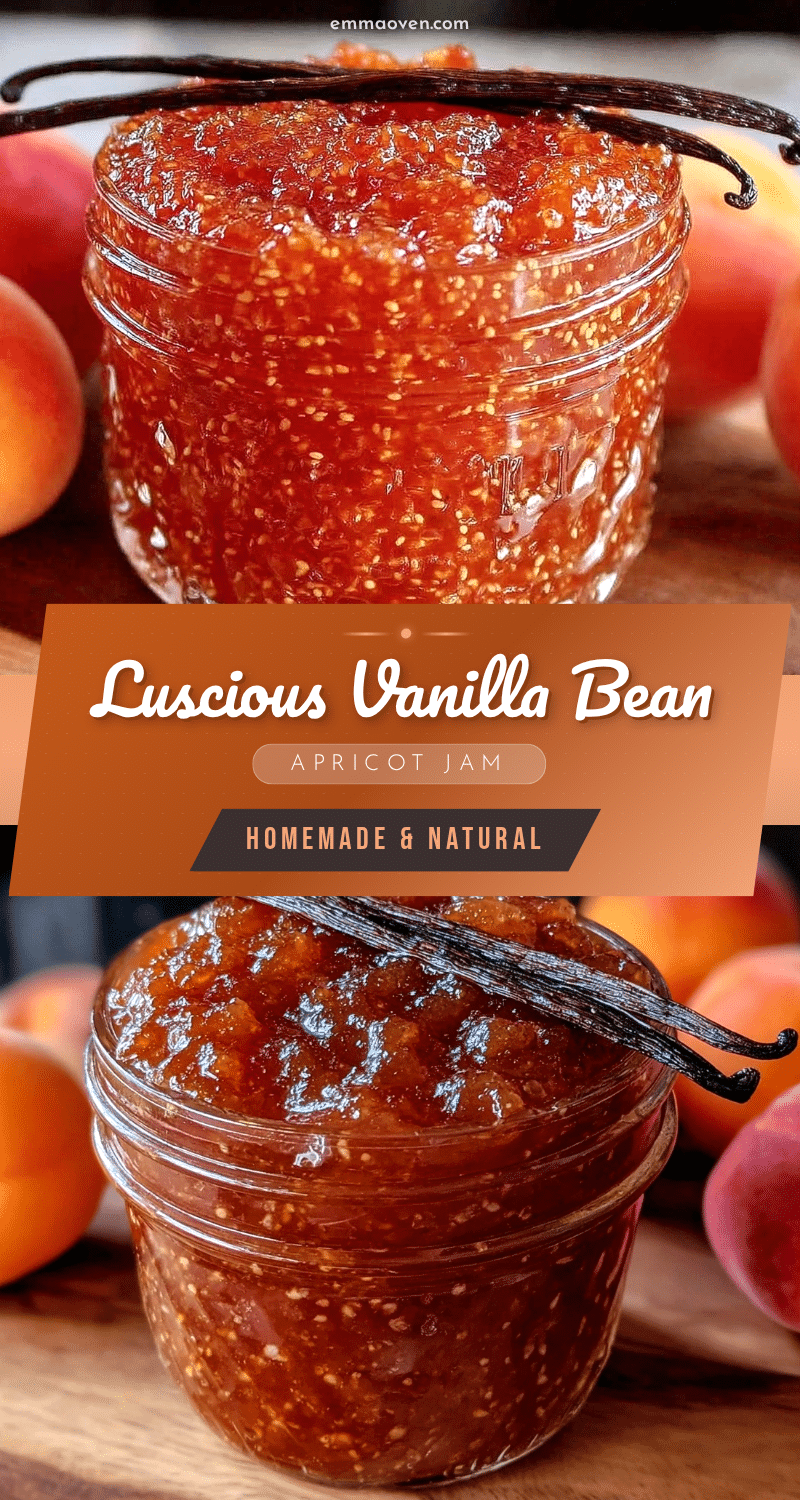
Luscious Apricot Jam Recipe Easy Homemade with Vanilla Bean
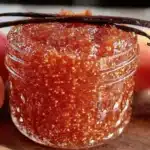
A simple and delicious homemade apricot jam infused with vanilla bean, perfect for spreading on toast or gifting. This jam balances bright apricot flavor with a mellow vanilla undertone for a cozy, gourmet taste.
- Prep Time: 20 minutes
- Cook Time: 35 minutes
- Total Time: 55 minutes
- Yield: About 6 cups (approximately 24 servings of 1 tablespoon each) 1x
- Category: Preserves
- Cuisine: American
Ingredients
- 3 pounds fresh apricots, ripe but firm
- 4 cups granulated sugar
- 2 tablespoons freshly squeezed lemon juice
- 1 whole vanilla bean, split and seeds scraped
- 1/2 cup water
Instructions
- Rinse apricots, pit and halve them; no need to peel.
- In a large pot, combine apricots, sugar, lemon juice, and water. Stir gently to coat the fruit in sugar.
- Add the split vanilla bean and scrape in the seeds, then toss the pod in as well.
- Let the mixture macerate at room temperature for about 30 minutes.
- Place the pot over medium heat and cook the jam for 30-40 minutes, stirring frequently until it thickens and reaches a gentle boil.
- Test thickness by spooning a little jam onto a chilled plate; if it wrinkles when pushed, it is ready.
- Remove and discard the vanilla bean pod.
- Pour the hot jam into sterilized jars, leaving about 1/4 inch headspace. Seal tightly and let cool completely at room temperature.
Notes
Use small-curd apricots for best texture. Vanilla bean adds natural depth; vanilla extract can be substituted but added after cooking. Stir frequently to avoid burning. Sterilize jars before use. Store opened jam in fridge up to 3 weeks; unopened jars last up to a year in a cool, dark place.
Nutrition
- Serving Size: 1 tablespoon
- Calories: 50
- Sugar: 12
- Carbohydrates: 13
- Fiber: 0.5
Keywords: apricot jam, homemade jam, vanilla bean jam, easy jam recipe, fruit preserves, apricot preserves, vanilla apricot jam