It was one of those evenings when I was juggling dinner plans and a last-minute Valentine’s Day get-together. Honestly, I was about ready to settle for ordering pizza (again) when a quick glance at my fridge sparked an idea. I spotted the mini pepperoni slices and some leftover pizza dough I had stashed away. On a whim, I rolled out that dough and cut out a few heart shapes—because, well, why not? What started as a rushed, slightly skeptical experiment turned into a bite-sized hit that vanished faster than I could say “snack time.”
The trick? That perfect balance of crispy edges with gooey cheese and just the right amount of pepperoni punch. I never thought mini pizzas could feel so festive and fun (and yes, a little bit fancy). It was also the first time my picky niece smiled mid-snack, declaring it “the best pizza ever.” Since then, I’ve found myself making these crispy heart-shaped mini pepperoni pizzas on repeat—not just for holidays, but whenever I want a snack that’s easy, satisfying, and a little playful.
There’s something about the simple charm of these tiny pizzas that makes them feel like a little celebration on a plate. Plus, they’re quick enough to pull together when you’re running low on time, but fancy enough to impress without any fuss. I guess that’s why this recipe stuck with me—proof that sometimes the best dishes come from happy accidents and a little creativity.
Why You’ll Love This Recipe
- Quick & Easy: Comes together in under 20 minutes, perfect for busy weeknights or last-minute snack cravings.
- Simple Ingredients: Uses pantry staples and fresh toppings—no complicated shopping trips needed.
- Perfect for Celebrations: Great for Valentine’s Day, kids’ parties, or anytime you want to add a little heart to your meals.
- Crowd-Pleaser: Always a hit with both kids and adults, thanks to that crispy, cheesy goodness and classic pepperoni flavor.
- Unbelievably Delicious: Crispy edges meet melty cheese and pepperoni spice for a snack that hits every note.
- Unique Shape: The heart-shaped cutouts add a playful, personal touch that feels special without extra effort.
This isn’t just another mini pizza recipe—it’s a version I’ve tweaked to get that perfect crisp without drying out the dough. Plus, I use a quick par-bake trick that gives the base a sturdy crunch while keeping the center soft and tender. Whether you’re impressing guests or sneaking a bite between errands, these mini pizzas bring joy with every crispy, cheesy mouthful.
What really seals the deal? The heart shape. It’s an easy way to make any snack feel thoughtful—without much extra work. Honestly, once you try this recipe, you might find yourself making these little hearts all year round.
What Ingredients You Will Need
This recipe uses simple, wholesome ingredients to deliver bold flavor and satisfying texture without the fuss. Most of these are pantry staples, and substitutions are easy if you’re short on time or certain items.
- Pizza dough: Store-bought or homemade (about 1 pound/450g). I prefer a dough that’s not too thick for a crispier crust.
- Olive oil: For brushing the dough edges (adds a lovely golden finish and crisp).
- Tomato sauce: About ½ cup (120ml) of your favorite pizza sauce or marinara. I like Rao’s or Muir Glen for balanced flavor.
- Mozzarella cheese: 1 to 1½ cups (100-150g), shredded or fresh torn (for melty, gooey topping).
- Mini pepperoni slices: 50-60 slices (about 2 ounces/60g). These little guys pack plenty of flavor and crisp up nicely.
- Dried oregano: 1 teaspoon, for a classic Italian touch.
- Garlic powder: Optional, ¼ teaspoon for a subtle kick.
- Fresh basil or parsley: For garnish (adds freshness and color).
Ingredient Tips: If you want a gluten-free version, almond flour crusts or cauliflower crusts work, but they’ll need a different bake time. For dairy-free, swap mozzarella with vegan cheese—you still get great melt and flavor.
Equipment Needed
- Baking sheet: A rimmed baking sheet works best to catch any drips and keep things tidy.
- Heart-shaped cookie cutter: About 2-3 inches (5-7.5 cm) in size. If you don’t have one, a sharp knife and a steady hand will do just fine.
- Rolling pin: For flattening the dough evenly.
- Pastry brush: Useful for brushing olive oil on the dough edges.
- Mixing bowl: To keep your toppings handy.
- Oven mitts and cooling rack: For safe handling and cooling.
Personally, I’ve found a silicone baking mat helpful to prevent sticking and make clean-up a breeze. If you’re on a budget, parchment paper works just as well. The cookie cutter adds charm but can be replaced with a knife if you’re in a pinch.
Preparation Method
- Preheat your oven to 425°F (220°C): This high heat is key for that crisp crust.
- Roll out the pizza dough: Lightly flour your work surface and roll the dough to about ¼ inch (6 mm) thickness. You want it thin enough to get crispy but not so thin it tears easily.
- Cut heart shapes: Using your cookie cutter, press out as many hearts as you can from the dough. Gently gather scraps, re-roll, and repeat until all dough is used.
- Place hearts on baking sheet: Arrange them about 1 inch (2.5 cm) apart to allow for spreading. Brush edges lightly with olive oil to encourage browning and crispiness.
- Par-bake crusts: Bake for 5-7 minutes until just starting to turn golden. This step helps prevent soggy bottoms once toppings go on.
- Remove from oven and add toppings: Spread about 1 teaspoon (5 ml) of tomato sauce on each heart, leaving a small border. Sprinkle cheese evenly, then top with 3-4 mini pepperoni slices. Dust with oregano and garlic powder if using.
- Bake again: Return to oven for 7-9 minutes until cheese is melted, bubbly, and edges are deeply golden. Keep an eye to avoid burning, especially if your oven runs hot.
- Garnish and serve: Let cool for a couple of minutes on a rack, then sprinkle fresh basil or parsley. Serve warm for the best texture and flavor.
If you notice the edges browning too fast, tent the pan loosely with foil halfway through the final bake. Also, if the dough feels sticky when rolling, a quick dust of flour helps without drying the crust.
Cooking Tips & Techniques
Getting that perfect crispy crust with melty cheese is all about timing and temperature. I’ve learned the hard way that skipping the par-bake step leads to soggy mini pizzas—no matter how much cheese you pile on.
Using a high oven temperature is crucial, but don’t forget to keep a close watch in the last few minutes. Ovens can be unpredictable, and those tiny pepperoni edges can go from perfectly crisp to burnt in seconds.
When rolling out dough, try to keep it even in thickness. Uneven dough means some hearts end up chewy while others crisp up too much.
Also, don’t overload toppings. Since these are mini, a little sauce and cheese go a long way. Too much topping weighs down the dough and makes it harder to bake through.
One trick I swear by: use a silicone baking mat or parchment paper to prevent sticking and make cleanup easier. And if you want extra crispiness, a preheated pizza stone or cast-iron skillet can work, but it’s not necessary for the best results.
Variations & Adaptations
- Vegetarian: Swap pepperoni for sliced olives, mushrooms, or roasted red peppers. Add a sprinkle of red pepper flakes for a little heat.
- Gluten-Free: Use a gluten-free pizza dough mix or cauliflower crust. Adjust bake time as needed; these might crisp faster.
- Spicy Kick: Add sliced jalapeños or a drizzle of hot honey after baking for a sweet-heat combo.
- Cheese Swap: Mix mozzarella with provolone or fontina for a richer cheese profile. Vegan cheeses can also melt nicely with the right brands.
- Seasonal Twist: In summer, toss in fresh basil leaves before baking or use sun-dried tomatoes instead of sauce for a concentrated flavor.
I once made these with a batch of homemade spicy sausage instead of pepperoni—it was a game changer, especially for those who like a little extra punch.
Serving & Storage Suggestions
These crispy heart-shaped mini pepperoni pizzas are best served warm straight from the oven, when the cheese is still gooey and the crust is at its crispiest. They make a fantastic appetizer or party snack, paired nicely with a simple side salad or a tangy dipping sauce like ranch or marinara.
To store leftovers, let them cool completely, then place in an airtight container in the refrigerator for up to 3 days. For freezing, wrap each pizza individually in parchment and foil, then store in a freezer bag for up to 2 months.
Reheat in a toaster oven or regular oven at 350°F (175°C) for about 5-7 minutes to bring back the crispiness. Avoid microwaving if you want to keep that crunchy texture—it tends to make the crust soggy.
Over time, the flavors meld nicely, so these mini pizzas can actually taste better the next day once the pepperoni oils and cheese have settled. Just pop them back in the oven before serving.
Nutritional Information & Benefits
Each mini pizza (about 2-3 inches) roughly contains 120-150 calories depending on toppings and dough thickness. They provide a good source of protein from the cheese and pepperoni, along with some calcium and iron.
Using fresh tomato sauce adds lycopene, an antioxidant linked to heart health. If you choose whole wheat or gluten-free dough, you can adjust carbs and fiber to fit your dietary needs.
Keep in mind the pepperoni adds sodium and saturated fat, so these are best enjoyed as an occasional treat within a balanced diet.
From a wellness perspective, this recipe hits a sweet spot: homemade, controllable ingredients, portion-friendly sizes, and the comfort of a beloved classic in a fun, fresh form.
Conclusion
These crispy heart-shaped mini pepperoni pizzas took me by surprise with how quickly they became a favorite snack around here. They’re easy to make, use simple ingredients, and deliver that perfect combo of crunch, cheese, and spice every time. Plus, the heart shape adds a sweet touch that turns any day into a little celebration.
Whether you stick to the classic pepperoni or try one of the fun variations, this recipe invites you to have a little kitchen fun without the fuss. Honestly, I love that it’s quick, satisfying, and just a bit special.
If you give these mini pizzas a try, I’d love to hear how you customize them or what moments they become a part of in your kitchen. Here’s to many crispy, cheesy bites ahead!
Frequently Asked Questions
Can I use frozen pizza dough for this recipe?
Yes, frozen dough works well—just thaw it fully before rolling out. It might be a bit stickier, so a light dusting of flour helps.
What size should the heart shapes be?
About 2-3 inches (5-7.5 cm) wide is ideal. This size bakes evenly and makes for perfect bite-sized snacks.
Can I make these ahead of time?
You can prepare and par-bake the crusts in advance, then top and bake just before serving. Fully baked pizzas reheat well, too.
How do I keep the crust crispy after baking?
Store them in an airtight container at room temperature with a paper towel to absorb moisture. Reheat in the oven to restore crispiness.
What’s the best cheese to use for melting?
Mozzarella is classic for melt and stretch, but blending it with provolone or fontina adds extra flavor and creaminess.
Pin This Recipe!
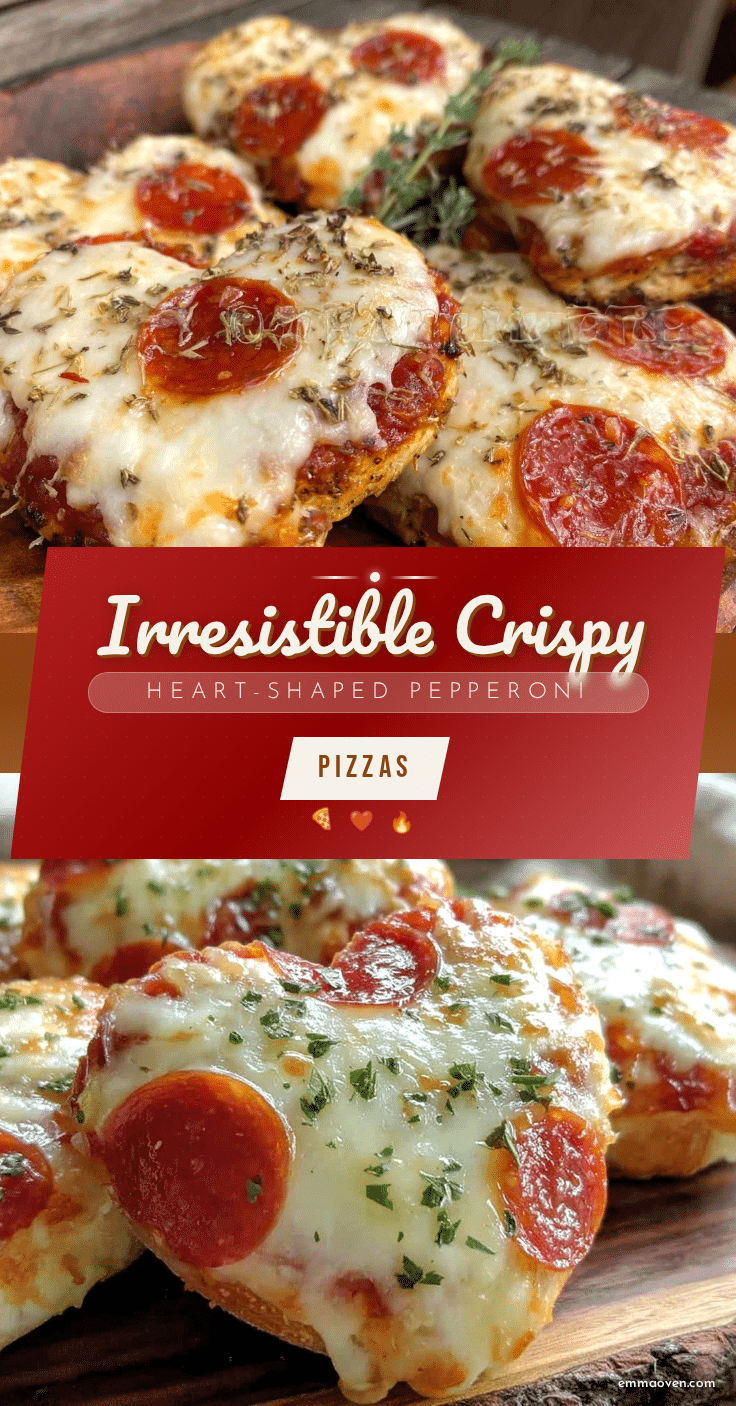
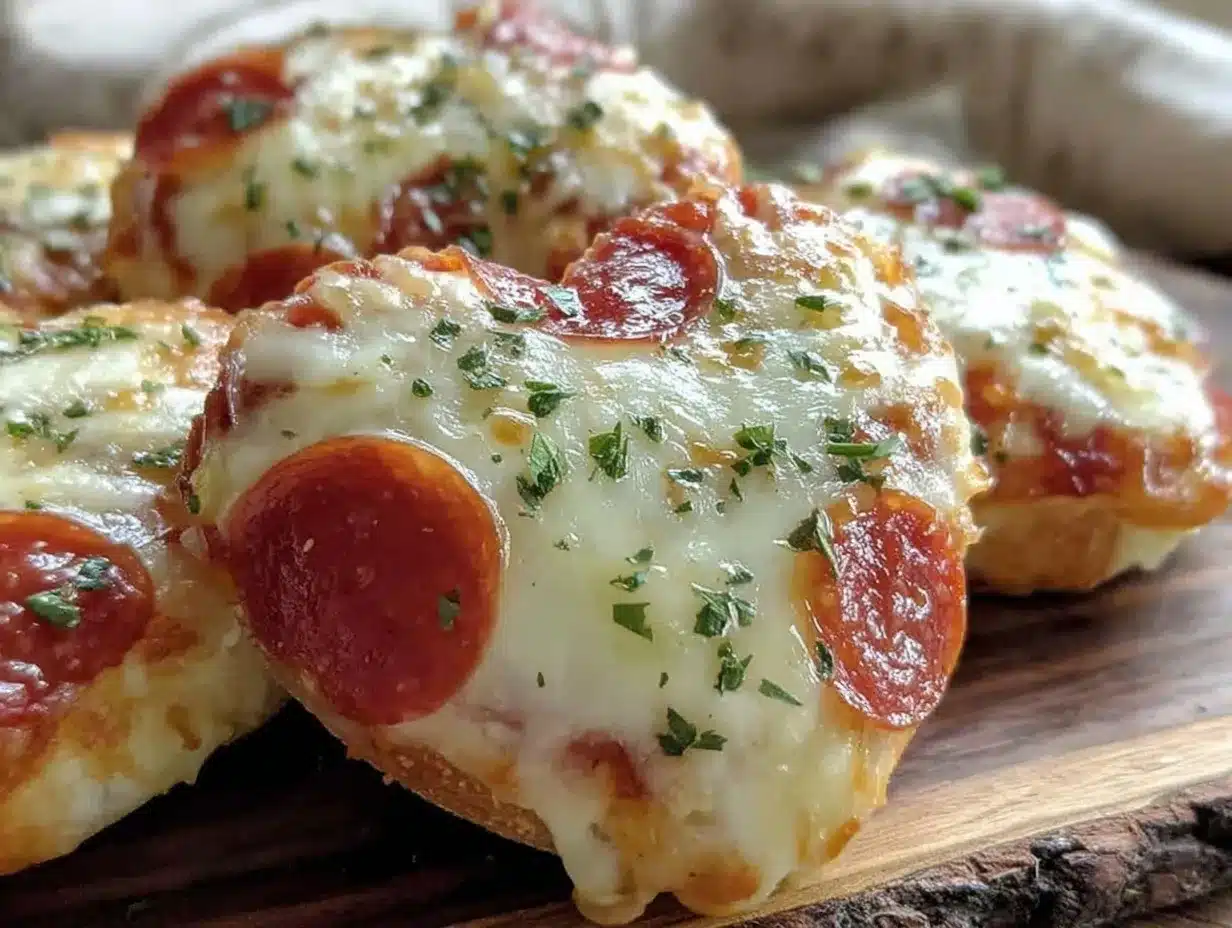
Crispy Heart-Shaped Mini Pepperoni Pizzas

These crispy heart-shaped mini pepperoni pizzas are a quick, easy, and festive snack perfect for celebrations or anytime you want a playful, satisfying bite. They feature a crispy crust, gooey cheese, and flavorful pepperoni in a fun heart shape.
- Prep Time: 10 minutes
- Cook Time: 15 minutes
- Total Time: 25 minutes
- Yield: 12-15 mini pizzas 1x
- Category: Snack
- Cuisine: Italian
Ingredients
- 1 pound (450g) pizza dough, store-bought or homemade
- Olive oil, for brushing dough edges
- ½ cup (120ml) tomato sauce or marinara
- 1 to 1½ cups (100-150g) shredded or torn mozzarella cheese
- 50–60 mini pepperoni slices (about 2 ounces/60g)
- 1 teaspoon dried oregano
- ¼ teaspoon garlic powder (optional)
- Fresh basil or parsley, for garnish
Instructions
- Preheat your oven to 425°F (220°C).
- Lightly flour your work surface and roll the pizza dough to about ¼ inch (6 mm) thickness.
- Cut out heart shapes about 2-3 inches (5-7.5 cm) wide using a cookie cutter or knife.
- Place the heart shapes about 1 inch (2.5 cm) apart on a rimmed baking sheet.
- Brush the edges lightly with olive oil.
- Par-bake the crusts for 5-7 minutes until just starting to turn golden.
- Remove from oven and spread about 1 teaspoon (5 ml) of tomato sauce on each heart, leaving a small border.
- Sprinkle cheese evenly over each, then top with 3-4 mini pepperoni slices.
- Dust with oregano and garlic powder if using.
- Bake again for 7-9 minutes until cheese is melted, bubbly, and edges are deeply golden.
- Let cool for a couple of minutes on a cooling rack.
- Garnish with fresh basil or parsley and serve warm.
Notes
Par-baking the crust is essential to avoid soggy bottoms. Use a silicone baking mat or parchment paper to prevent sticking. Watch closely during the final bake to prevent burning. For gluten-free, use almond or cauliflower crusts with adjusted bake times. For dairy-free, substitute mozzarella with vegan cheese.
Nutrition
- Serving Size: 1 mini pizza (about
- Calories: 135
- Sugar: 2
- Sodium: 280
- Fat: 7
- Saturated Fat: 3
- Carbohydrates: 12
- Fiber: 1
- Protein: 6
Keywords: mini pepperoni pizzas, heart-shaped pizza, quick snack, easy pizza recipe, Valentine's Day snack, crispy mini pizzas, homemade pizza, party appetizer