“You gotta try these fried ravioli!” my coworker blurted out one afternoon, sliding a paper plate across the break room table. I eyed the golden pockets suspiciously—fried pasta? Really? Honestly, I wasn’t sure if it was going to be a soggy mess or some kind of greasy disaster. But that first bite? Crisp shell giving way to warm, cheesy filling, with the tangy marinara balancing everything perfectly—it was a legit game changer. I think I made this recipe three times in the same week after that lunch break. There’s something about the crunchy exterior paired with that gooey cheese inside that just hits differently, you know?
It wasn’t something I grew up eating, but this fried ravioli recipe quickly became my go-to when friends stopped by unannounced or when I needed a break from the usual chips-and-dip routine. The best part? You don’t need to be fancy or spend all day prepping. A handful of pantry staples and a little patience turn these into irresistible appetizers that always disappear fast. Plus, dunking them into a homemade marinara just seals the deal.
Looking back, I realize how this recipe stuck with me because it’s simple, fun, and a little indulgent without being complicated. It’s the kind of appetizer that gets people talking, laughing, and reaching for seconds. So, yeah, I’m here to share this crispy fried ravioli recipe with you—not just because it’s delicious, but because it’s one of those recipes that makes hosting feel easy and a bit more special.
Why You’ll Love This Recipe
This crispy fried ravioli recipe isn’t just another appetizer — it’s the one I keep coming back to, tested and approved after countless batches. Here’s why it’s become a staple in my kitchen:
- Quick & Easy: From freezer to table in under 30 minutes. Perfect for last-minute guests or busy weeknights.
- Simple Ingredients: No hunting down obscure items. Frozen ravioli, basic pantry staples, and a couple of fresh ingredients are all you need.
- Perfect for Parties: Whether it’s casual hangouts or family gatherings, these fried ravioli always get devoured first.
- Crowd-Pleaser: Kids, adults, picky eaters — everyone loves the crispy shell and melty cheese combo.
- Unbelievably Delicious: The contrast of crunchy outside and tender, cheesy inside with that tangy marinara dip is comfort food done right.
What sets this recipe apart? The secret is in the coating technique—using seasoned breadcrumbs ensures every piece crisps up beautifully without absorbing too much oil. Also, making your own marinara dip adds a fresh, zesty note that store-bought versions just can’t match. Honestly, it’s that little homemade touch that turns it from good to memorable.
For those who want a little fun with flavors, I’ve also experimented with swapping in different cheeses or adding herbs to the breadcrumb mix, making it a versatile recipe you can tweak to your liking. This isn’t just fried ravioli; it’s fried ravioli perfected for satisfying snacking and easy entertaining.
What Ingredients You Will Need
This recipe uses simple, wholesome ingredients to deliver bold flavor and satisfying texture without the fuss. Most of these are pantry staples, with just a few fresh additions to make the marinara shine.
- Frozen Cheese Ravioli (about 20 pieces) — I recommend a quality brand like Rana or Stouffer’s for the best texture and filling.
- Vegetable or Canola Oil (for frying) — neutral oils work best for crispiness without overpowering flavors.
For the crispy coating:
- All-purpose Flour (½ cup / 60g) — helps the coating stick.
- Large Eggs (2, beaten) — acts as the glue for the breadcrumbs.
- Italian-seasoned Breadcrumbs (1 ½ cups / 150g) — I prefer panko for extra crunch, seasoned with dried oregano and basil.
- Grated Parmesan Cheese (¼ cup / 25g) — adds savory depth to the coating.
- Salt & Black Pepper — to taste, mixed into the breadcrumbs.
For the marinara dip:
- Canned Crushed Tomatoes (1 cup / 240ml) — look for a good-quality brand like Muir Glen for richer flavor.
- Garlic Cloves (2, minced) — fresh is best for that punch.
- Olive Oil (1 tablespoon) — use extra virgin for fragrant notes.
- Dried Oregano & Basil (1 teaspoon each) — for classic Italian flavor.
- Red Pepper Flakes (optional, pinch) — adds a subtle kick if you like heat.
- Salt & Sugar (to balance acidity) — just a pinch of sugar helps smooth the sauce.
If you want to swap things up, use gluten-free flour and breadcrumbs for a gluten-free option, or swap the cheese ravioli for spinach or mushroom-filled for a vegetarian twist. For the marinara, fresh cherry tomatoes work well in summer.
Equipment Needed
- Deep Fryer or Large Heavy-bottomed Pot: For frying the ravioli. A Dutch oven works great if you don’t have a fryer.
- Slotted Spoon or Spider Strainer: Helps safely remove fried ravioli without excess oil.
- Mixing Bowls: At least three — one for flour, one for beaten eggs, and one for the breadcrumb mixture.
- Paper Towels or Wire Rack: For draining the fried ravioli to keep them crispy.
- Medium Saucepan: For preparing the marinara dip.
Personally, I use a cast-iron skillet for frying because it holds heat well and helps maintain consistent oil temperature. If you’re on a budget, a simple heavy pot will do just fine. Just remember to never overcrowd the pan, or the oil temperature drops and sogginess sets in. Keeping your tools simple and organized makes the whole process smoother, especially when juggling multiple batches.
Preparation Method
- Prepare the dredging stations: In one bowl, place the flour. In a second bowl, beat the eggs until smooth. In a third, combine the Italian-seasoned breadcrumbs, grated Parmesan, salt (about ½ teaspoon), and black pepper (¼ teaspoon). Set aside.
- Thaw the ravioli slightly: Remove frozen ravioli from the freezer and let them sit at room temperature for about 5-7 minutes. This prevents the filling from freezing cold, which can affect frying.
- Coat the ravioli: Working in batches, dredge each ravioli first in flour, shaking off excess, then dip into the beaten eggs, and finally coat thoroughly in the breadcrumb mixture. Press gently to help the crumbs adhere. Place coated ravioli on a plate or tray.
- Heat the oil: Pour about 2 inches (5 cm) of vegetable oil into your fryer or pot. Heat to 350°F (175°C) — use a thermometer to check. Maintaining this temperature is key for crispiness.
- Fry the ravioli: Carefully add a few ravioli at a time to the hot oil, avoiding overcrowding. Fry for about 2-3 minutes, turning occasionally, until golden brown and crispy. The ravioli should float and sizzle actively. Remove with a slotted spoon and place on paper towels or a wire rack to drain.
- Make the marinara dip: While frying, heat olive oil in a saucepan over medium heat. Add minced garlic and sauté for about 1 minute until fragrant. Stir in crushed tomatoes, oregano, basil, salt, sugar, and red pepper flakes if using. Simmer gently for 10-15 minutes, stirring occasionally. Adjust seasoning to taste.
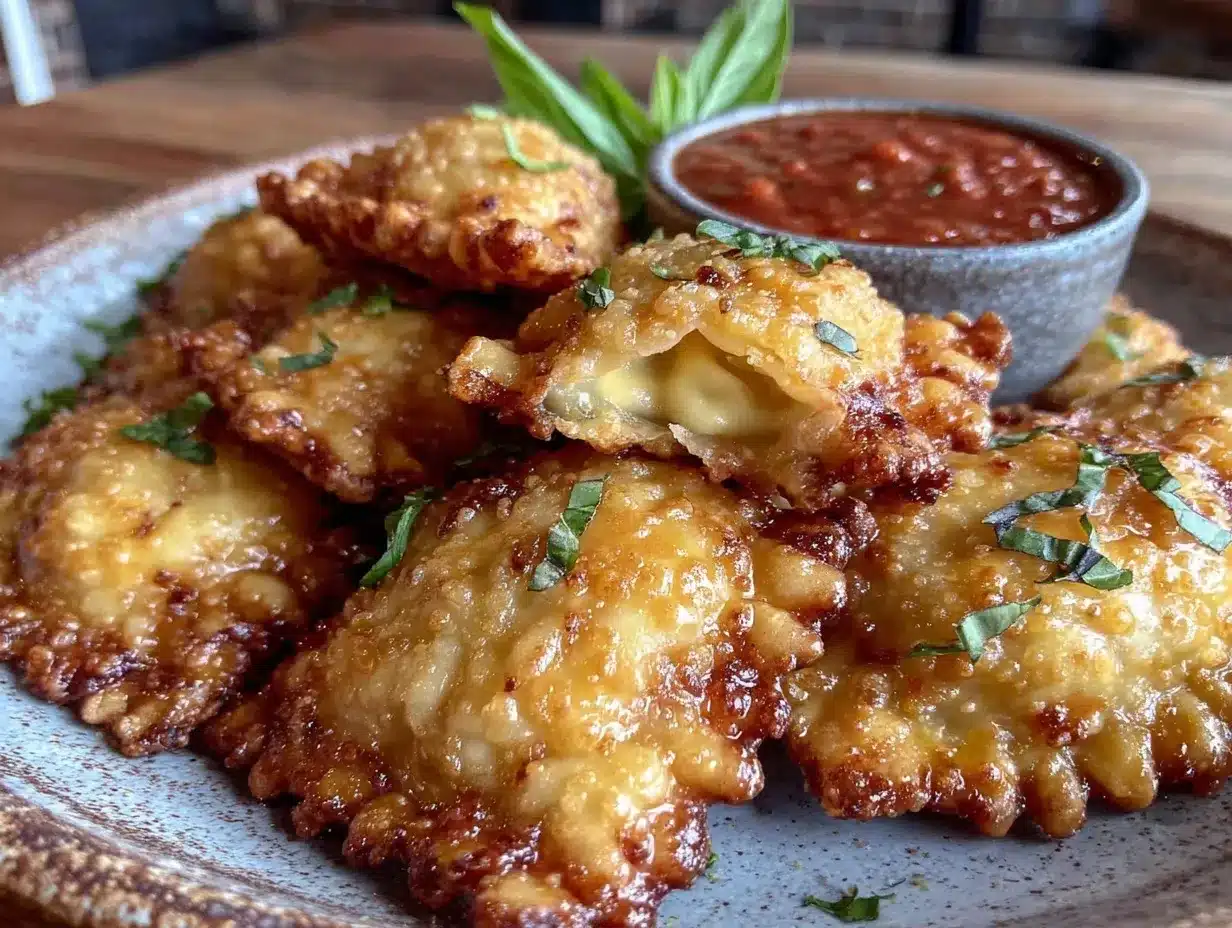
- Serve: Arrange fried ravioli on a platter with a bowl of warm marinara for dipping. Garnish with extra Parmesan or chopped fresh basil if you like.
Tip: Keep cooked ravioli warm in a low oven (200°F / 95°C) on a wire rack while finishing the batch, so they stay crispy. If the oil temperature drops, the coating will soak up too much oil and get greasy.
Cooking Tips & Techniques
One thing I learned the hard way: oil temperature is everything. If it’s too low, you end up with soggy fried ravioli that soak up oil like a sponge. Too hot, and the outside burns before the inside warms through. Using a thermometer is a small investment that makes a big difference.
Using panko breadcrumbs instead of regular ones gives you that extra crunch we all crave. Plus, mixing Parmesan right into the breadcrumbs adds a salty kick that complements the ravioli filling. Don’t skip seasoning the coating—it makes all the difference.
When dredging, make sure to shake off excess flour and egg before coating in breadcrumbs. Too much moisture means the crumbs won’t stick properly or will clump up. Also, don’t rush the frying. Give each batch enough space and time so the oil temperature doesn’t drop.
Another pro tip: if you want to save time, you can bread all ravioli first and freeze them on a tray. Once frozen, transfer to a zip-top bag and fry straight from frozen—just add an extra minute or so to the frying time.
For marinara, letting it simmer gently helps develop a richer flavor, but don’t overcook or you’ll lose the fresh tomato brightness. A pinch of sugar helps balance the acidity, especially if you’re using canned tomatoes.
Variations & Adaptations
- Cheese Variations: Swap the cheese ravioli for spinach and ricotta, mushroom-filled, or even meat ravioli for a heartier appetizer.
- Gluten-Free Option: Use gluten-free all-purpose flour and gluten-free breadcrumbs to make this recipe suitable for gluten-sensitive guests.
- Bake Instead of Fry: For a lighter take, bake the breaded ravioli on a parchment-lined sheet at 425°F (220°C) for 15-20 minutes, flipping halfway, until golden and crisp.
- Spicy Kick: Add cayenne pepper or chili powder to the breadcrumb mixture for a little heat, or serve marinara with extra red pepper flakes on the side.
- Personal Twist: I once added fresh chopped basil and garlic powder to the breadcrumb coating—gave it an herbaceous punch that was a hit at a summer party.
Serving & Storage Suggestions
Serve these crispy fried ravioli hot or warm, straight out of the fryer with plenty of marinara for dipping. They’re perfect finger foods for casual get-togethers or game day snacking. For a fun presentation, I like to sprinkle extra Parmesan and chopped fresh basil over the top before serving.
Pair them with something fresh and crisp like a simple salad or roasted vegetables to balance the fried richness. A chilled glass of sparkling water or a light red wine complements the tomato sauce beautifully.
To store, place leftover fried ravioli in an airtight container lined with paper towels and refrigerate for up to 2 days. Reheat in a 375°F (190°C) oven on a wire rack for about 8 minutes to bring back the crispiness. Avoid microwaving if you want to keep them crunchy.
Marinara can be stored separately in the fridge for up to 5 days and reheated gently on the stove. The flavors actually deepen over time, making it even better the next day.
Nutritional Information & Benefits
Each serving (about 5 fried ravioli) contains approximately 300 calories, 15g fat, 25g carbohydrates, and 10g protein. Key ingredients like the cheese filling provide calcium and protein, while tomatoes in the marinara offer antioxidants like lycopene.
Using vegetable oil for frying keeps the fat profile neutral, and baking is a great alternative for those watching calories. Gluten-free versions make this recipe accessible for those with dietary restrictions.
Honestly, it’s a treat food but balanced with homemade sauce and quality ingredients, it’s a satisfying comfort snack that doesn’t feel like a total cheat.
Conclusion
This crispy fried ravioli recipe is one of those simple pleasures that quickly became a favorite in my kitchen. It’s easy to make, fun to share, and always impresses without much effort. Whether you’re feeding a crowd or just craving a delicious snack, this appetizer hits all the right notes.
Don’t hesitate to play around with different fillings, coatings, or dips—the recipe is forgiving and ready for your personal touch. I love how it brings people together, sparking conversations and smiles over plates of crunchy, cheesy bites.
Give it a try, and I’d love to hear how you make it your own. Drop a comment or share your tweaks—I’m always curious what creative spins you come up with. Here’s to effortless, irresistible appetizers that make any gathering better!
FAQs about Crispy Fried Ravioli
Can I use fresh ravioli instead of frozen?
Yes, but fresh ravioli are more delicate and may need a lighter touch when frying. You might want to freeze them briefly to firm up before breading for better results.
What’s the best oil for frying ravioli?
Neutral oils with high smoke points like vegetable, canola, or peanut oil work best to achieve crispiness without burning.
Can I prepare the breaded ravioli ahead of time?
Absolutely! Bread them all, freeze on a tray, then store in a bag. Fry directly from frozen, adding a minute or two to frying time.
How do I make the marinara sauce less acidic?
A pinch of sugar added during simmering helps balance the acidity. Also, cooking gently rather than boiling ensures smoother flavor.
Is baking a good alternative to frying?
Yes, baking at a high temperature on a wire rack crisps the ravioli with less oil. They won’t be quite as crunchy as fried but still delicious and lighter.
For more snack ideas with a crispy twist, you might enjoy the crispy air fryer jalapeño poppers or the crispy buffalo chicken tater tot casserole—both perfect for your next gathering!
Pin This Recipe!
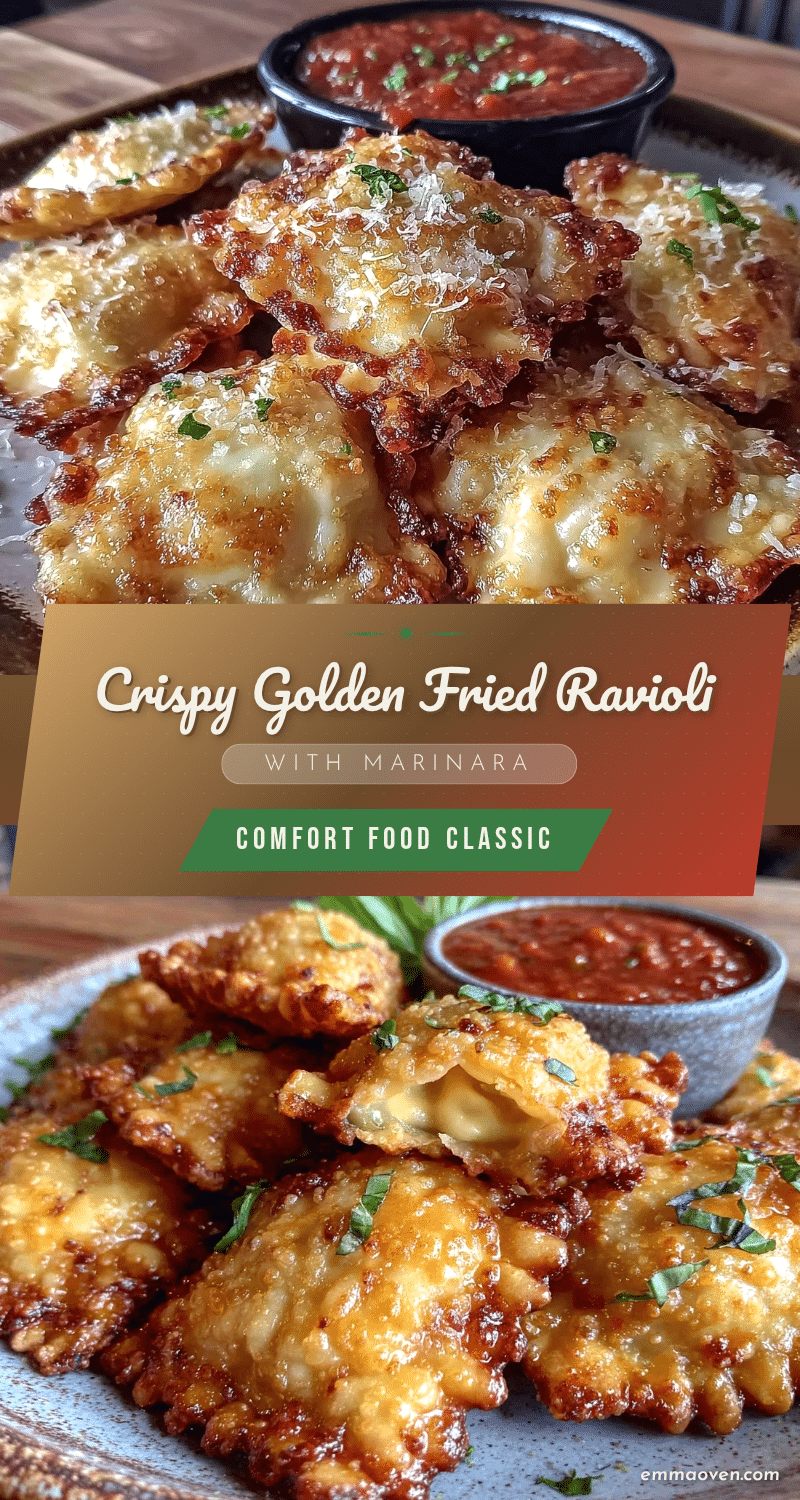
Crispy Fried Ravioli Recipe Easy Homemade Appetizers with Marinara Dip

Crispy fried ravioli with a crunchy coating and gooey cheese filling, served with a tangy homemade marinara dip. A quick and easy appetizer perfect for parties and casual gatherings.
- Prep Time: 10 minutes
- Cook Time: 20 minutes
- Total Time: 30 minutes
- Yield: 4 servings 1x
- Category: Appetizer
- Cuisine: Italian
Ingredients
- About 20 pieces frozen cheese ravioli (recommend Rana or Stouffer’s)
- Vegetable or canola oil for frying (neutral oils preferred)
- ½ cup all-purpose flour (60g)
- 2 large eggs, beaten
- 1 ½ cups Italian-seasoned breadcrumbs (150g), preferably panko with dried oregano and basil
- ¼ cup grated Parmesan cheese (25g)
- Salt and black pepper to taste (about ½ teaspoon salt and ¼ teaspoon black pepper mixed into breadcrumbs)
- For the marinara dip:
- 1 cup canned crushed tomatoes (240ml)
- 2 garlic cloves, minced
- 1 tablespoon extra virgin olive oil
- 1 teaspoon dried oregano
- 1 teaspoon dried basil
- Pinch of red pepper flakes (optional)
- Salt and a pinch of sugar to balance acidity
Instructions
- Prepare dredging stations: place flour in one bowl, beaten eggs in a second bowl, and combine Italian-seasoned breadcrumbs, grated Parmesan, salt, and black pepper in a third bowl.
- Thaw ravioli slightly by letting frozen ravioli sit at room temperature for 5-7 minutes.
- Coat ravioli by dredging each piece first in flour, shaking off excess, then dipping into beaten eggs, and finally coating thoroughly in breadcrumb mixture. Press gently to adhere crumbs. Place coated ravioli on a plate or tray.
- Heat about 2 inches of vegetable oil in a deep fryer or heavy-bottomed pot to 350°F (175°C). Use a thermometer to maintain temperature.
- Fry ravioli in batches, avoiding overcrowding, for 2-3 minutes until golden brown and crispy, turning occasionally. Remove with a slotted spoon and drain on paper towels or wire rack.
- While frying, prepare marinara dip: heat olive oil in a saucepan over medium heat, sauté minced garlic for 1 minute until fragrant. Stir in crushed tomatoes, oregano, basil, salt, sugar, and optional red pepper flakes. Simmer gently for 10-15 minutes, stirring occasionally. Adjust seasoning to taste.
- Serve fried ravioli hot with warm marinara dip. Garnish with extra Parmesan or chopped fresh basil if desired.
Notes
Maintain oil temperature at 350°F to ensure crispiness and avoid sogginess. Use panko breadcrumbs for extra crunch and season the coating well. You can bread ravioli ahead and freeze for frying later. Baking is a lighter alternative: bake at 425°F for 15-20 minutes, flipping halfway. Avoid microwaving leftovers to keep crispiness.
Nutrition
- Serving Size: About 5 fried raviol
- Calories: 300
- Fat: 15
- Carbohydrates: 25
- Protein: 10
Keywords: fried ravioli, crispy ravioli, homemade appetizers, marinara dip, easy appetizer, party food, Italian appetizer