I’m craving something fun, familiar, and a bit nostalgic, but the usual store-bought Lunchables just won’t cut it today. The plastic trays, the mystery meat, the questionable cheese slices—no thanks. So, I decide to make my own version: easy homemade pepperoni pizza Lunchables. The idea is simple, really—a little bit of pizza magic packed into a lunchbox, minus the preservatives and extra junk. I’ve got the pepperoni, mozzarella, mini pita breads, and some quick tomato sauce simmering on the stove. It smells cozy already, like that perfect mix of childhood comfort and grown-up kitchen pride. Honestly, it’s the kind of lunch that makes me smile before I even take a bite.
There’s something quietly satisfying about building your own mini pizzas — stacking pepperoni just right, sprinkling cheese with a little flourish. It’s not just lunch; it’s a tiny project, a way to bring a little joy to the afternoon slump. Plus, knowing exactly what’s inside (and how fresh it is) makes me trust it more than those packaged trays. This recipe stuck with me because it’s simple, fun, and customizable enough for picky eaters or adventurous ones, and it’s perfect for busy days when you want something homemade but hassle-free. So, yeah, it’s basically pizza happiness, but in a lunchbox.
Why You’ll Love This Recipe
This easy homemade pepperoni pizza Lunchables recipe has quickly become a favorite, and here’s why it might just become yours too:
- Quick & Easy: Ready in under 20 minutes, it’s perfect for busy school mornings or a fun weekend lunch without the fuss.
- Simple Ingredients: No need for fancy or hard-to-find items — you probably already have everything in your pantry or fridge.
- Perfect for Kids’ Lunches: Fun to assemble and eat, this recipe transforms lunchtime into a hands-on, engaging experience.
- Crowd-Pleaser: I’ve made this for my nephews and their friends, and it always gets rave reviews (even from the pickiest eaters).
- Unbelievably Delicious: The combo of crispy pepperoni, melty mozzarella, and zesty tomato sauce on soft mini pitas hits all the right notes.
- Customizable: Whether you want to sneak in some veggies or swap pepperoni for turkey slices, it’s easy to adapt.
What sets this recipe apart is the little things — the homemade sauce that’s quick but flavorful, the use of mini pita breads for perfect-sized pizza bases, and the option to warm it up or enjoy it cold. This isn’t just a copy of that store-bought lunch; it’s my best version, a fresh take on a classic that kids and adults alike can enjoy without any guilt. Plus, it’s a great way to get creative with lunches on the fly, much like the fun and easy ideas you’ll find in recipes like crispy pizza quesadillas that are also perfect for quick snacks.
What Ingredients You Will Need
This recipe uses simple, wholesome ingredients to deliver bold flavor and satisfying texture without the fuss. Most of these are pantry staples, and you can easily swap some to fit your family’s tastes or dietary needs.
- Mini Pita Breads — soft yet sturdy enough to hold toppings; whole wheat versions work great for extra fiber.
- Pepperoni Slices — classic pepperoni is ideal, but turkey pepperoni works well for a leaner option.
- Mozzarella Cheese — shredded mozzarella blends perfectly; I prefer part-skim for less grease.
- Tomato Sauce — homemade (recipe below) or your favorite store-bought marinara, just make sure it’s not too watery.
- Olive Oil — a drizzle for brushing the pita crusts to get that nice golden edge.
- Dried Oregano and Basil — these herbs bring out that classic pizza flavor, but feel free to add red pepper flakes for a kick.
- Garlic Powder — a pinch adds depth without overpowering the sauce.
- Optional Veggies — thinly sliced bell peppers or mushrooms if you want to sneak in some extra nutrition.
For the tomato sauce, I use canned crushed tomatoes (San Marzano if I’m feeling fancy) mixed with a bit of olive oil, garlic powder, salt, and dried basil. It’s quick and avoids the overly sweet or salty taste you sometimes get with jarred sauces. If you want a dairy-free option, swap mozzarella for a plant-based cheese — it melts surprisingly well these days!
Equipment Needed
- Mixing bowls — for combining sauce ingredients and tossing toppings.
- Baking sheet or oven-safe tray — to warm the pita pizzas if you want them melty.
- Small saucepan — for simmering the tomato sauce.
- Measuring spoons — to keep seasoning balanced.
- Brush or spoon — to lightly coat the pita breads with olive oil.
- Optional: Pizza cutter or sharp knife — handy for slicing mini pizzas if desired.
If you don’t have a small saucepan, a microwave-safe bowl works for heating the sauce quickly. I’ve also used a toaster oven to warm these up with great results, which is perfect for small batches and saves energy. For spreading olive oil, my trusty silicone pastry brush is budget-friendly and easy to clean, though a spoon works just fine in a pinch.
Preparation Method
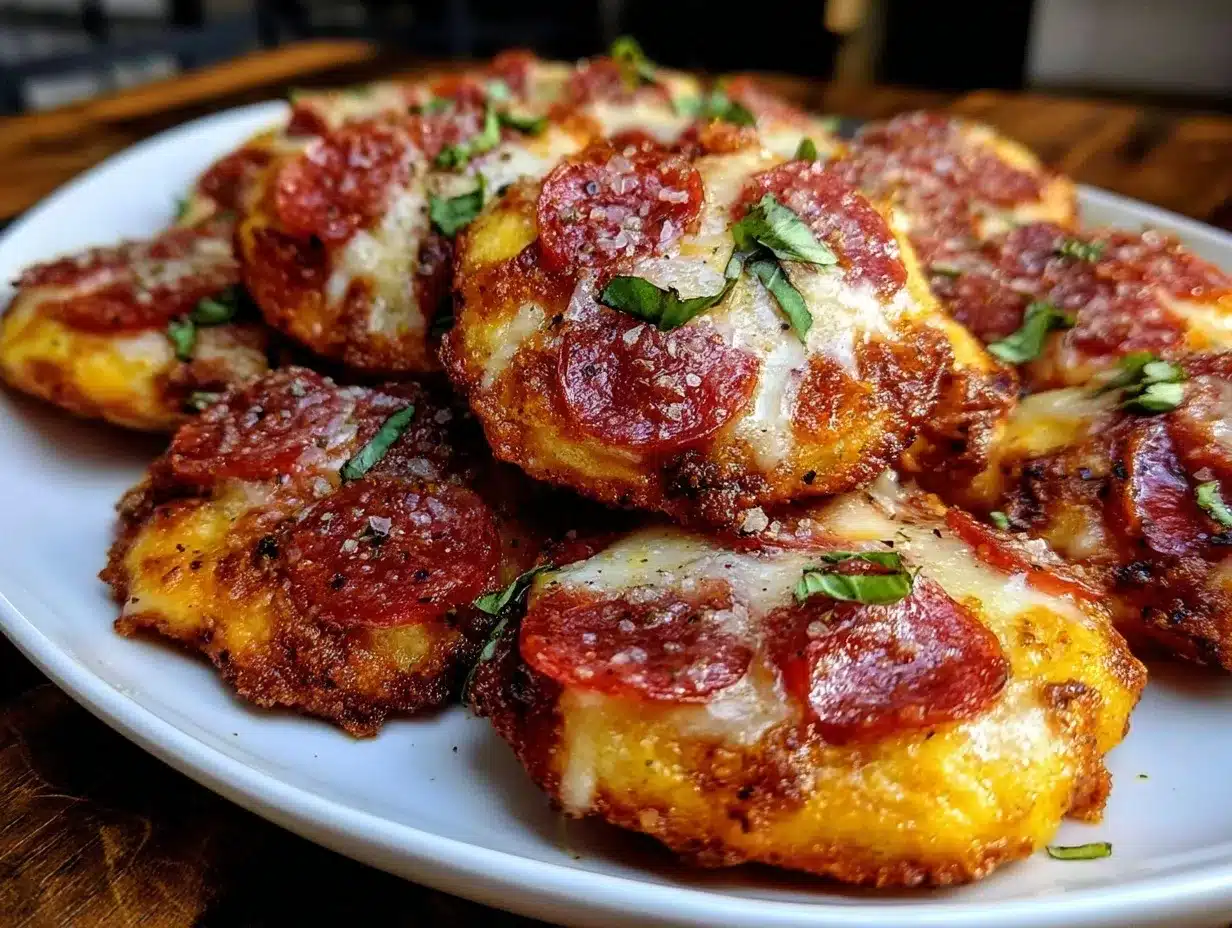
- Prepare the Tomato Sauce: In a small saucepan, combine 1 cup (240 ml) crushed tomatoes, 1 tablespoon olive oil, ½ teaspoon dried basil, ¼ teaspoon garlic powder, and a pinch of salt. Simmer on low heat for about 10 minutes, stirring occasionally, until slightly thickened. This step brings out the flavors and avoids watery pizza bases.
- Preheat the Oven: Set your oven to 375°F (190°C) to get ready for warming the assembled pizzas.
- Prep the Pita Breads: Lay out 4 mini pita breads on a baking sheet. Brush each lightly with olive oil to help them crisp up and develop a golden crust.
- Assemble the Pizzas: Spread about 2 tablespoons of the tomato sauce evenly over each pita. Sprinkle a generous ¼ cup (28 g) shredded mozzarella on top, then layer 8-10 pepperoni slices per pita. If you’re adding veggies, scatter them now.
- Season: Sprinkle a pinch of dried oregano over each pizza for that classic Italian flavor.
- Bake: Place the baking sheet in the oven and bake for 8-10 minutes, or until the cheese is melted and bubbly, and the edges of the pita are crisp.
- Cool & Pack: Let the mini pizzas cool slightly before packing them into lunch containers. If you prefer cold Lunchables, skip the baking and pack as-is with a small container of sauce for dipping.
Pro tip: If the sauce is too watery, let it simmer a bit longer or strain excess liquid before spreading. Also, watch the baking closely after 8 minutes to avoid over-browning. I once left these a minute too long and ended up with a slightly burnt edge, which, while tasty, wasn’t exactly lunchbox-friendly.
Cooking Tips & Techniques
Making these easy homemade pepperoni pizza Lunchables is forgiving, but a few tricks help get them just right every time.
- Use room temperature ingredients: Cheese and sauce spread better when not too cold, which helps with even melting and flavor.
- Don’t overload the toppings: Too much sauce or cheese can make the pita soggy. Less is more for that perfect balance.
- Brush the pita edges: Olive oil on the crust creates a slightly crispy, golden finish — it’s the small touch that makes a big difference.
- Watch the oven closely: Because mini pitas are thin, they bake fast. Keep an eye to avoid burning.
- Try the dipping sauce trick: If you skip baking, pack a small container of warmed sauce for dipping, which kids love.
- Multitask: While the sauce simmers, prep toppings and pita breads to save time.
Learning to balance the moisture and bake time took a couple of tries for me. At first, I used regular sandwich bread that got soggy fast. Switching to mini pita breads was a game-changer, especially because they hold up whether eaten warm or cold. If you’re interested in more quick and delicious kid-friendly meals, you might appreciate the easy cheesy tater tot breakfast casserole that’s a morning hit in my house.
Variations & Adaptations
This recipe’s pretty flexible, so you can easily tweak it based on what you like or have on hand.
- Gluten-Free: Use gluten-free mini pita breads or small gluten-free flatbreads to keep it allergy-friendly.
- Vegetarian: Swap pepperoni for sliced olives, sun-dried tomatoes, or roasted veggies for a meatless version.
- Spicy Twist: Add a dash of crushed red pepper flakes or swap regular pepperoni for spicy chorizo slices.
- Dairy-Free: Use dairy-free mozzarella alternatives and a tomato sauce without added cheese or cream.
- Seasonal Veggies: Throw on some fresh spinach or thinly sliced zucchini for a veggie boost during summer.
Once, I tried adding a layer of ricotta cheese before the mozzarella for a creamier texture — it was a hit, especially with my nephew who’s usually picky about cheese. Also, if you want to change things up entirely, consider making crispy pepperoni pizza quesadillas as a snack or quick meal alternative.
Serving & Storage Suggestions
These mini pepperoni pizza Lunchables shine best warm but are just as fun cold, making them perfect for lunchboxes, picnics, or casual snacks.
- Serving Temperature: Serve warm straight from the oven for melty cheese and crispy edges. If packed cold, include a small container of warm or room temperature marinara for dipping.
- Presentation: Pack the mini pizzas with separate compartments for pepperoni slices, cheese, and veggies, so kids can build their own lunch like a pizza kit.
- Complementary Sides: Add crunchy veggies like carrot sticks or cucumber slices, and a fruit cup to round out the meal.
- Storage: Store leftover mini pizzas in an airtight container in the refrigerator for up to 3 days.
- Reheating: Warm in a toaster oven or conventional oven at 350°F (175°C) for about 5 minutes to revive crispness. Microwave reheating works in a pinch but softens the crust.
- Flavor Development: The sauce flavors meld nicely after a day, so leftovers often taste even better the next day.
Nutritional Information & Benefits
Each serving (approximately 2 mini pizzas) contains roughly 350 calories, with 15 grams of protein and 20 grams of carbs, depending on ingredient brands and portion sizes.
Pepperoni provides a good source of protein and iron, while mozzarella adds calcium and vitamin D. Using whole wheat pita boosts fiber content, aiding digestion. Plus, the tomato sauce offers antioxidants like lycopene, which supports heart health.
This recipe is adaptable for gluten-free and dairy-free diets by swapping ingredients accordingly. Just keep an eye on added sugars or sodium in store-bought sauces if you’re watching intake.
From a wellness perspective, making your own Lunchables at home lets you control quality and portion sizes, which is a small but meaningful step toward healthier daily habits without sacrificing fun and flavor.
Conclusion
Easy homemade pepperoni pizza Lunchables bring that perfect blend of comfort food and hands-on fun to any meal. They make lunch exciting again, whether it’s for kids craving a creative bite or adults who want a quick, satisfying meal without compromise.
Feel free to customize the toppings, swap ingredients, or adjust seasonings to suit your family’s tastes — that’s the beauty of this recipe. Personally, I love how it turns a simple lunch into a little moment of joy, especially on busy days when time is tight but good food is non-negotiable.
If you try this recipe, I’d love to hear how you made it your own. Sharing those fun twists or kid-approved versions always makes my day. Here’s to lunch that’s easy, tasty, and a little bit special.
FAQs
Can I make these pepperoni pizza Lunchables ahead of time?
Absolutely! You can assemble the mini pizzas and store them in the fridge for up to 24 hours before baking or serving cold with dipping sauce.
What’s a good substitute for mini pita bread?
Small flour tortillas, naan bread, or flatbreads cut into rounds work well as alternatives.
Can I freeze the assembled mini pizzas?
Yes, freeze before baking for up to 1 month. Bake straight from frozen, adding a few extra minutes to the cooking time.
Is this recipe suitable for toddlers?
With supervision and suitable portion sizes, yes! Just be sure to cut pepperoni into smaller pieces to avoid choking hazards.
Can I add other meats besides pepperoni?
Definitely! Cooked sausage, ham slices, or turkey pepperoni are great options to mix things up.
Pin This Recipe!
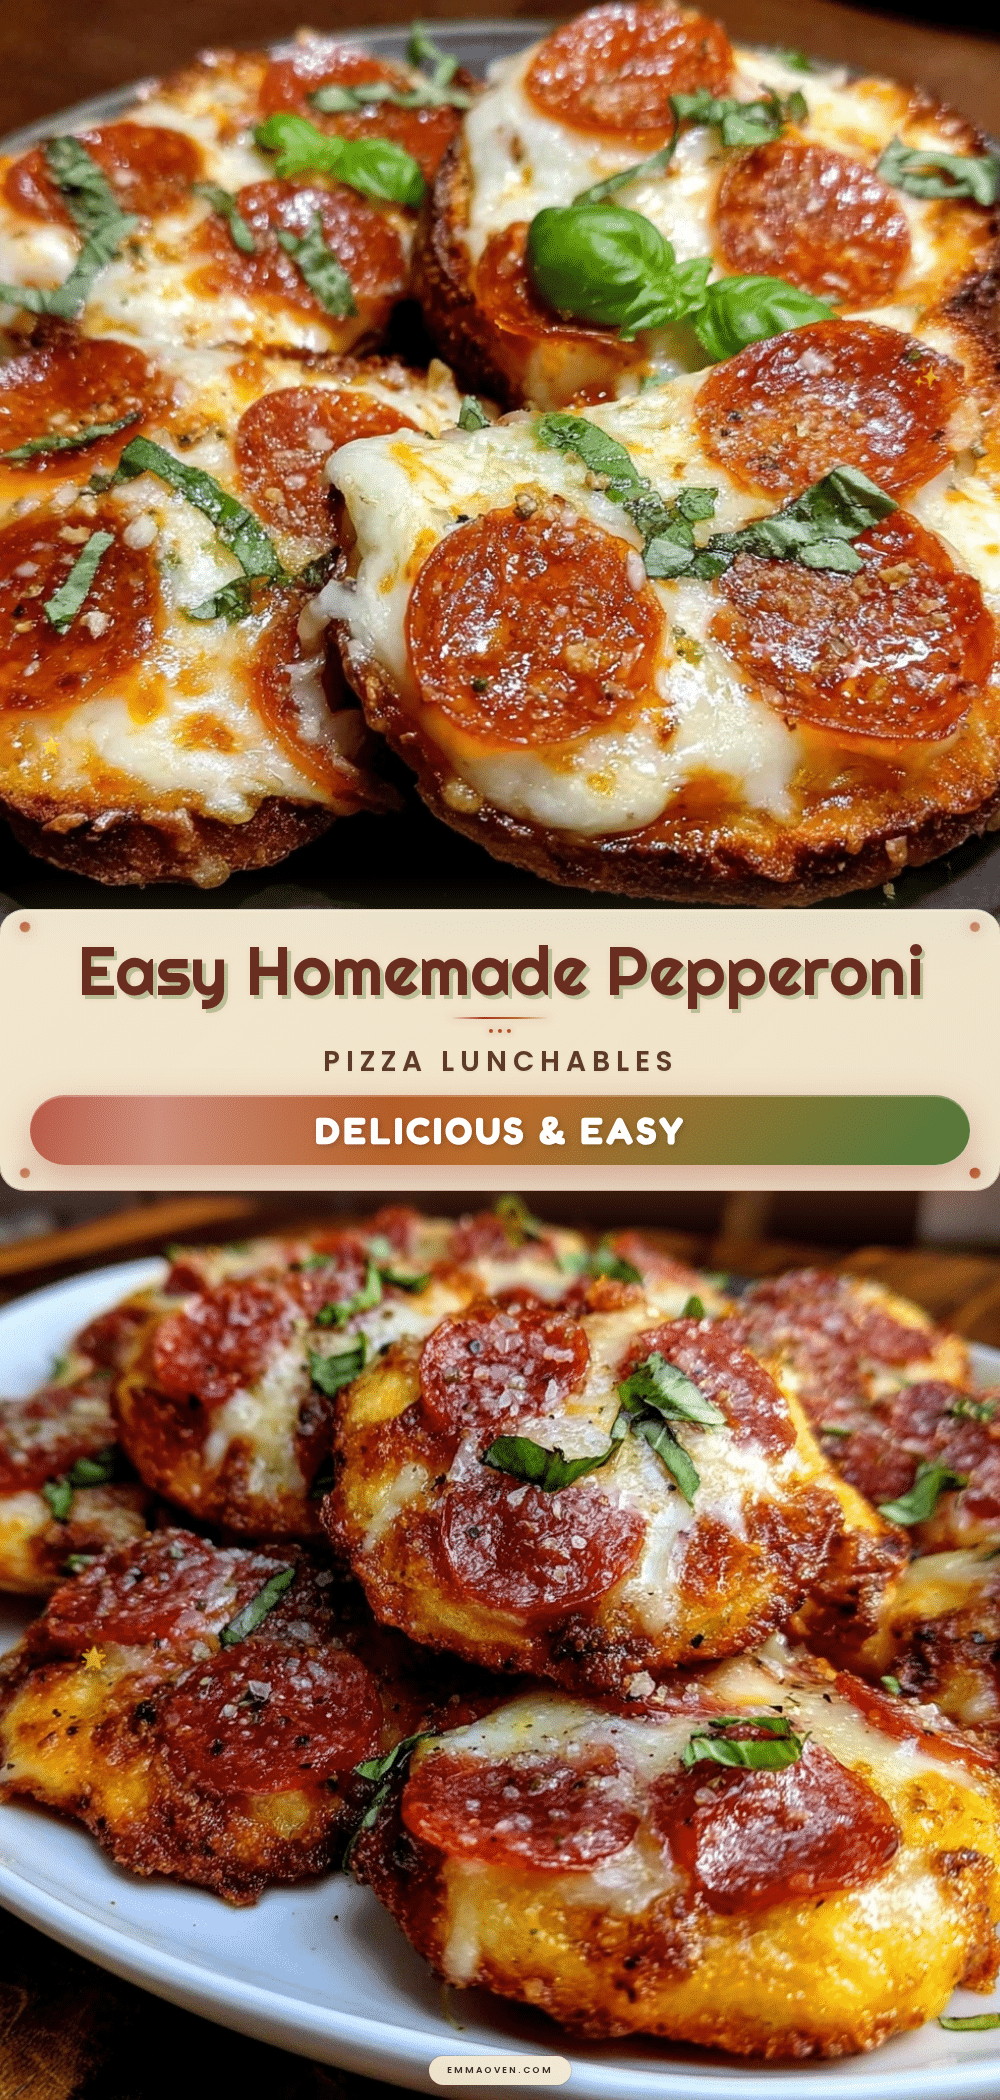
Easy Homemade Pepperoni Pizza Lunchables Recipe for a Fun Kids Meal

A quick and fun homemade version of pepperoni pizza Lunchables, perfect for kids’ lunches or a nostalgic snack. Made with mini pita breads, homemade tomato sauce, mozzarella, and pepperoni, this recipe is customizable and easy to prepare.
- Prep Time: 10 minutes
- Cook Time: 10 minutes
- Total Time: 20 minutes
- Yield: 4 servings (2 mini pizzas per serving) 1x
- Category: Lunch, Snack
- Cuisine: American
Ingredients
- 4 mini pita breads (whole wheat optional)
- 8–10 pepperoni slices per pita (classic or turkey pepperoni)
- 1 cup shredded mozzarella cheese (part-skim preferred)
- 1 cup crushed tomatoes (canned, San Marzano if possible)
- 1 tablespoon olive oil (plus extra for brushing pitas)
- ½ teaspoon dried basil
- ¼ teaspoon garlic powder
- Pinch of salt
- Pinch of dried oregano
- Optional: thinly sliced bell peppers or mushrooms
- Optional: red pepper flakes for spice
Instructions
- Prepare the tomato sauce: In a small saucepan, combine crushed tomatoes, olive oil, dried basil, garlic powder, and salt. Simmer on low heat for about 10 minutes, stirring occasionally, until slightly thickened.
- Preheat the oven to 375°F (190°C).
- Lay out 4 mini pita breads on a baking sheet and brush each lightly with olive oil.
- Spread about 2 tablespoons of the tomato sauce evenly over each pita.
- Sprinkle ¼ cup shredded mozzarella cheese on top of each pita.
- Layer 8-10 pepperoni slices on each pita. Add optional veggies if desired.
- Sprinkle a pinch of dried oregano over each pizza.
- Bake in the oven for 8-10 minutes until cheese is melted and bubbly and pita edges are crisp.
- Let the mini pizzas cool slightly before packing into lunch containers. For cold Lunchables, skip baking and pack with a small container of sauce for dipping.
Notes
Use room temperature ingredients for better melting. Avoid overloading toppings to prevent soggy pita. Brush pita edges with olive oil for a crispy golden finish. Watch oven closely to avoid burning. Sauce can be simmered longer or strained if too watery. Mini pitas hold up well warm or cold. Leftovers store well in the fridge for up to 3 days and reheat best in a toaster or conventional oven.
Nutrition
- Serving Size: 2 mini pizzas
- Calories: 350
- Sugar: 4
- Sodium: 600
- Fat: 18
- Saturated Fat: 7
- Carbohydrates: 20
- Fiber: 3
- Protein: 15
Keywords: pepperoni pizza, homemade Lunchables, kids lunch, mini pizzas, easy pizza recipe, quick lunch, pizza snack