I burned the skin on my first three attempts at making beer can chicken before I finally understood what was going wrong. Honestly, that crispy, juicy, tender chicken that everyone raves about? It took me some trial and error to get it right. The smoke, the aroma of garlic and herbs mingling with the beer vapor—there’s nothing quite like it, but trying to nail that perfect balance was a pain at first. I even thought, at one point, that maybe beer can chicken just wasn’t for me. It was all about timing, heat control, and a rub that actually delivered flavor without drying out the meat.
What changed everything was realizing that the garlic herb rub needed to be just right—not too subtle, not too overpowering—and that the beer can isn’t just a fun gimmick but a crucial part of keeping the chicken moist from the inside out. The first time I got it right, the skin was crackling, the meat on the breast was juicy, and the whole thing tasted like it took hours in a smoker (without the fuss). The scent filling the backyard that day literally stopped people mid-conversation. That’s when I knew this recipe was sticking around.
Beer can chicken can feel intimidating, but it’s really one of those recipes that rewards patience and a bit of know-how. I still remember the moment I cut into that perfectly cooked bird, juices pooling, and thought, “Okay, this is why I kept trying.” It’s a recipe that’s part technique, part magic, and all heart. That’s why I’m sharing my version of Flavorful Loaded Beer Can Chicken with Garlic Herb Rub—because it’s not just about the chicken, but the whole experience of making and sharing it.
At the end of the day, this recipe stuck with me because it’s honest food—bold flavors, simple ingredients, and a method that anyone can master with a little patience. It’s the kind of dish that makes you slow down, savor the moment, and maybe even dream about your next cookout.
Why You’ll Love This Flavorful Loaded Beer Can Chicken with Garlic Herb Rub
This beer can chicken recipe isn’t your average backyard bird. Trust me, after fumbling through my early attempts, this version nails the juicy, flavorful, and crispy skin trifecta every single time. Here’s why it’s a keeper:
- Quick & Easy: While it looks fancy, it comes together in under 20 minutes of prep, and then you just let the grill work its magic.
- Simple Ingredients: No need for exotic spices or hard-to-find items—just pantry staples and a cold can of your favorite beer.
- Perfect for Gatherings: Whether it’s a weekend barbecue or a casual family dinner, this chicken always impresses without stressing you out.
- Crowd-Pleaser: Kids and adults alike love the crispy skin and garlicky herb punch—it disappears fast.
- Unbelievably Delicious: The garlic herb rub seeps deep into the meat, and the beer keeps it moist, creating that melt-in-your-mouth texture.
What sets this recipe apart is the garlic herb rub—a blend I tweaked over many cooks to get the right balance of fresh herbs, savory garlic, and a pinch of heat that doesn’t overpower. Plus, the technique of using a loaded beer can (sometimes I add aromatics like onion or lemon inside the can) keeps the chicken incredibly juicy. This isn’t just another beer can chicken recipe—it’s the one I turn to when I want the best version without fussing over complex steps or specialty equipment.
Honestly, this beer can chicken is the kind of food that makes you close your eyes after the first bite and just savor the moment. It’s comfort food with a little twist, perfect for those times when you want something hearty but still feel like you’re treating yourself. And if you’re into game day snacks, this pairs beautifully with dishes like the crispy buffalo chicken tater tot casserole or the creamy buffalo chicken 7-layer dip for a spread that’ll have your guests raving.
What Ingredients You Will Need
This recipe uses straightforward, wholesome ingredients that work together to create bold flavor and a juicy, tender result without fuss. Most of these are probably already in your kitchen, making this a great go-to for last-minute cookouts or weeknight dinners.
- Whole chicken (about 4-5 lbs / 1.8-2.3 kg): Fresh or thawed, with skin on for that crispiness.
- Beer can (12 oz / 355 ml): Your favorite pale lager or ale works best—it’s about the moisture and subtle flavor, not the booze.
- Garlic herb rub:
- 4 cloves garlic, minced (adds that punch of garlicky goodness)
- 2 tbsp olive oil (helps the rub stick and adds richness)
- 1 tbsp fresh rosemary, finely chopped (fresh herbs make all the difference)
- 1 tbsp fresh thyme leaves
- 1 tsp smoked paprika (gives a gentle smoky warmth)
- 1 tsp kosher salt (key for flavor and crisp skin)
- ½ tsp black pepper, freshly ground
- ½ tsp onion powder
- ¼ tsp cayenne pepper (optional, for a subtle heat)
- Lemon wedges (optional): For serving and a bright citrus lift.
- Additional aromatics to load the can (optional): like a couple of garlic cloves, halved onion, or fresh herbs placed inside the beer can for extra flavor infusion.
For best results, I recommend using a good quality olive oil and fresh herbs—store-bought dried herbs just don’t deliver the same freshness. If you want a gluten-free twist, make sure your beer is gluten-free or swap with sparkling water and a dash of lemon juice inside the can. If you don’t have fresh herbs, substitute with 1 tsp each of dried rosemary and thyme, but fresh is where the magic happens.
Equipment Needed
- Grill: Charcoal or gas grill works fine. I prefer charcoal for that slight smoky flavor, but gas is great for control and convenience.
- Beer can chicken holder or roasting stand: Optional but helpful for stability. You can also use a sturdy empty coffee can or a vertical poultry roaster.
- Meat thermometer: Absolutely essential to avoid overcooking (get one with a probe for ease).
- Basting brush: For applying the garlic herb rub evenly.
- Tongs and heat-resistant gloves: For safe handling of the hot chicken and grill.
- Cutting board and sharp knife: For prepping and carving the chicken after cooking.
If you’re on a budget or don’t want to buy a dedicated beer can chicken stand, a clean, empty can of coffee or soup can work as a makeshift stand. Just be sure to remove the label to avoid any toxic fumes. Also, keep your meat thermometer handy; it’s the one tool that saved me from many dry chickens (trust me, it’s worth the investment).
Preparation Method
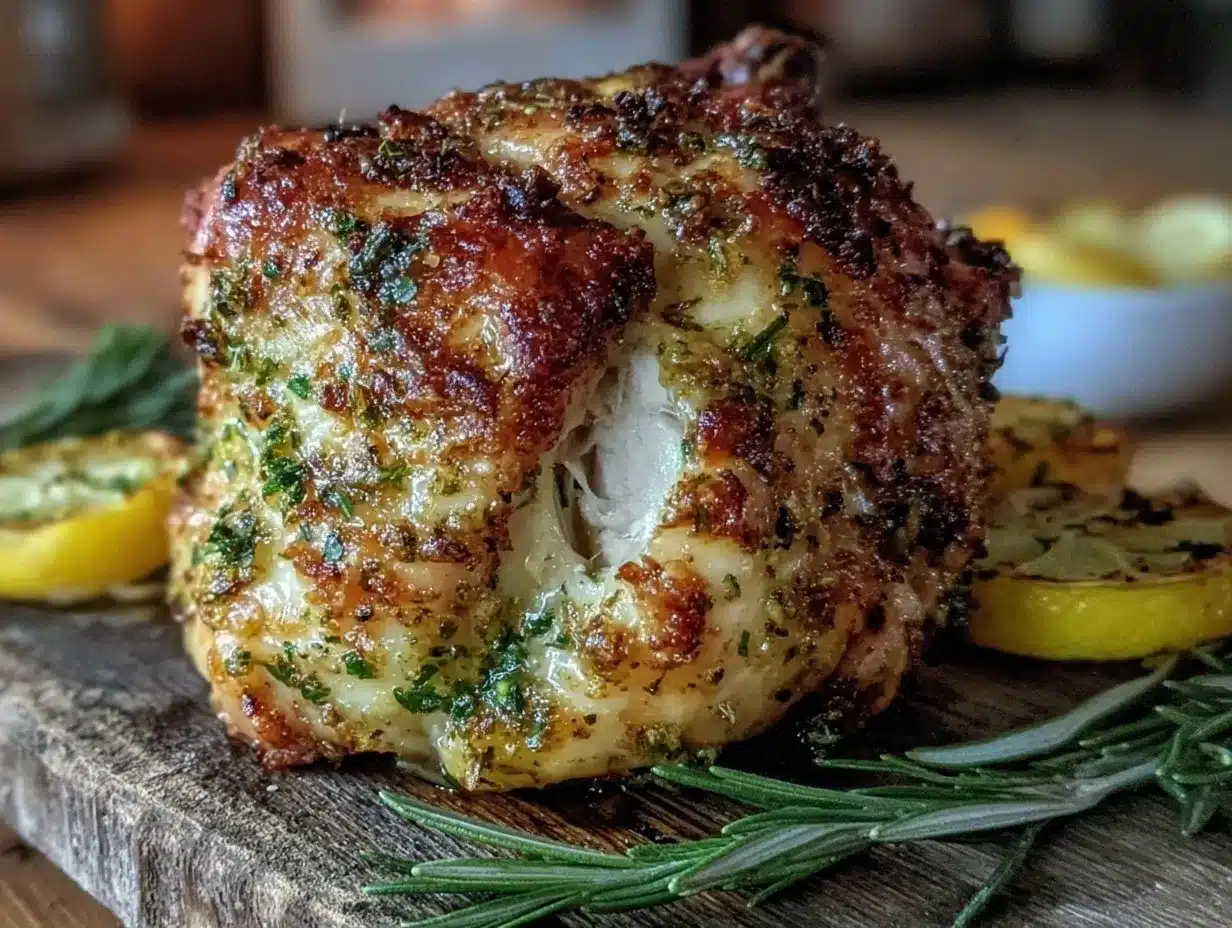
- Prepare the chicken (10 minutes): Remove giblets and pat the chicken dry inside and out with paper towels. This step is crucial for crispy skin.
- Make the garlic herb rub (5 minutes): In a small bowl, combine minced garlic, olive oil, chopped rosemary, thyme, smoked paprika, kosher salt, black pepper, onion powder, and cayenne if using. Mix well until it forms a slightly thick paste.
- Apply the rub (5 minutes): Rub the mixture all over the chicken, getting under the skin where possible, especially over the breast and thighs. Don’t skip under the skin—it’s where the magic happens for moist, flavorful meat.
- Prepare the beer can (2 minutes): Open the beer and pour out (or drink!) about a quarter of it. Optional: add garlic cloves, onion halves, or fresh herbs inside the can for extra aroma. Place the can on your beer can chicken holder or sturdy surface.
- Mount the chicken (2 minutes): Carefully lower the chicken onto the beer can so the can fits into the cavity and the chicken stands upright on the grill.
- Preheat the grill (10 minutes): Set up your grill for indirect heat aiming for a temperature of 350°F (175°C). If using charcoal, bank coals to one side; if gas, turn off the direct burners beneath the chicken but keep others on.
- Grill the chicken (1-1.5 hours): Place the chicken upright on the cooler side of the grill. Close the lid and cook until the internal temperature reaches 165°F (74°C) at the thickest part of the breast (use a meat thermometer). Check after 60 minutes, then every 10 minutes as it nears doneness.
- Monitor and baste (optional): If you like, baste the chicken every 20-30 minutes with leftover rub or olive oil to keep the skin moist and flavorful. Just be quick to avoid heat loss.
- Rest the chicken (10 minutes): When done, carefully remove the chicken and beer can (watch out for hot steam!) and let rest on a cutting board tented with foil. Resting lets the juices redistribute for juicy meat.
- Carve and serve: Carve the chicken as you like and serve with lemon wedges on the side for a bright pop of flavor.
Pro tip: If your grill tends to run hot, place a drip pan under the chicken to catch fat drippings and avoid flare-ups. The scent of garlic and herbs roasting with the beer vapor is a dead giveaway that you’re about to enjoy something special.
Cooking Tips & Techniques
One thing I learned the hard way is that patience is everything. Don’t be tempted to crank the heat to speed things up—that’s how I burnt the skin early on. Keeping your grill at a steady 350°F (175°C) ensures even cooking and that golden skin.
Using a probe thermometer is a game-changer. Insert it into the thickest part of the breast without touching bone to get the true temperature. Overcooking dries out the breast, so pull it off right at 165°F (74°C).
The garlic herb rub isn’t just seasoning—it also helps the skin crisp up nicely because of the oil and salt content. Don’t skimp on rubbing it under the skin; it infuses flavor deep into the meat.
Another tip: if your chicken starts to brown too fast, tent it loosely with foil to prevent burning but keep cooking. And always let the chicken rest before carving—that’s when the juices settle and the meat stays juicy.
If you want to get adventurous, you can experiment with different beers for subtle flavor changes—think hoppy IPAs versus malty amber ales. But for consistent results, a mild lager or pilsner is your best bet.
Variations & Adaptations
This recipe is flexible enough to customize for various tastes and dietary needs. Here are a few ideas I’ve tried or recommend:
- Spicy Kick: Add 1 tsp cayenne or chipotle powder to the rub for a smoky heat that pairs beautifully with the garlic herb base.
- Herb Swap: Use fresh oregano and parsley instead of rosemary and thyme for a brighter, Italian-inspired take.
- Gluten-Free Option: Stick with gluten-free beer or swap the beer can for a vertical roaster with water and aromatics inside to keep moisture.
- Oven-Baked Version: If you don’t have a grill, you can roast the chicken upright on a beer can in a 375°F (190°C) oven for about 1 hour and 15 minutes.
- Added Flavor: Stuff the cavity with lemon wedges, garlic cloves, and fresh herbs for an aromatic boost.
Personally, I’ve had great results adding a honey glaze in the last 15 minutes for a sticky-sweet finish that’s a crowd favorite. It’s a fun twist that pairs well with the savory rub. Also, if you’re a fan of smoky flavors, try finishing the chicken over wood chips for 10-15 minutes on the grill.
Serving & Storage Suggestions
This beer can chicken is best served hot off the grill, skin crispy, and meat juicy. I like to carve it into quarters and serve with lemon wedges to brighten the rich flavors. It pairs well with simple sides like grilled veggies, corn on the cob, or a fresh salad.
Leftovers store well in the fridge for up to 3 days. Keep the chicken in an airtight container and reheat gently in the oven at 300°F (150°C) covered with foil to avoid drying out. Alternatively, shred the meat for sandwiches or toss into salads.
The flavors actually deepen after a day or two, making great use of any leftovers. You can even reheat pieces in a skillet with a little olive oil to revive the crispy skin.
For a casual meal, pair the chicken with something like the easy cheesy tater tot breakfast casserole to keep the comfort food vibes going strong.
Nutritional Information & Benefits
One serving (about 1/4 chicken) provides approximately:
| Calories | 450-500 kcal |
|---|---|
| Protein | 45 g |
| Fat | 30 g |
| Carbohydrates | 2-3 g |
This recipe is rich in protein and healthy fats, especially if you use olive oil in the rub. Garlic and fresh herbs add antioxidants and anti-inflammatory benefits. Using a whole chicken means you can enjoy a range of nutrients from dark and white meat.
While the beer adds moisture and subtle flavor, the alcohol mostly cooks off, making it safe for most diets. For gluten-sensitive eaters, choosing gluten-free beer or alternatives is a good idea. This recipe fits well into low-carb and paleo-friendly diets when served with veggie sides.
Conclusion
This Flavorful Loaded Beer Can Chicken with Garlic Herb Rub is one of those recipes that feels like a weekend celebration every time you make it. It’s approachable, full of honest flavor, and delivers that perfect juicy, crispy combo we all crave. There’s room to tweak it to your taste, whether you want more heat, a different herb profile, or a quick oven version.
I love this recipe because it reminds me that sometimes the best dishes come from persistence and learning from mistakes. The smell, the sizzle, the shared laughter around the grill—it’s all part of why this chicken means so much to me. I hope it becomes a go-to for you as well.
If you try it, I’d love to hear how it turns out or what variations you come up with. Sharing recipes and stories like this one is what makes cooking fun and personal. So grab your beer can, fire up the grill, and enjoy the process. You won’t regret it.
Frequently Asked Questions
Can I use a different kind of beer for this recipe?
Absolutely! A mild lager or pilsner works best for subtle flavor, but you can experiment with ales or IPAs. Just remember that stronger-flavored beers will impart a stronger taste.
What if I don’t have a grill? Can I make beer can chicken in the oven?
Yes, you can roast the chicken upright on the beer can in a 375°F (190°C) oven for about 1 hour and 15 minutes. Make sure to monitor the internal temperature to avoid drying out.
Is the beer can reusable for cooking?
It’s best to use a new, unopened can each time for safety and hygiene. Do not reuse beer cans once opened for cooking.
How do I know when the chicken is done?
The best way is to use a meat thermometer. The internal temperature should reach 165°F (74°C) in the thickest part of the breast without touching bone.
Can I prepare the garlic herb rub ahead of time?
Yes, you can make the rub up to a day ahead and store it covered in the fridge. Just bring it to room temperature before rubbing it onto the chicken for easier spreading.
Pin This Recipe!
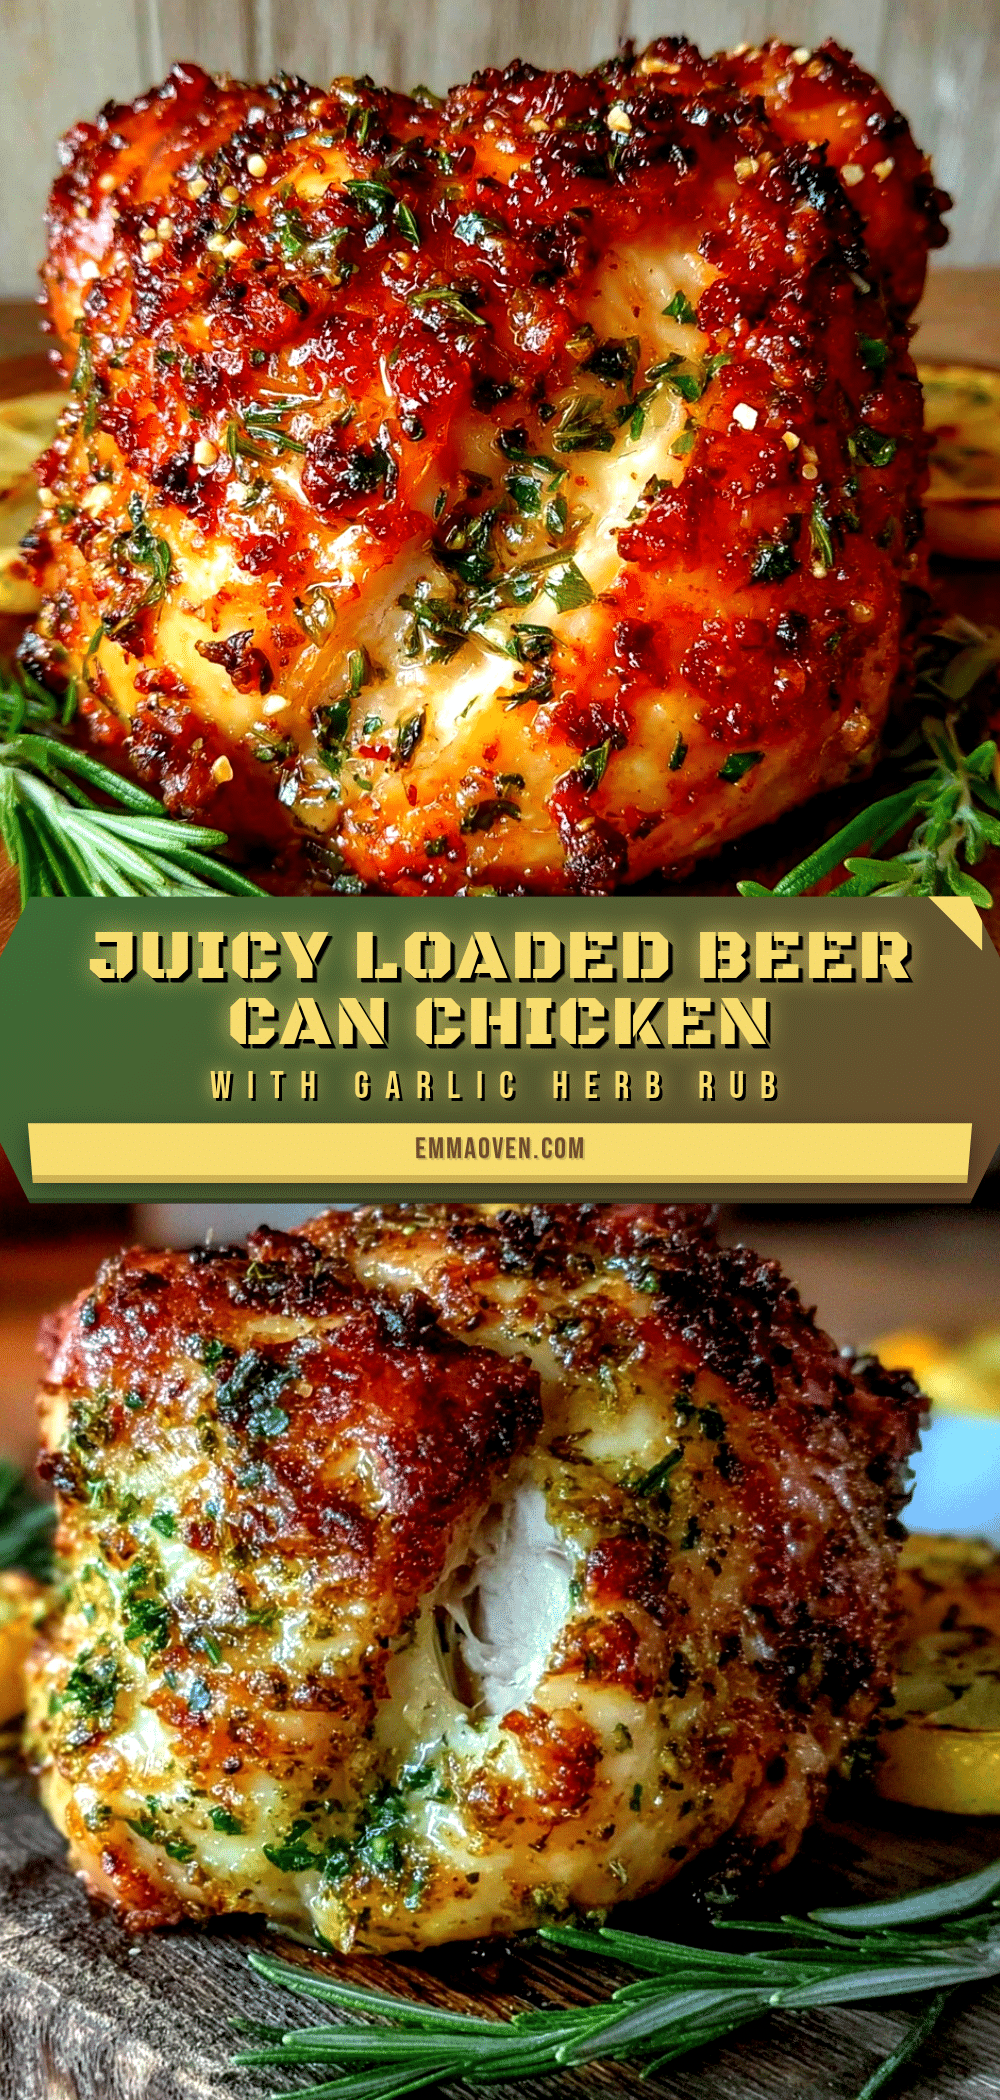
Flavorful Loaded Beer Can Chicken Recipe with Garlic Herb Rub Easy and Perfect

A juicy, tender, and crispy beer can chicken infused with a garlic herb rub and subtle beer vapor flavor. Perfect for gatherings and easy to master with simple ingredients.
- Prep Time: 20 minutes
- Cook Time: 1 hour 15 minutes
- Total Time: 1 hour 35 minutes
- Yield: 4 servings 1x
- Category: Main Course
- Cuisine: American
Ingredients
- 1 whole chicken (about 4–5 lbs / 1.8–2.3 kg), fresh or thawed, skin on
- 1 beer can (12 oz / 355 ml) pale lager or ale
- 4 cloves garlic, minced
- 2 tbsp olive oil
- 1 tbsp fresh rosemary, finely chopped
- 1 tbsp fresh thyme leaves
- 1 tsp smoked paprika
- 1 tsp kosher salt
- ½ tsp black pepper, freshly ground
- ½ tsp onion powder
- ¼ tsp cayenne pepper (optional)
- Lemon wedges (optional, for serving)
- Additional aromatics for beer can (optional): garlic cloves, halved onion, fresh herbs
Instructions
- Prepare the chicken (10 minutes): Remove giblets and pat the chicken dry inside and out with paper towels.
- Make the garlic herb rub (5 minutes): Combine minced garlic, olive oil, chopped rosemary, thyme, smoked paprika, kosher salt, black pepper, onion powder, and cayenne pepper if using in a small bowl. Mix until a thick paste forms.
- Apply the rub (5 minutes): Rub the mixture all over the chicken, including under the skin, especially over the breast and thighs.
- Prepare the beer can (2 minutes): Open the beer and pour out about a quarter. Optionally add garlic cloves, onion halves, or fresh herbs inside the can. Place the can on a beer can chicken holder or sturdy surface.
- Mount the chicken (2 minutes): Lower the chicken onto the beer can so it fits into the cavity and stands upright.
- Preheat the grill (10 minutes): Set up for indirect heat at 350°F (175°C). For charcoal, bank coals to one side; for gas, turn off direct burners beneath the chicken but keep others on.
- Grill the chicken (1 to 1.5 hours): Place the chicken upright on the cooler side of the grill. Close the lid and cook until internal temperature reaches 165°F (74°C) at the thickest part of the breast. Check after 60 minutes, then every 10 minutes.
- Monitor and baste (optional): Baste every 20-30 minutes with leftover rub or olive oil to keep skin moist.
- Rest the chicken (10 minutes): Remove chicken and beer can carefully and let rest tented with foil to redistribute juices.
- Carve and serve: Carve as desired and serve with lemon wedges.
Notes
Use a meat thermometer to avoid overcooking; keep grill temperature steady at 350°F (175°C). Rub under the skin for best flavor and moisture. Tent with foil if skin browns too fast. Rest chicken before carving. For oven version, roast upright at 375°F (190°C) for about 1 hour 15 minutes. Experiment with different beers for flavor variations. Use fresh herbs for best results. For gluten-free, use gluten-free beer or substitute beer can with water and aromatics.
Nutrition
- Serving Size: About 1/4 chicken pe
- Calories: 475
- Sugar: 0.5
- Sodium: 700
- Fat: 30
- Saturated Fat: 6
- Carbohydrates: 3
- Fiber: 0.5
- Protein: 45
Keywords: beer can chicken, garlic herb rub, grilled chicken, barbecue, easy chicken recipe, loaded beer can chicken, juicy chicken, crispy skin