“You think that’s going to work?” My cousin chuckled, eyeing the mess of red and blue frosting blobs I was desperately trying to arrange into a flag on a plain sheet cake. Honestly, I was skeptical myself. Last-minute dessert ideas usually end in chaos, but this time, the Perfect Classic American Flag Sheet Cake for Patriotic Celebrations came together better than I expected. It started as a rushed idea for the Fourth of July cookout when the usual desserts felt too dull. I grabbed a simple boxed cake mix, some food coloring, and a tub of white frosting, figuring I’d whip something up fast. Halfway through, it looked less like Old Glory and more like a toddler’s art project. But after a little patience, a few tweaks, and some frosting finesse, the cake turned into an absolute showstopper. Everyone at the party kept asking for the recipe, and honestly, it stuck with me because it’s the kind of dessert that brings a little sparkle to any patriotic celebration without needing hours of prep or fancy skills.
There’s something quietly satisfying about a dessert that’s festive but approachable, you know? No fuss, no stress, just that classic combination of moist vanilla cake and creamy frosting in the colors that scream summer BBQs and fireworks. Plus, the cake’s size means you’re not stuck making batch after batch when feeding a crowd. This cake has quietly made its way into my rotation for Memorial Day and Labor Day, too—whenever there’s a reason to pull out the red, white, and blue. It’s a simple reminder that sometimes, the best celebrations come from the easiest recipes.
Why You’ll Love This Recipe
After making this Perfect Classic American Flag Sheet Cake for Patriotic Celebrations multiple times, I can confidently say it’s a winner for so many reasons. Here’s why it stands out:
- Quick & Easy: Ready in under 90 minutes from start to finish, which is a blessing when you’re juggling party prep and last-minute errands.
- Simple Ingredients: Uses pantry staples and a few basic additions—no need to hunt down special items or fancy extracts.
- Perfect for Patriotic Occasions: Whether it’s Independence Day, Veterans Day, or just a summer block party, this cake fits right in.
- Crowd-Pleaser: Kids love the fun flag design, adults appreciate the classic vanilla flavor, and it’s always the centerpiece on the dessert table.
- Unbelievably Delicious: The moist crumb and creamy frosting balance perfectly, plus the visual pop of the red and blue dots adds a playful texture.
This isn’t your run-of-the-mill flag cake. The frosting technique I use creates crisp stars and stripes without the mess, and the cake base is fluffy with a tender crumb thanks to a slight tweak in mixing method (I like to fold in a touch of sour cream for moisture). It’s a recipe that lets you feel like the star baker without needing a degree in decorating. Honestly, this cake makes me want to close my eyes and savor that first bite every single time.
What Ingredients You Will Need
This recipe uses simple, wholesome ingredients to deliver bold flavor and satisfying texture without the fuss. Most of these are pantry staples, and the few specialty items are easy to find or substitute.
- For the Cake:
- 2 ½ cups (312g) all-purpose flour, sifted
- 2 ½ tsp baking powder
- ½ tsp salt
- 1 cup (226g) unsalted butter, softened (I love using Land O Lakes for that creamy texture)
- 1 ¾ cups (350g) granulated sugar
- 4 large eggs, room temperature
- 1 tsp pure vanilla extract
- 1 cup (240ml) whole milk, room temperature
- ½ cup (120g) sour cream (adds moisture and tenderness)
- For the Frosting:
- 1 ½ cups (340g) unsalted butter, softened
- 5 cups (600g) powdered sugar, sifted
- 2 tsp vanilla extract
- 3–4 tbsp whole milk or heavy cream
- Red and blue gel food coloring (I prefer Americolor gels for vibrant colors without thinning the frosting)
- Decorations:
- Fresh blueberries (for the star section)
- Strawberries or raspberries, sliced (optional, for extra red detail)
If you want a gluten-free option, swap the all-purpose flour with a 1-to-1 gluten-free blend like Bob’s Red Mill. For a dairy-free version, substitute butter with vegan margarine and use almond or oat milk instead of whole milk. The sour cream can be swapped for coconut yogurt if needed.
Equipment Needed
- 9×13-inch (23×33 cm) sheet cake pan – This size gives you the perfect flag canvas.
- Electric mixer (stand mixer or hand mixer) – Makes the cake batter and frosting silky smooth.
- Mixing bowls – At least two, preferably medium and large.
- Offset spatula or butter knife – For smooth frosting application and stripe creation.
- Small round piping tip or a clean toothpick – To create the neat dots for the stars.
- Sifter – Optional, but recommended for fluffy powdered sugar and flour.
If you don’t have a stand mixer, a sturdy hand mixer will work fine. For the piping tool, a toothpick or the tip of a small spoon works just as well for dotting stars. Pro tip: Keep your frosting covered while working to avoid crusting. I’ve tried different spatulas over time, and an offset spatula really saves your wrist and gives a professional finish.
Preparation Method
- Preheat your oven to 350°F (175°C). Grease and flour the 9×13-inch sheet pan or line it with parchment paper for easy removal. (About 10 minutes prep)
- Mix dry ingredients: In a medium bowl, whisk together the sifted flour, baking powder, and salt. Set aside. The sifting prevents lumps and keeps the cake light.
- Cream butter and sugar: In your mixer bowl, beat the softened butter and granulated sugar on medium speed for 3-4 minutes until pale and fluffy. This aerates the batter and helps with the tender crumb.
- Add eggs: Beat in the eggs one at a time, mixing well after each addition. Then add the vanilla extract. Scrape down the sides to keep things even.
- Alternate adding dry ingredients and wet ingredients: Reduce mixer speed to low. Add one-third of the flour mixture, then half of the milk, followed by another third of flour, the sour cream, and the remaining flour. Mix just until combined after each addition. Overmixing can make the cake tough.
- Pour batter into pan: Spread evenly with a spatula. Tap the pan lightly on the counter to release any air bubbles. (The batter should be smooth and thick.)
- Bake: Place in the preheated oven and bake for 35-40 minutes, or until a toothpick inserted in the center comes out clean. Avoid opening the oven door early to prevent sinking.
- Cool completely: Let the cake cool in the pan on a wire rack for 15 minutes, then remove it from the pan and cool completely before frosting. Patience here is key to avoid frosting melting.
- Make the frosting: Beat the softened butter until creamy, about 2 minutes. Gradually add powdered sugar, alternating with milk, and beat on medium-high until light and fluffy (about 4-5 minutes). Stir in vanilla extract.
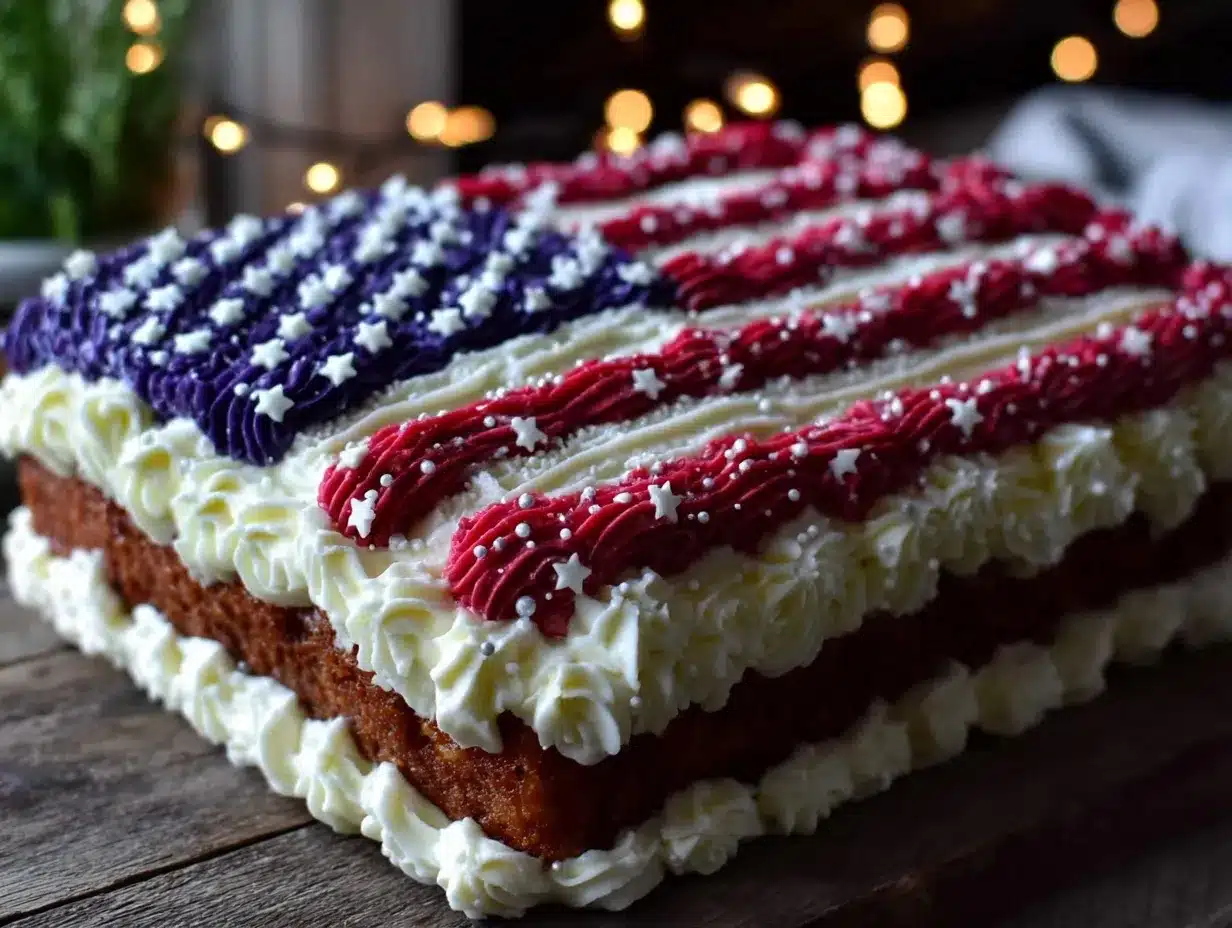
- Divide and color the frosting: Scoop about ⅓ of the frosting into a small bowl and tint it blue with gel food coloring, stirring until evenly colored. Do the same with another ⅓ for red frosting. Leave the rest white.
- Frost the cake: Spread white frosting over the entire cake as the base layer. Using the offset spatula, create a blue square in the top left corner (about one-third the width and one-third the height). Smooth it out carefully.
- Create the stripes: Alternate red and white horizontal stripes across the rest of the cake using the offset spatula and the red frosting. You’ll want about 7 stripes total—four red, three white. Don’t worry about perfect edges; rustic charm works here.
- Make the stars: Using a small piping tip or toothpick, dot small white frosting stars inside the blue square. Alternatively, place fresh blueberries neatly in rows to represent stars for a fresh twist.
- Final touches: Add sliced strawberries along the red stripes if desired for extra color and flavor. Chill the cake for 15 minutes before serving to set the frosting.
Pro tip: If the frosting gets too soft while decorating, pop it in the fridge for 10 minutes to firm up. Also, keeping the cake chilled before cutting helps keep clean slices.
Cooking Tips & Techniques
Making a sheet cake look like a flag might sound intimidating, but a few tips can help it come together beautifully.
- Butter temperature matters: Softened butter (not melted) will help you cream properly, giving the cake that tender crumb you want.
- Don’t skip sifting: Sifting flour and powdered sugar makes a huge difference in texture and frosting smoothness.
- Frosting consistency: If your frosting is too thick, add milk a teaspoon at a time until spreadable but still firm enough to hold shapes.
- Use gel food coloring: Gel colors give vibrant hues without watering down your frosting.
- For crisp edges: Chill the cake after frosting for at least 15 minutes. This helps the frosting set and prevents smudging when slicing.
One time, I tried using liquid food coloring and ended up with a runny mess that made the red stripes look like a sad watercolor. Lesson learned—gel is the way to go. Also, I usually frost in layers: a thin crumb coat first, then a final smooth layer, but for this cake, I skip the crumb coat to save time and the frosting still looks great.
Variations & Adaptations
This Perfect Classic American Flag Sheet Cake is easily customizable to fit your needs and preferences.
- Flavor tweaks: Try swapping vanilla extract for almond or coconut for a subtle twist. You can also add lemon zest to the batter for a bright note that pairs well with fresh berries.
- Diet-friendly: Use gluten-free flour blends and dairy substitutes to make it allergy-friendly. I’ve had success with almond flour and coconut yogurt for a grain- and dairy-free version.
- Frosting alternatives: Replace buttercream with whipped cream frosting for a lighter version, but keep in mind it won’t hold shapes as well.
- Decoration ideas: Instead of piped stars, fresh blueberries make a nice natural touch. For a kid-friendly version, mini marshmallows or white chocolate chips work well.
Personally, I once made a chocolate version of this flag cake using my favorite chocolate sheet cake recipe, which ended up being a huge hit for a summer birthday. It keeps the same patriotic look but with a richer flavor—definitely worth trying if you want to change it up.
Serving & Storage Suggestions
This cake is best served at room temperature to enjoy the creamy frosting and tender crumb at their peak. For presentation, I like to plate it with a few extra fresh berries on the side and a simple scoop of vanilla ice cream for those who want a little extra indulgence.
If you’re bringing it to a party, transport it chilled in a cake carrier to keep the frosting intact. Leftovers keep well wrapped tightly in plastic wrap or an airtight container in the refrigerator for up to 4 days. Let the cake come to room temperature before serving again for best flavor.
For longer storage, you can freeze the uncut cake (well wrapped in plastic and foil) for up to 2 months. Thaw overnight in the fridge and bring to room temperature before serving to prevent condensation from ruining the frosting.
The flavors tend to meld nicely if you let the cake sit overnight, making it a great make-ahead dessert for busy holiday weekends. If you love easy, crowd-friendly desserts like this, you might enjoy my take on crispy buffalo chicken tater tot casserole, which also shines at gatherings.
Nutritional Information & Benefits
Each serving of this classic sheet cake (assuming 12 slices) roughly contains:
| Calories | 350-400 kcal |
|---|---|
| Fat | 18g (mostly from butter) |
| Carbohydrates | 50g (mostly from flour and sugar) |
| Protein | 4g (from eggs and milk) |
| Sugar | 35g |
This cake is definitely a treat, but you’re also getting some protein and calcium from the dairy ingredients. The fresh berries add antioxidants and vitamins, making it a slightly better choice than a plain boxed cake. It’s naturally gluten-free if you swap flours, and you can adjust sugar levels if you want a lighter version.
From a wellness perspective, I like that this recipe uses real ingredients you recognize. No weird preservatives, just classic baking staples you might already have. It’s the kind of dessert that feels honest, balanced with a little indulgence—perfect for celebrating with family and friends.
Conclusion
The Perfect Classic American Flag Sheet Cake for Patriotic Celebrations is a recipe that’s earned a permanent spot in my holiday dessert line-up. It’s the kind of cake that’s as fun to make as it is to eat, bringing that unmistakable red, white, and blue spirit to your celebrations without overcomplicating things.
Feel free to tweak the colors, add fresh fruit, or swap in your favorite frosting style—this cake welcomes your personal touch. Personally, I keep coming back to this recipe because it balances ease, flavor, and festive charm so well.
I’d love to hear how your version turns out or any creative spins you put on the design—drop a comment below! Whether you’re hosting a backyard BBQ or a casual family gathering, this cake is a reliable way to bring the party together.
And if you’re looking for more crowd-pleasing ideas to pair with your patriotic cake, my creamy buffalo chicken 7-layer dip is an absolute hit that guests rave about every time.
FAQs About the Perfect Classic American Flag Sheet Cake
Can I make this cake ahead of time?
Yes! You can bake the cake and frost it a day ahead. Store covered in the fridge and bring to room temperature before serving.
What’s the best way to keep the frosting from melting?
Use room temperature ingredients and chill the cake after frosting for 15-30 minutes. Avoid frosting in a hot kitchen.
Can I use fresh fruit instead of frosting stars?
Absolutely! Fresh blueberries work great for the stars and add a nice, natural flavor.
Is this recipe suitable for gluten-free diets?
Yes, swap the all-purpose flour for a gluten-free blend and check other ingredients for gluten content.
How do I get the frosting colors so vibrant?
Use gel food coloring instead of liquid for bold, bright colors without thinning your frosting.
Pin This Recipe!
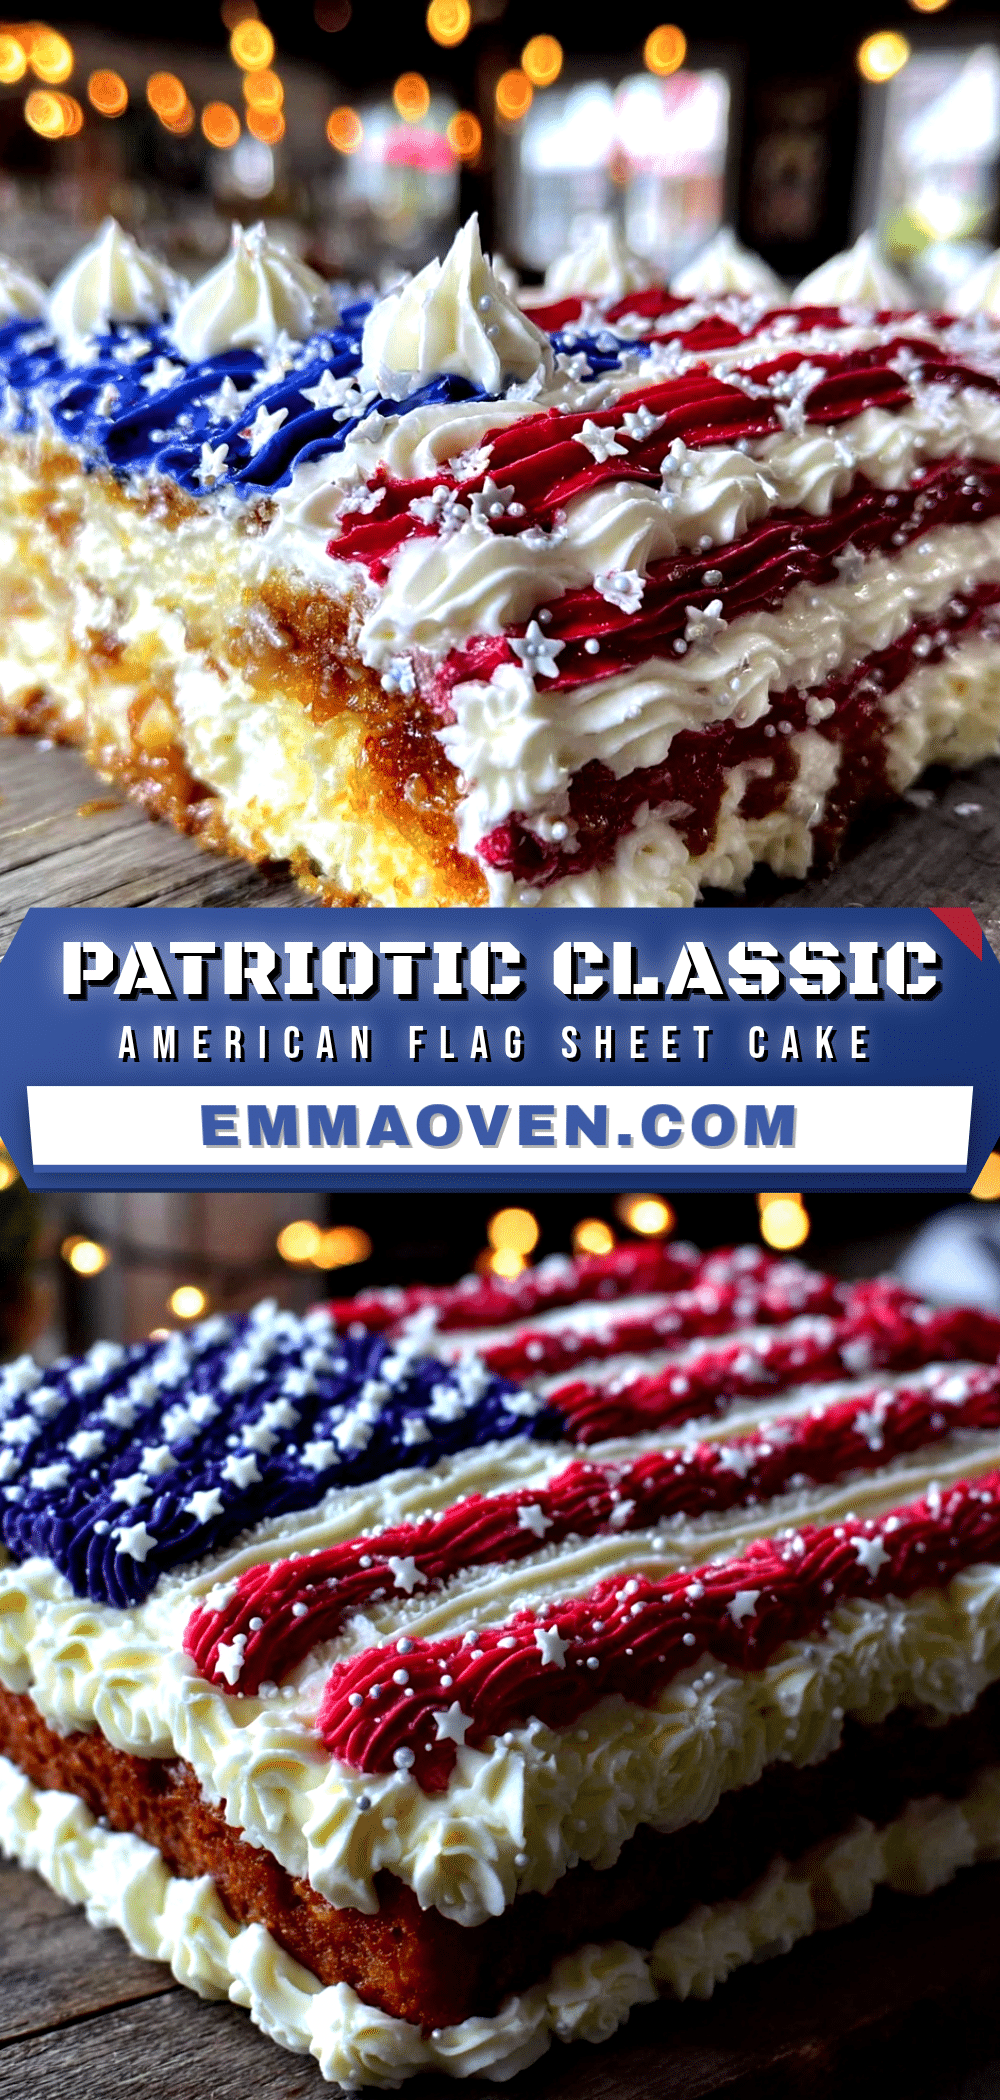
Perfect Classic American Flag Sheet Cake Recipe for Easy Patriotic Celebrations
A quick and easy vanilla sheet cake decorated with red, white, and blue frosting to resemble the American flag, perfect for patriotic celebrations like the Fourth of July.
- Prep Time: 20 minutes
- Cook Time: 40 minutes
- Total Time: 1 hour
- Yield: 12 servings 1x
- Category: Dessert
- Cuisine: American
Ingredients
- 2 ½ cups (312g) all-purpose flour, sifted
- 2 ½ tsp baking powder
- ½ tsp salt
- 1 cup (226g) unsalted butter, softened
- 1 ¾ cups (350g) granulated sugar
- 4 large eggs, room temperature
- 1 tsp pure vanilla extract
- 1 cup (240ml) whole milk, room temperature
- ½ cup (120g) sour cream
- 1 ½ cups (340g) unsalted butter, softened (for frosting)
- 5 cups (600g) powdered sugar, sifted
- 2 tsp vanilla extract (for frosting)
- 3–4 tbsp whole milk or heavy cream (for frosting)
- Red and blue gel food coloring
- Fresh blueberries (for star decoration)
- Strawberries or raspberries, sliced (optional, for extra red detail)
Instructions
- Preheat oven to 350°F (175°C). Grease and flour a 9×13-inch sheet pan or line with parchment paper.
- In a medium bowl, whisk together sifted flour, baking powder, and salt. Set aside.
- In a mixer bowl, beat softened butter and granulated sugar on medium speed for 3-4 minutes until pale and fluffy.
- Beat in eggs one at a time, mixing well after each addition. Add vanilla extract and scrape down sides.
- Reduce mixer speed to low. Add one-third of flour mixture, then half of the milk, another third of flour, sour cream, and remaining flour, mixing just until combined after each addition.
- Pour batter into prepared pan and spread evenly. Tap pan lightly to release air bubbles.
- Bake for 35-40 minutes or until a toothpick inserted in the center comes out clean. Avoid opening oven early.
- Cool cake in pan on wire rack for 15 minutes, then remove from pan and cool completely before frosting.
- For frosting, beat softened butter until creamy (about 2 minutes). Gradually add powdered sugar alternating with milk, beat on medium-high until light and fluffy (4-5 minutes). Stir in vanilla extract.
- Divide frosting into three portions. Tint one-third blue and another third red with gel food coloring; leave the rest white.
- Spread white frosting over entire cake as base layer.
- Using an offset spatula, create a blue square in the top left corner (about one-third width and height). Smooth carefully.
- Create about 7 horizontal stripes alternating red and white across the rest of the cake (four red, three white).
- Use a small piping tip or toothpick to dot small white frosting stars inside the blue square or place fresh blueberries in rows to represent stars.
- Optionally, add sliced strawberries along the red stripes for extra color and flavor.
- Chill the cake for 15 minutes before serving to set the frosting.
Notes
Use softened butter (not melted) for best creaming results. Sift flour and powdered sugar for light texture and smooth frosting. Use gel food coloring for vibrant colors without thinning frosting. Chill cake after frosting to set and prevent smudging. If frosting softens while decorating, refrigerate for 10 minutes to firm up.
Nutrition
- Serving Size: 1 slice (1/12 of cak
- Calories: 375
- Sugar: 35
- Sodium: 200
- Fat: 18
- Saturated Fat: 11
- Carbohydrates: 50
- Fiber: 1
- Protein: 4
Keywords: American flag cake, patriotic cake, Fourth of July dessert, sheet cake, vanilla cake, easy cake recipe, red white and blue cake