“Hey, you brought the dip, right?” That text popped up just as I was scrambling to clear my kitchen counter, juggling a million things before yet another weekend potluck. Honestly, I wasn’t sure I’d have the time or energy to whip up something impressive. But then I remembered this Flavorful 7-Layer Mexican Dip recipe that had saved me more than once when friends were coming over unannounced. It’s one of those dishes that looks fancy but is honestly just a well-layered assembly of familiar flavors. No stressing over complicated cooking, just fresh, vibrant ingredients coming together for a real crowd-pleasing hit.
That day, as I pulled out the ingredients, I caught a whiff of the cumin and fresh cilantro mixing in the air, and suddenly the chaos of the day faded. There’s something about the smell of Mexican spices that feels like an instant reset button, you know? I’ve made this dip so many times – sometimes with little tweaks, other times just the classic way – but it always brings folks together around the table, chatting and dipping happily. It’s a recipe that’s stuck with me because it’s simple enough for a busy weeknight but special enough that people keep asking for it again.
Potlucks can be tricky; everyone’s bringing something, but the dip is always the first thing to disappear. And this 7-layer dip? It’s got that perfect balance of creamy, crunchy, spicy, and fresh that makes it addictive. So, if you’ve ever felt the pressure of showing up with a snack that’ll impress without the hassle, this is your secret weapon. It’s not just a dip; it’s a little party in a dish that’s ready with minimal fuss—and maximum flavor.
Why You’ll Love This Recipe
After testing countless dips over the years, this Flavorful 7-Layer Mexican Dip stands out for plenty of reasons. I’ve made it for casual family nights, last-minute potlucks, and even game days, and it never fails to deliver. Here’s what makes this recipe worth your time:
- Quick & Easy: You can have it ready in about 15 minutes, which is perfect when you’re juggling everything else.
- Simple Ingredients: No need to hunt down obscure items—most are pantry staples or easy to find fresh produce.
- Perfect for Potlucks & Parties: It’s always the first dish to go and appeals to both kids and adults alike.
- Crowd-Pleaser: The layers create a variety of textures and flavors that keep everyone coming back for more.
- Unbelievably Delicious: The creamy beans and cheese combined with fresh veggies and zesty salsa balance each other out so well.
What really sets this dip apart is the way the layers work together, especially the secret touch of blending the refried beans with Mexican spices and a hint of lime to make them extra flavorful. Also, I love adding some fresh jalapeño for just the right kick without overwhelming the whole dish. It’s not just another seven-layer dip you’ve seen a hundred times; it’s my go-to recipe that guarantees smiles and empty bowls. Honestly, after the first bite, you’ll understand why this recipe keeps showing up at my gatherings.
What Ingredients You Will Need
This recipe uses simple, wholesome ingredients to bring bold and satisfying flavors without too much fuss. Most are easy to find and can be swapped if needed, making this dip super versatile.
- Refried Beans: 1 can (16 oz / 450 g), preferably smooth and well-seasoned. I like using Rosarita for that authentic flavor.
- Sour Cream: 1 cup (240 ml), for creamy richness. Greek yogurt works as a lighter alternative.
- Guacamole: 1 cup (240 ml), fresh or store-bought. If you want to skip it, mashed avocado with a squeeze of lime makes a fresh sub.
- Salsa: 1 cup (240 ml), chunky or smooth based on preference. A smoky chipotle salsa adds extra depth.
- Shredded Cheese: 1 ½ cups (170 g), a blend of sharp cheddar and Monterey Jack for melty, gooey goodness.
- Chopped Tomatoes: 1 cup (150 g), fresh and ripe, to keep it bright and juicy.
- Black Olives: ½ cup (75 g), sliced, for a salty, briny punch.
- Green Onions: ¼ cup (25 g), thinly sliced, adds a mild onion crunch.
- Fresh Cilantro: 2 tablespoons, chopped, for that unmistakable fresh herb aroma.
- Optional Jalapeños: 1-2, finely chopped, if you like a little heat without overpowering the other flavors.
These ingredients come together to create a dip that’s layered with contrasting textures and bright yet comforting flavors. If you want to try a dairy-free version, swap sour cream and cheese with plant-based alternatives. Also, in summer, fresh salsa can be replaced with pico de gallo for an even fresher feel. This recipe pairs well with sturdy tortilla chips or even crispy homemade snacks like the crispy loaded tater tot nachos I adore making on busy nights.
Equipment Needed
- Medium-sized Mixing Bowls: For blending sour cream and seasoning or mixing guacamole.
- Serving Dish: A shallow glass or ceramic dish about 9×9 inches (23×23 cm) works perfectly to show off the layers.
- Spoon or Spatula: For spreading layers evenly.
- Sharp Knife: To chop tomatoes, onions, and jalapeños safely and precisely.
- Measuring Cups and Spoons: To keep ingredient portions just right.
You don’t need any fancy gadgets here—just basics you probably already own. I’ve tried this in both glass and ceramic dishes, and glass makes the colorful layers pop visually, which is always a bonus when you’re bringing the dip to a party. If you want to keep things streamlined, a small offset spatula helps spread thin, neat layers without mixing things up.
Preparation Method
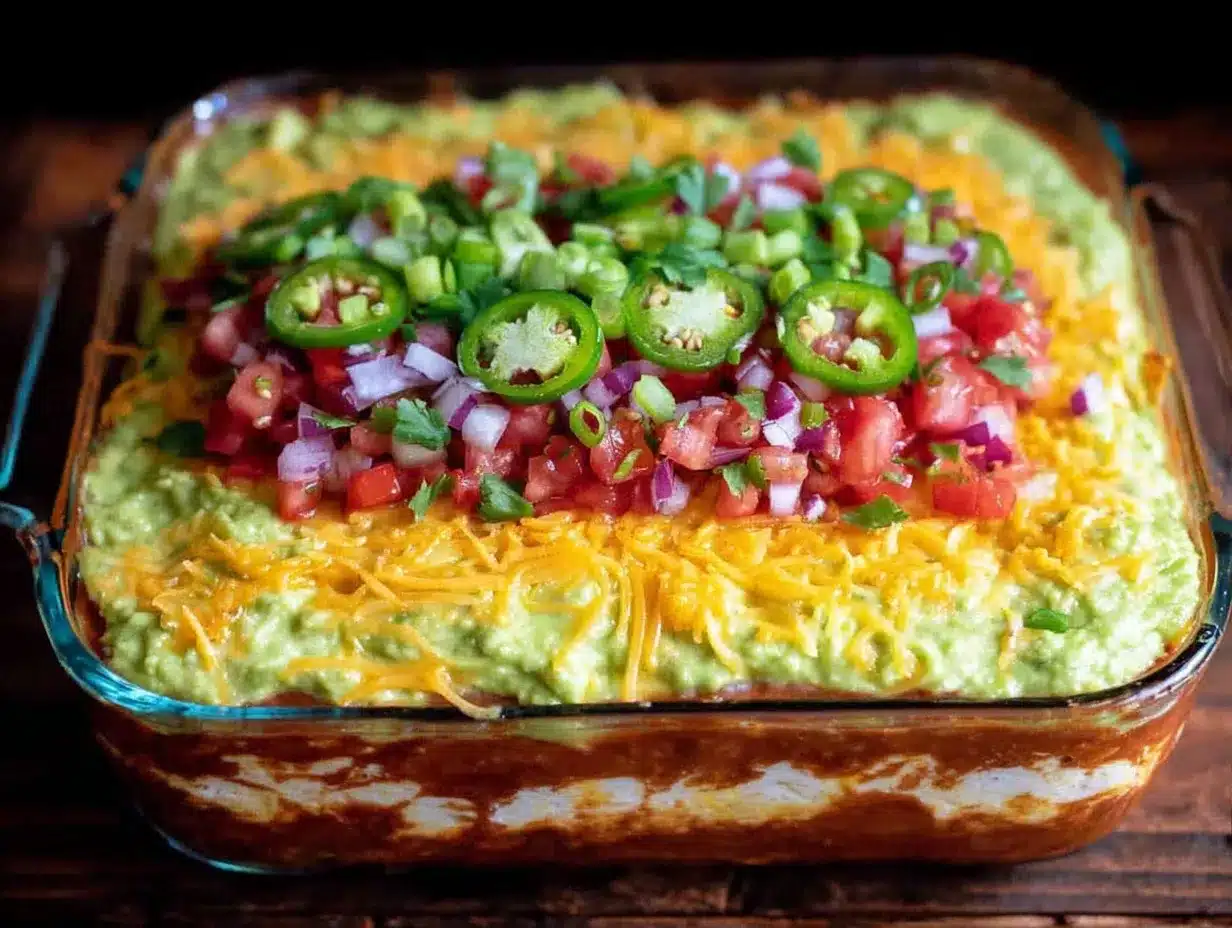
- Prepare the Refried Beans: Open the can and stir the beans with a fork or whisk to smooth out any lumps. If you prefer, heat them gently in a pan with a pinch of cumin and lime juice (about 1 teaspoon cumin and 1 tablespoon lime juice) for extra flavor. This takes about 5 minutes.
- Mix the Sour Cream Layer: In a bowl, combine the sour cream with a pinch of salt and a teaspoon of taco seasoning if you like. This little seasoning boost adds depth. Stir well and set aside—this takes just 2 minutes.
- Layer the Beans: Spread refried beans evenly on the bottom of the serving dish. Use the back of a spoon or spatula to create a smooth, even base.
- Add the Sour Cream Layer: Spread the sour cream mixture gently over the beans, making sure not to mix the layers. This should be a smooth, thin layer.
- Spread the Guacamole: Dollop guacamole over the sour cream and spread evenly. If you’re making fresh, mash avocado with a bit of lime juice, salt, and diced tomatoes.
- Pour the Salsa: Spoon salsa over the guacamole layer and smooth it out. If your salsa is watery, drain it slightly to avoid sogginess.
- Sprinkle the Cheese: Evenly distribute the shredded cheese over the salsa. For a melty finish, you can pop this under the broiler for 1-2 minutes, but I usually serve it cold to keep the fresh texture.
- Add Fresh Veggies and Toppings: Top with chopped tomatoes, sliced black olives, green onions, and cilantro. Scatter finely chopped jalapeños if you want some heat. This adds a fresh, crunchy contrast.
- Chill Before Serving: Let the dip rest in the fridge for at least 30 minutes to let the flavors meld. It also helps the layers set and makes for easier scooping.
One tip I learned the hard way: don’t skip chilling. I once served this right after assembling and the layers slid around into a less appealing mess. Waiting really pays off. Also, if you want to speed things up, prep your toppings a day ahead and keep them covered in the fridge.
Cooking Tips & Techniques
Even though this dip is mostly an assembly, a few tricks make it shine every time. First, smoothing the refried beans well creates a perfect base that holds the layers. If the beans are too thick, stir in a tablespoon of water or lime juice to loosen them up just a bit.
When spreading each layer, use a gentle hand—this keeps the layers distinct and visually appealing. I recommend a small offset spatula or even the back of a soup spoon. You want to avoid mixing, or the dip loses its signature look and texture contrast.
Freshness is key here. Use ripe tomatoes and freshly chopped cilantro, and avoid watery salsa, which can make the dip soggy. If you’re using store-bought salsa, drain excess liquid before layering.
One mistake I made once was layering the cheese too thickly before chilling, which made scooping tricky. Keep the cheese layer moderate, and if you like it melted, broil for just a minute or two right before serving.
Timing-wise, prepping the dip an hour ahead is ideal—it gives enough time for flavors to mingle, but if you’re crunched for time, 30 minutes works fine too. Multitasking by prepping toppings while the beans warm up saves time. And if you want to amp up the dip, try adding a layer of cooked ground beef or chorizo before the cheese—perfect for a heartier snack.
Variations & Adaptations
This 7-layer dip is a flexible canvas for your cravings and dietary needs. Here are some ways I’ve switched it up:
- Vegetarian Delight: Keep it meatless but add a layer of black beans or corn for extra texture. Roasted corn kernels bring a sweet crunch that plays nicely with the creamy layers.
- Spicy Kick: Add pickled jalapeños or a layer of chipotle sauce mixed into the sour cream for a smoky heat. I like this version for game days when folks want bold flavors.
- Low-Carb Option: Swap traditional beans for refried black soybeans or skip the beans entirely and add extra guacamole and cheese layers. Serve with cucumber slices or celery sticks instead of chips.
- Dairy-Free: Use coconut yogurt or cashew sour cream in place of dairy sour cream, and dairy-free shredded cheese. Fresh avocado and salsa keep it super fresh and tasty.
- Seasonal Twist: In summer, layer fresh mango or pineapple chunks for a sweet contrast. It brightens the dip and surprises your guests!
Personally, I tried the BBQ 7-layer dip with pulled pork version with a smoky twist once, and it was a total hit. It’s a fantastic way to customize this classic for a hearty crowd. For a lighter option, pairing this dip alongside something like the fresh Greek 7-layer hummus dip adds exciting variety to the party table.
Serving & Storage Suggestions
This dip is best served chilled or at room temperature. Let it sit out for 10-15 minutes before serving if you’ve just pulled it from the fridge—this softens the flavors and makes scooping easier. Sturdy tortilla chips are the classic partner, but I also love serving it with crispy pita chips or fresh vegetable sticks like bell pepper slices and jicama for some crunch and color.
If you have leftovers (rare, but it happens!), cover the dish tightly with plastic wrap and refrigerate for up to 3 days. The flavors actually deepen after a day, but the guacamole layer may brown slightly—just stir gently before serving or add a fresh layer of chopped cilantro on top to freshen it up.
For reheating, this dip is mostly enjoyed cold, but if you broiled the cheese layer initially, you can warm the whole dip under the broiler briefly (1-2 minutes) to melt the cheese again. Just watch it carefully to avoid burning.
Nutritional Information & Benefits
Per serving (about 1/8 of the dip), this flavorful 7-layer Mexican dip provides approximately 250 calories, 12 grams of fat, 20 grams of carbohydrates, and 8 grams of protein. The refried beans and cheese provide a good amount of protein and fiber, helping keep you satisfied. Fresh veggies add vitamins A and C, while the avocado offers heart-healthy fats and potassium.
This recipe can be adjusted for gluten-free diets by serving with certified gluten-free chips. For those watching dairy intake, swapping in dairy-free alternatives keeps this dip accessible. I appreciate how this dip balances indulgence with fresh ingredients, making it a snack that feels like a treat but isn’t overloaded with empty calories.
Conclusion
This Flavorful 7-Layer Mexican Dip has become a reliable favorite whenever I want to bring something tasty and fuss-free to a crowd. It’s one of those recipes you can customize endlessly but still enjoy in its classic form, knowing it’ll disappear fast. Whether it’s a casual potluck, a big game day, or just a snack craving, this dip hits all the right notes with creamy, fresh, and spicy layers that keep everyone happy.
Feel free to tweak the toppings or add your own spin—this recipe is forgiving and friendly to creativity. I love how it brings people together, sparking conversations and laughter around the table with minimal effort. If you try this recipe, I’d love to hear how it goes and what variations you come up with. Nothing beats a dish that makes you feel like you nailed it every time.
FAQs About Flavorful 7-Layer Mexican Dip
Can I make this dip ahead of time?
Absolutely! Prepare it up to 24 hours in advance and keep it refrigerated. Just cover tightly to prevent the guacamole from browning too much.
What’s the best way to keep the guacamole from turning brown?
Adding a bit of lime juice helps slow browning. Covering the dip tightly and minimizing air exposure also helps. You can add fresh cilantro on top before serving to brighten the look.
Can I use canned black beans instead of refried beans?
You can, but the texture will be different. If using black beans, mash them well and season with cumin, chili powder, and lime to mimic refried beans’ flavor and consistency.
Is this dip spicy?
That depends on your salsa and whether you add jalapeños. You can easily adjust the heat by choosing mild salsa or skipping the jalapeños altogether.
What’s a good alternative if I’m allergic to dairy?
Try using dairy-free sour cream and shredded cheese alternatives made from coconut or cashew. Guacamole and fresh veggies keep the dip flavorful without dairy.
Pin This Recipe!
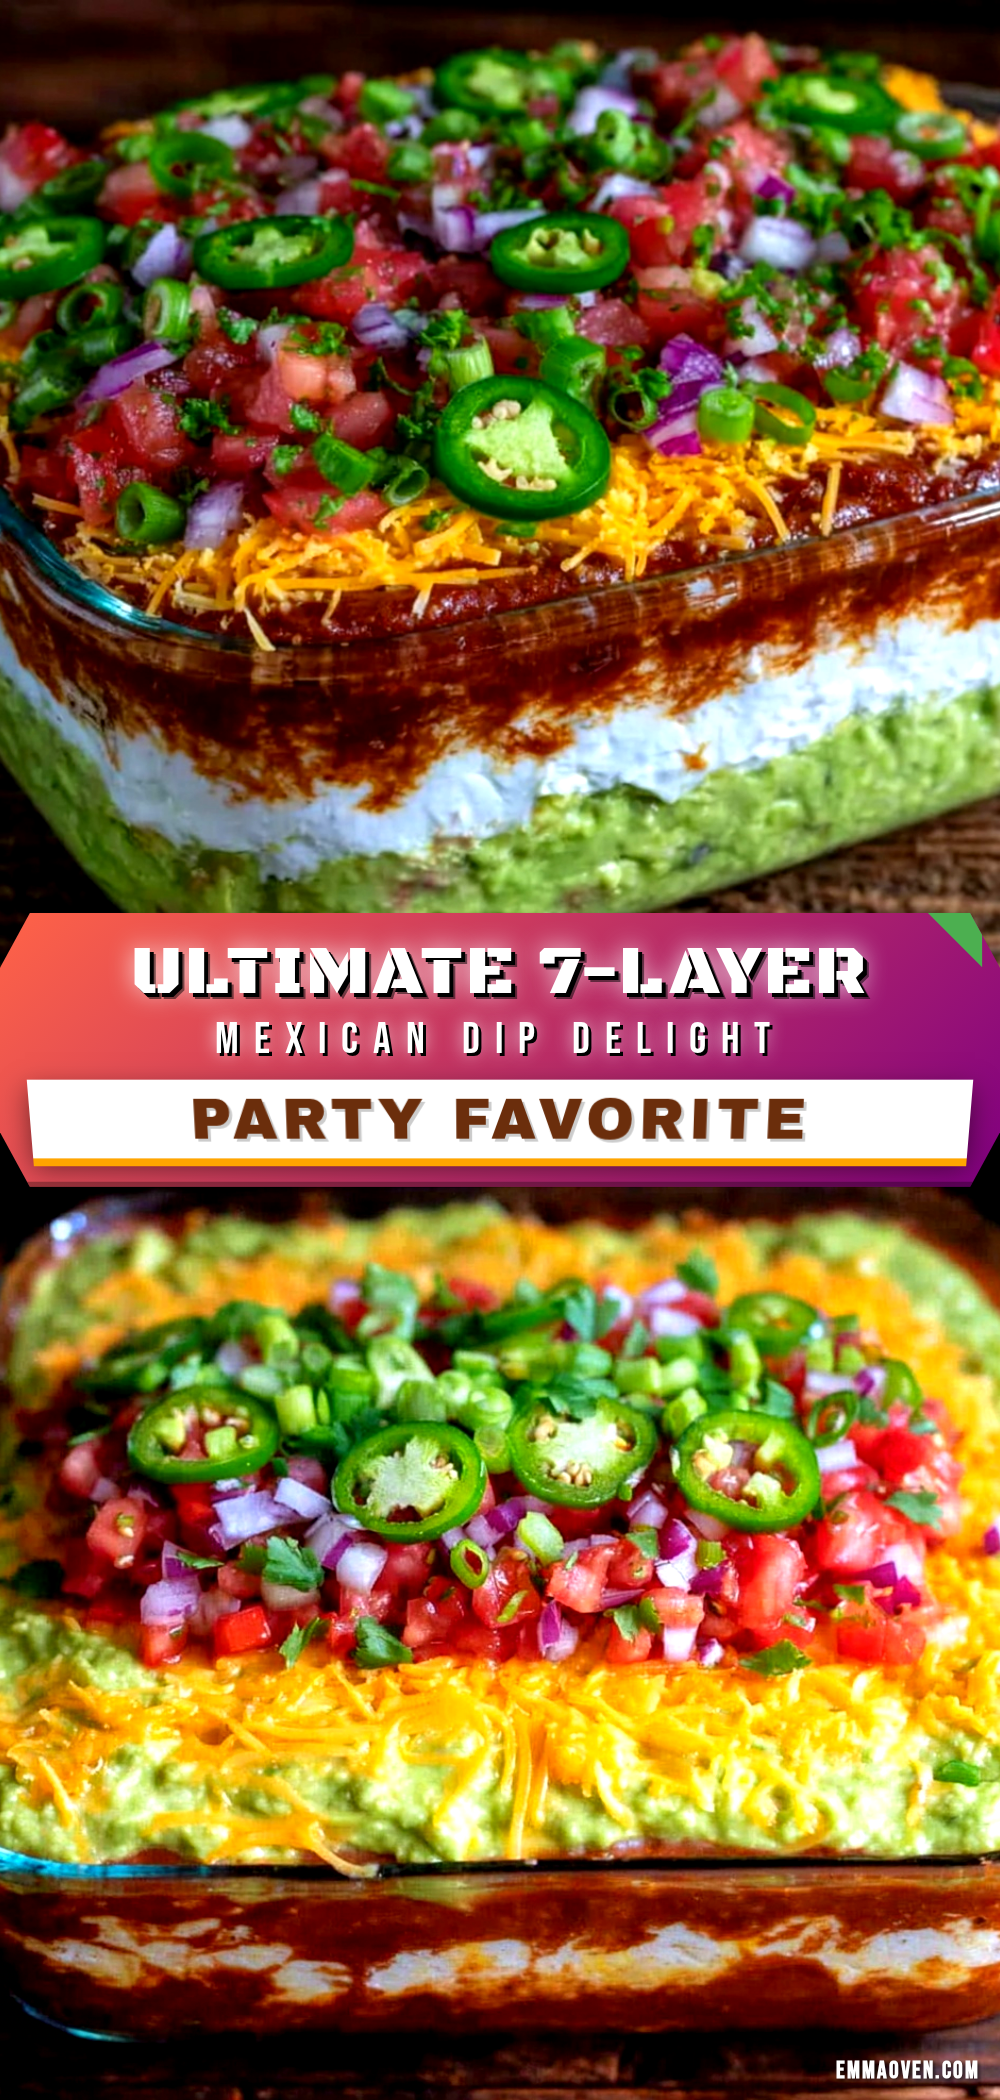
Flavorful 7-Layer Mexican Dip
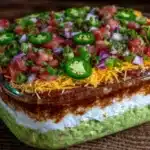
A quick and easy crowd-pleasing 7-layer Mexican dip perfect for potlucks and parties, combining creamy, crunchy, spicy, and fresh layers for maximum flavor.
- Prep Time: 10 minutes
- Cook Time: 5 minutes
- Total Time: 15 minutes
- Yield: 8 servings 1x
- Category: Appetizer
- Cuisine: Mexican
Ingredients
- 1 can (16 oz / 450 g) refried beans, preferably smooth and well-seasoned
- 1 cup (240 ml) sour cream (Greek yogurt as a lighter alternative)
- 1 cup (240 ml) guacamole, fresh or store-bought
- 1 cup (240 ml) salsa, chunky or smooth
- 1 ½ cups (170 g) shredded cheese (blend of sharp cheddar and Monterey Jack)
- 1 cup (150 g) chopped fresh tomatoes
- ½ cup (75 g) sliced black olives
- ¼ cup (25 g) thinly sliced green onions
- 2 tablespoons chopped fresh cilantro
- 1–2 finely chopped jalapeños (optional)
- 1 teaspoon cumin (optional, for warming beans)
- 1 tablespoon lime juice (optional, for warming beans and guacamole)
Instructions
- Open the can of refried beans and stir with a fork or whisk to smooth out any lumps. Optionally, heat gently in a pan with 1 teaspoon cumin and 1 tablespoon lime juice for about 5 minutes for extra flavor.
- In a bowl, combine sour cream with a pinch of salt and 1 teaspoon taco seasoning if desired. Stir well and set aside.
- Spread the refried beans evenly on the bottom of a 9×9 inch serving dish, smoothing the surface.
- Spread the sour cream mixture gently over the beans in a thin, even layer.
- Dollop guacamole over the sour cream and spread evenly. If making fresh, mash avocado with lime juice, salt, and diced tomatoes.
- Spoon salsa over the guacamole layer and smooth it out. Drain excess liquid if salsa is watery.
- Evenly distribute shredded cheese over the salsa. Optionally, broil for 1-2 minutes for a melty finish or serve cold.
- Top with chopped tomatoes, sliced black olives, green onions, cilantro, and finely chopped jalapeños if using.
- Chill the dip in the refrigerator for at least 30 minutes to let flavors meld and layers set before serving.
Notes
Chill the dip for at least 30 minutes before serving to let flavors meld and layers set. Use a gentle hand when spreading layers to keep them distinct. Drain watery salsa to avoid sogginess. For a melty cheese layer, broil for 1-2 minutes just before serving. Prepare toppings a day ahead to save time. Can be customized with meat, dairy-free alternatives, or seasonal fruits.
Nutrition
- Serving Size: About 1/8 of the dip
- Calories: 250
- Fat: 12
- Carbohydrates: 20
- Protein: 8
Keywords: 7-layer dip, Mexican dip, potluck recipe, party snack, easy dip, crowd-pleaser, layered dip, creamy dip, spicy dip