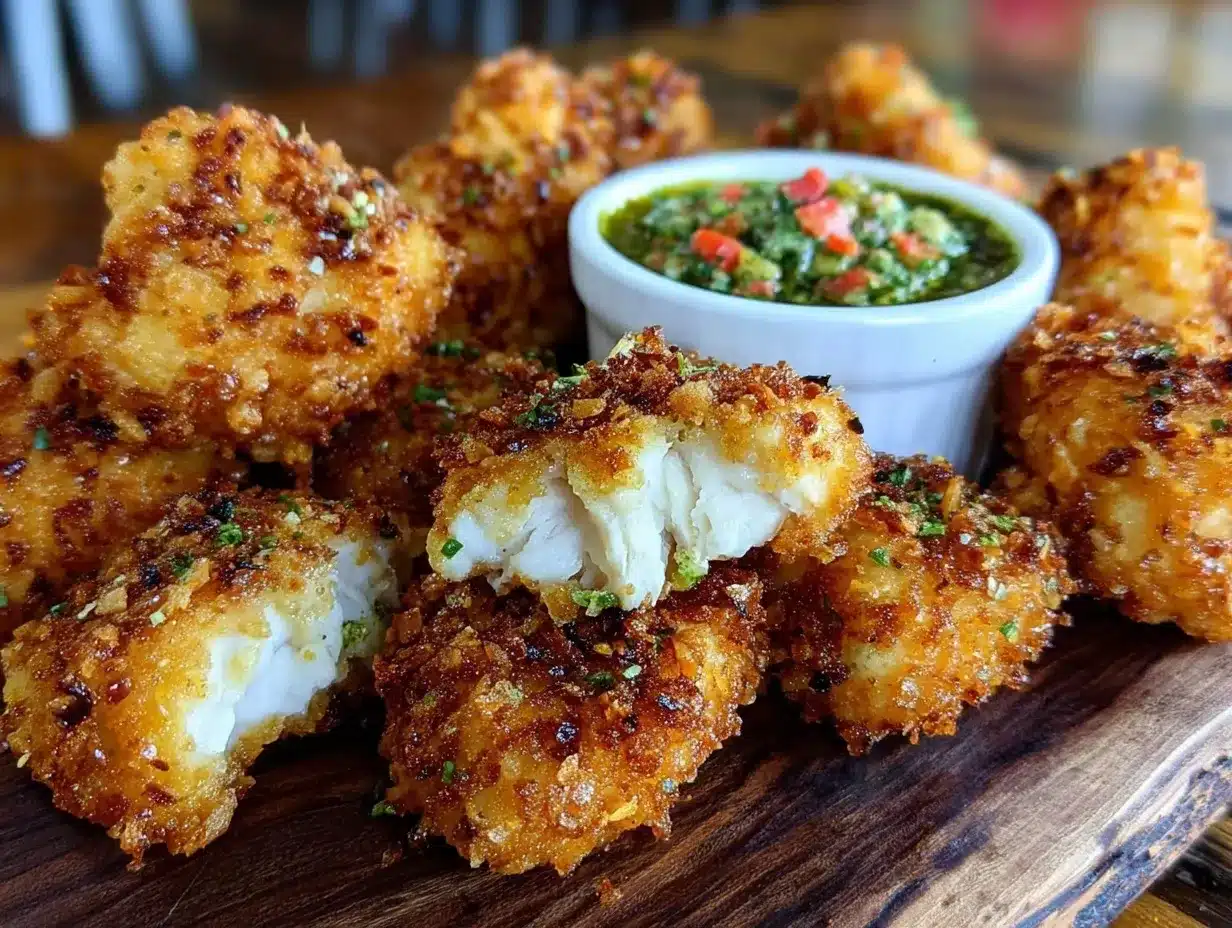
“Mom, can we have dinosaur nuggets again?” That question has echoed through my kitchen more times than I can count — and honestly, I don’t mind. There’s something about these crispy homemade dinosaur shaped chicken nuggets that turns an ordinary snack time into a tiny adventure. One evening, after a hectic day juggling work calls and dinner plans, I grabbed some chicken breasts and a bag of dinosaur-shaped cookie cutters thinking, “Why not give the kids a little fun on their plates?” What started as a simple distraction quickly became a favorite for everyone around the table. The smell of seasoned, breaded chicken sizzling in the pan filled the air, and soon, the kids were roaring with delight, pretending the nuggets were little prehistoric creatures.
These nuggets aren’t just a hit with the kids — they bring a smile to grown-up faces too. The crispy coating gives way to tender, juicy chicken inside, perfectly seasoned without any unnecessary additives. Honestly, making them from scratch gives a kind of satisfaction that store-bought nuggets just can’t match. Plus, shaping them into dinosaurs adds a playful twist that makes snack time special and a bit magical. It’s a small ritual that’s stuck with us, especially during busy weekday afternoons when a quick, comforting bite is exactly what’s needed.
Some days, I find myself making a double batch — one for lunch and another for a quick dinner, often pairing them with a side like the crispy cheesy tater tot ranch bake that’s just as fuss-free but totally satisfying. It’s funny how this simple recipe has become a quiet little joy in our home, a reminder that even the simplest things can bring a bit of magic (and a lot of crunch) to our day.
Why You’ll Love This Recipe
From my experience, these crispy homemade dinosaur shaped chicken nuggets stand out because they combine fun, flavor, and ease in a way that feels just right. I’ve tested a bunch of nugget recipes over the years, and this one consistently wins for both taste and texture — which is why it’s become a staple in our kitchen.
- Quick & Easy: This recipe comes together in under 30 minutes, making it perfect for busy weeknights or last-minute snack cravings.
- Simple Ingredients: You probably already have everything in your pantry and fridge — no fancy trips needed.
- Perfect for Kids’ Snacks: The dinosaur shapes make these nuggets an instant hit with little ones, encouraging them to eat happily and even learn a bit about shapes while they’re at it.
- Crowd-Pleaser: Whether it’s a family dinner, playdate, or a casual party, these nuggets get rave reviews from both kids and adults alike.
- Unbelievably Delicious: The crunchy coating paired with juicy, tender chicken inside is a combo that hits all the comfort-food notes.
What makes this recipe different? It’s all about the coating technique and seasoning balance. I use a three-step breading process that locks in moisture and ensures the nuggets stay crispy even after cooling down a bit. Plus, the seasoning mix is a family secret — a careful blend of spices that’s not too salty or spicy but just right to keep the flavor honest and inviting. And for the shapes, using dinosaur cookie cutters turns making dinner into a fun activity rather than a chore.
Honestly, this recipe isn’t just about food — it’s about making snack time fun and memorable. It’s the kind of dish that makes you pause, smile, and maybe even close your eyes for a second to savor that perfect bite. It brings a bit of playful magic to the everyday, which is why I keep coming back to it.
What Ingredients You Will Need
This recipe uses simple, wholesome ingredients to deliver bold flavor and satisfying texture without the fuss. Most of these are pantry staples, and the fresh chicken breast is the star of the show. The ingredients are easy to swap out if needed, making this recipe quite adaptable.
- Chicken Breasts: 1 pound (450g), boneless and skinless, trimmed and sliced into manageable pieces for cutting.
- All-Purpose Flour: 1 cup (120g), for the initial coating to help the egg stick.
- Large Eggs: 2, beaten, room temperature for best breading adherence.
- Breadcrumbs: 1 ½ cups (150g), preferably panko for that extra crunch. I recommend Japanese panko for best texture.
- Grated Parmesan Cheese: ¼ cup (25g), adds a subtle savory note.
- Garlic Powder: 1 teaspoon, for depth of flavor.
- Onion Powder: 1 teaspoon, balances the garlic nicely.
- Paprika: 1 teaspoon, adds mild smokiness and color.
- Salt and Black Pepper: To taste, essential for seasoning.
- Olive Oil or Vegetable Oil: For frying, about 1 ½ cups (350ml) — or enough for shallow frying.
- Dinosaur-Shaped Cookie Cutters: Various sizes, essential for shaping the nuggets into fun dinos!
If you want to keep it gluten-free, swap the all-purpose flour and breadcrumbs with almond flour and gluten-free panko breadcrumbs. For dairy-free, omit the parmesan or use a plant-based alternative. And if you want to sneak in some veggies, finely grated zucchini or carrot can be mixed into the chicken before shaping.
Equipment Needed
- Mixing Bowls: At least two — one for the egg wash and one for the flour mixture. Having separate bowls keeps the breading process neat and efficient.
- Dinosaur-Shaped Cookie Cutters: These are the heart of the fun! You can find inexpensive sets online or at craft stores. If you don’t have these, small silicone molds or just shaping by hand works too, but the dinosaurs definitely add charm.
- Frying Pan or Skillet: A heavy-bottomed pan works best to maintain consistent heat for frying. I prefer a cast-iron skillet for even heat distribution.
- Tongs or Slotted Spoon: To safely flip and remove nuggets from hot oil.
- Wire Rack: For draining excess oil and keeping nuggets crispy. Placing them on paper towels works in a pinch, but wire racks prevent sogginess better.
- Meat Mallet or Rolling Pin: Optional, to flatten chicken pieces evenly before cutting for uniform cooking.
Nothing too fancy here. If you’re on a budget, a basic nonstick skillet and a couple of bowls will do just fine. I’ve found that keeping your frying oil at the right temperature is more important than the fanciest pan — and using a thermometer can help avoid greasy, soggy nuggets. Also, cleaning the cookie cutters right after use saves you from crusty dried bits later on.
Preparation Method
- Prepare the Chicken: Start by slicing the chicken breasts into thin, even slices about ¼ inch (6mm) thick. If needed, gently pound the pieces with a meat mallet or rolling pin between two sheets of parchment paper to get uniform thickness. This helps the nuggets cook evenly without drying out. (Time: 10 minutes)
- Cut Out Dinosaur Shapes: Place each chicken slice on a cutting board and press the dinosaur-shaped cookie cutters into the meat to create fun shapes. Repeat until you have about 20-25 nuggets. Don’t worry if some shapes aren’t perfect — it just adds character! Keep the smaller scraps; you can re-shape or cook those separately. (Time: 5-7 minutes)
- Set Up the Breading Stations: In one bowl, add the flour seasoned lightly with salt and pepper. In a second bowl, beat the eggs thoroughly. In a third bowl, combine the panko breadcrumbs, grated parmesan, garlic powder, onion powder, paprika, salt, and pepper. Mixing the seasoning into the breadcrumbs ensures every bite is flavorful. (Time: 5 minutes)
- Bread the Nuggets: Dip each dinosaur nugget first into the flour, shaking off excess, then into the beaten eggs, and finally coat well with the breadcrumb mixture. Press the crumbs gently to stick, but don’t overdo it or they’ll get soggy. Place the breaded nuggets on a tray while you finish coating all. (Time: 10 minutes)
- Heat the Oil: Pour oil into your skillet to a depth of about ½ inch (1.25 cm). Heat over medium heat to 350°F (175°C). Using a kitchen thermometer helps keep the temperature steady. If too hot, the nuggets burn; too cold, they absorb oil and get greasy. (Time: 5 minutes)
- Fry the Nuggets: Work in batches to avoid overcrowding. Fry each batch for about 3-4 minutes per side, or until golden brown and crispy. Nuggets should float and look evenly browned. Use tongs to flip gently. If you’re unsure, cut open one nugget to check for doneness—juices should run clear. (Time: 15-20 minutes)
- Drain and Serve: Remove nuggets and place on a wire rack to drain excess oil. This keeps them crispy instead of soggy. Let them rest for a minute or two before serving. (Time: 2-3 minutes)
Pro tip: If you want to make these ahead, fry them until just golden but not fully cooked, then finish frying when ready to serve. This helps with timing when hosting or preparing snacks for busy afternoons.
Cooking Tips & Techniques
One trick I’ve learned is controlling the oil temperature — it’s the difference between crispy, golden nuggets and oily, limp disappointment. Keeping the heat steady around 350°F (175°C) ensures the breading crisps up quickly while the chicken cooks perfectly inside. I sometimes use a thermometer, but if you don’t have one, drop a small breadcrumb into the oil: it should sizzle and float immediately without burning.
Another tip is the three-part breading process — flour, egg, and breadcrumb — which creates that irresistible crunch. Skipping the flour or egg step can make the coating fall off while frying, so don’t skip them! Also, pressing the breadcrumbs gently helps them stick better without becoming dense.
When shaping the nuggets, don’t worry if the dinosaur edges aren’t perfect. The nuggets puff up slightly during frying, softening any sharp shapes. If you want extra even cooking, make sure your chicken slices are about the same thickness.
Lastly, don’t overcrowd your pan — frying too many nuggets at once drops the oil temperature and leads to greasy, uneven cooking. Fry in batches and drain on a wire rack for best results. If you want a lower-fat option, these nuggets also cook nicely in an air fryer at 400°F (200°C) for 10-12 minutes, flipping halfway through.
Variations & Adaptations
There are plenty of ways to switch things up with these dinosaur nuggets, depending on your mood or dietary needs.
- Gluten-Free Version: Use almond flour instead of all-purpose flour and gluten-free panko breadcrumbs to keep the texture crispy without gluten.
- Spicy Twist: Add ½ teaspoon of cayenne pepper or smoked chipotle powder to the breadcrumb mixture for a mild kick that even kids can handle.
- Oven-Baked Option: For a lighter version, bake the breaded nuggets on a parchment-lined baking sheet at 425°F (220°C) for 15-18 minutes, flipping halfway through until golden and crispy.
- Veggie-Enhanced: Incorporate finely grated carrot or zucchini into the chicken mixture before shaping to sneak in some extra nutrients without sacrificing flavor.
- Cheese-Stuffed: Place a small cube of mozzarella inside the chicken slice before shaping and breading for a gooey surprise inside.
I once tried swapping out chicken for ground turkey with the same breading method — turned out great and gave the nuggets a slightly different flavor profile that my family really enjoyed.
Serving & Storage Suggestions
These crispy homemade dinosaur shaped chicken nuggets are best served warm, right after frying, so you get that satisfying crunch with every bite. I like to serve them with classic ketchup or a honey mustard dip, but ranch dressing or a simple garlic aioli also work beautifully.
Pairing these nuggets with a side like the crispy buffalo chicken tater tot casserole makes for a hearty, crowd-pleasing meal that’s both comforting and fun. For lighter sides, carrot sticks or a fresh cucumber salad balance the richness nicely.
For storage, place cooled nuggets in an airtight container and refrigerate for up to 3 days. To reheat, pop them in a preheated oven at 375°F (190°C) for 8-10 minutes or until crispy again. Avoid microwaving if you want to keep the crust crunchy — it tends to get soggy.
If freezing, lay the breaded nuggets on a baking sheet and freeze until solid, then transfer to a freezer-safe bag for up to 2 months. Cook from frozen, adding a few extra minutes to the frying or baking time.
Reheating these nuggets brings back their fresh taste, and oddly enough, the flavors often deepen a bit after a day in the fridge — like a little time to settle into their deliciousness.
Nutritional Information & Benefits
Each serving of these crispy homemade dinosaur shaped chicken nuggets (about 5 nuggets) contains approximately:
| Calories | 280 kcal |
|---|---|
| Protein | 25g |
| Fat | 14g |
| Carbohydrates | 15g |
| Fiber | 1g |
| Sodium | 400mg |
Chicken breast is a great source of lean protein essential for muscle repair and growth. Using panko breadcrumbs instead of heavier coatings keeps the nuggets light and crispy without excessive fat. Garlic and onion powders add flavor without extra calories, and the parmesan cheese contributes calcium and a savory boost.
This recipe can easily fit into gluten-free or dairy-free diets with simple substitutions, and it avoids preservatives or additives common in store-bought nuggets. It’s a healthier snack option that still feels indulgent, especially when paired with fresh veggies or homemade dips.
Conclusion
These crispy homemade dinosaur shaped chicken nuggets have earned a permanent spot in my recipe box — and on my family’s plates. They’re quick, easy, and a ton of fun to make, bringing a little prehistoric excitement to snack time. The best part? They’re made from simple ingredients you trust, with a crunch that keeps everyone coming back for more.
Feel free to tweak the seasoning or experiment with different coatings based on your taste. Whether you’re cooking for kids, hosting a casual gathering, or just craving a satisfying snack, these nuggets deliver. And if you ever want to add a side that’s just as crowd-pleasing, the cheesy tater tot breakfast casserole from the blog pairs beautifully.
Let me know how your dino nuggets turn out — I love hearing about your twists and kitchen adventures. Happy cooking and crunchy eating!
FAQs
Can I bake these nuggets instead of frying?
Yes! Bake them at 425°F (220°C) for about 15-18 minutes, flipping halfway through, until golden and crispy. This method is lighter but still tasty.
What can I use if I don’t have dinosaur cookie cutters?
You can shape the chicken by hand into small nuggets or use any other fun cookie cutters you have. Even simple oval or round shapes work great.
How do I keep the nuggets crispy after cooking?
Drain them on a wire rack instead of paper towels and avoid covering them tightly while warm. Reheat in the oven to restore crispiness if needed.
Can I make these nuggets gluten-free?
Absolutely! Substitute all-purpose flour and breadcrumbs with gluten-free flour and gluten-free panko, respectively.
Is it possible to make these nuggets ahead of time?
Yes, you can bread the nuggets and freeze them before cooking. Fry or bake directly from frozen, adding a few extra minutes to cooking time.
Pin This Recipe!
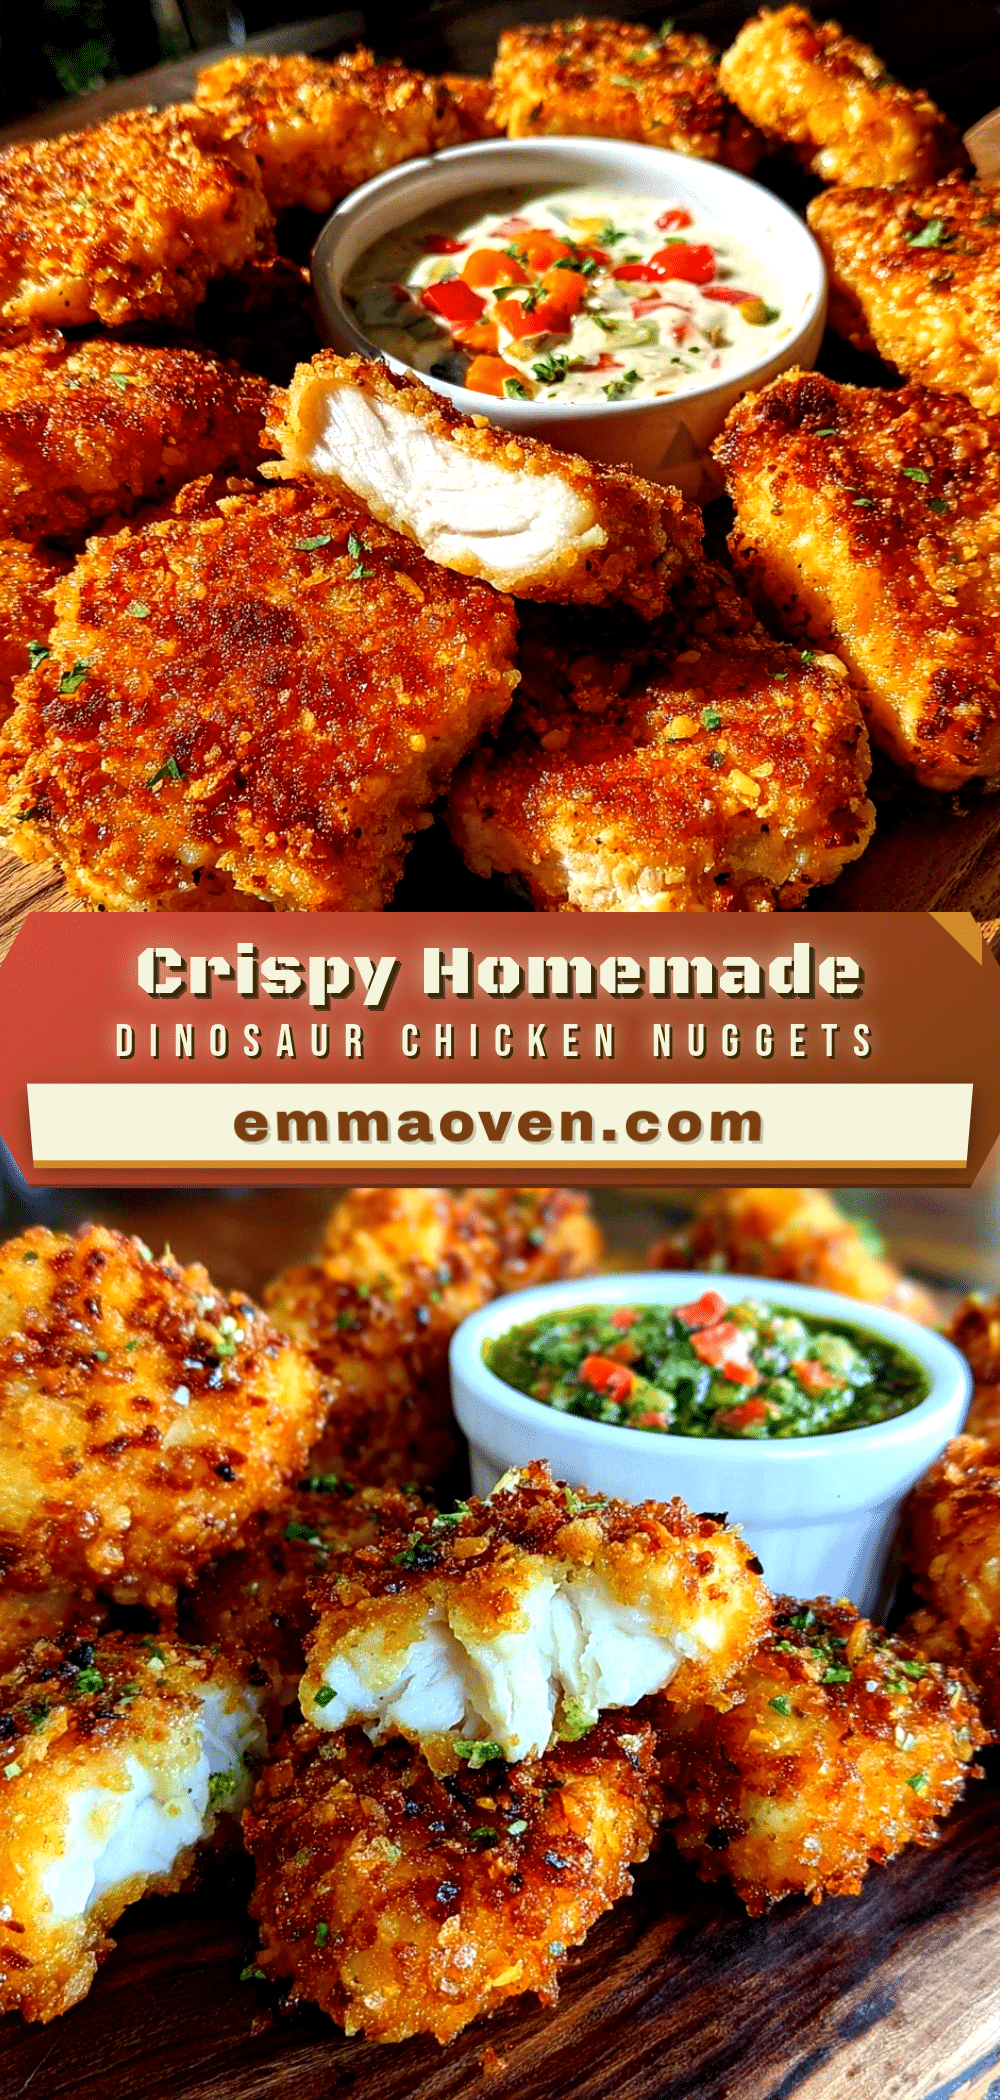
Crispy Homemade Dinosaur Shaped Chicken Nuggets Easy Recipe for Kids Snacks

These crispy homemade dinosaur shaped chicken nuggets turn snack time into a fun and tasty adventure for kids and adults alike, featuring a crunchy coating and juicy chicken inside.
- Prep Time: 20 minutes
- Cook Time: 20 minutes
- Total Time: 40 minutes
- Yield: 20-25 nuggets (about 4 servings) 1x
- Category: Snack
- Cuisine: American
Ingredients
- 1 pound (450g) boneless, skinless chicken breasts, trimmed and sliced
- 1 cup (120g) all-purpose flour
- 2 large eggs, beaten
- 1 ½ cups (150g) panko breadcrumbs (preferably Japanese panko)
- ¼ cup (25g) grated Parmesan cheese
- 1 teaspoon garlic powder
- 1 teaspoon onion powder
- 1 teaspoon paprika
- Salt and black pepper to taste
- 1 ½ cups (350ml) olive oil or vegetable oil for frying
- Dinosaur-shaped cookie cutters (various sizes)
Instructions
- Slice chicken breasts into thin, even slices about ¼ inch (6mm) thick. Pound with a meat mallet or rolling pin if needed for uniform thickness.
- Use dinosaur-shaped cookie cutters to cut shapes from the chicken slices, making about 20-25 nuggets. Keep scraps for reshaping or cooking separately.
- Set up breading stations: bowl 1 with flour seasoned with salt and pepper, bowl 2 with beaten eggs, bowl 3 with panko breadcrumbs mixed with Parmesan, garlic powder, onion powder, paprika, salt, and pepper.
- Dip each chicken nugget first into the flour, shaking off excess, then into the beaten eggs, and finally coat with the breadcrumb mixture, pressing gently to adhere.
- Heat oil in a skillet to about ½ inch depth and maintain temperature at 350°F (175°C).
- Fry nuggets in batches for 3-4 minutes per side until golden brown and crispy. Use tongs to flip gently. Check doneness by cutting one nugget to ensure juices run clear.
- Remove nuggets and drain on a wire rack to keep crispy. Let rest for 1-2 minutes before serving.
Notes
Maintain oil temperature at 350°F (175°C) for best results. Use a three-step breading process (flour, egg, breadcrumbs) to ensure coating sticks well. Drain nuggets on a wire rack to keep crispy. Nuggets can be baked at 425°F (220°C) for 15-18 minutes as a lighter alternative. For gluten-free, substitute flour and breadcrumbs with almond flour and gluten-free panko. For dairy-free, omit Parmesan or use plant-based alternative. Nuggets can be frozen before cooking and cooked from frozen with extra time.
Nutrition
- Serving Size: About 5 nuggets
- Calories: 280
- Sodium: 400
- Fat: 14
- Carbohydrates: 15
- Fiber: 1
- Protein: 25
Keywords: chicken nuggets, dinosaur shaped nuggets, kids snacks, homemade chicken nuggets, crispy chicken nuggets, easy chicken recipe, fun food for kids