“You’re telling me I just need vodka and vanilla beans? That’s it?” my friend asked, eyebrows raised as I handed over the tiny glass vial of homemade vanilla bean extract. Honestly, I was half skeptical myself the first time I tried making this little gift bottle. I’d been rummaging through my pantry on a late Sunday evening, trying to find something sweet but simple to bring to a last-minute get-together. The usual store-bought vanilla extracts felt uninspired, and the thought of spending hours on a fancy dessert was exhausting after a long week.
So, with just a few vanilla beans and some vodka I already had lying around, I tossed together my first batch of homemade vanilla bean extract. I figured, worst case, it’d be a kitchen experiment. But the warm, fragrant aroma that soon filled my tiny apartment was oddly comforting — like a cozy hug in a bottle. And when my friends tasted the cookies made with it, they kept asking where I got that magic extract. From that moment, making a perfect homemade vanilla bean extract gift bottle became my go-to for easy, meaningful presents that say “I care” without the stress.
It’s funny how something so simple — just beans, vodka, and time — can feel so special. This recipe stuck not because it’s flashy but because it’s honest, useful, and offers that little touch of homemade love that anyone would appreciate. Let’s just say, I never show up empty-handed anymore.
Why You’ll Love This Recipe
After making this vanilla bean extract recipe multiple times (and tweaking it in between batches), I can say it’s one of the easiest DIY gifts you’ll ever put together. Here’s why it’s earned a permanent spot in my kitchen routine:
- Quick & Easy: You only need a handful of minutes to prep the beans and vodka, then let patience do the rest. Perfect for last-minute gifting or a slow kitchen project.
- Simple Ingredients: No special trips to gourmet stores—just grab some quality vanilla beans and a neutral vodka you like.
- Perfect for Gifting: Whether it’s holiday season, birthday, or a thank-you, this bottle feels personal and thoughtful.
- Crowd-Pleaser: Friends and family always rave about how much richer their baked goods taste when they use the extract.
- Unbelievably Delicious: The deep, natural vanilla flavor you get from real beans is something store extracts just can’t match.
What makes this recipe stand out is the balance—it’s not too strong or overpowering; it’s smooth and nuanced, the kind of extract that makes you close your eyes after a bite of cake or cookies. I’ve tested different beans and alcohol bases, but vodka remains my favorite since it doesn’t compete with the vanilla’s warmth. Plus, bottling it in small glass jars adds a rustic charm that’s hard to replicate.
Honestly, it’s the kind of homemade gift that feels like a little secret between you and the recipient. Like a tiny treasure you crafted yourself, ready to sweeten someone’s kitchen adventures. If you’ve ever enjoyed the cozy aroma of vanilla in your baking, this is the gift bottle you’ll be proud to share.
What Ingredients You Will Need
This recipe calls for just a handful of straightforward, pantry-friendly ingredients that come together to create a robust and aromatic vanilla bean extract. These ingredients are easy to source and perfect for anyone wanting a natural, homemade flavor boost without fuss.
- Vanilla Beans (4-6 whole beans): Use high-quality Madagascar Bourbon vanilla beans for that classic, creamy flavor. Look for plump, moist beans with a rich aroma. Avoid dry or brittle ones—they won’t infuse as well.
- Vodka (1 cup / 240 ml): Choose a good-quality, neutral vodka around 40% ABV. I usually pick Tito’s Handmade or Smirnoff. Avoid flavored vodkas, which can clash with the vanilla.
- Optional: Rum or Bourbon (to replace vodka): For a richer, warmer profile, swap vodka for dark rum or bourbon. It adds a unique twist but slightly changes the flavor intensity.
That’s really it! No added sugars, preservatives, or artificial flavors—just pure vanilla and alcohol. If you want to gift a batch soon, you could also grab small glass bottles with tight caps or corks for that classic gift look.
When selecting vanilla beans, if you’re in a pinch, Mexican or Tahitian beans work too, but Madagascar is my personal favorite for the smoothest, sweetest vanilla. Also, if you want a gluten-free or keto-friendly extract, sticking to vodka or rum keeps it safe for most diets.
Equipment Needed
- Glass Bottles or Jars: Small amber or clear glass bottles with airtight caps or corks. I love reusing old vanilla extract bottles or purchasing mini bottles online.
- Sharp Knife: To split the vanilla beans lengthwise and expose the seeds for maximum flavor.
- Measuring Cup: For precise vodka measurement (1 cup / 240 ml).
- Funnel (optional): Makes transferring the extract into bottles less messy.
- Labeling Supplies: Stickers or tags to mark the date and personalize your gift bottle.
You don’t need any fancy gadgets here—just basics you probably already have. I once used a small jam jar when I was out of bottles and it worked just fine. Just be sure to keep the container airtight to prevent evaporation or contamination.
Preparation Method
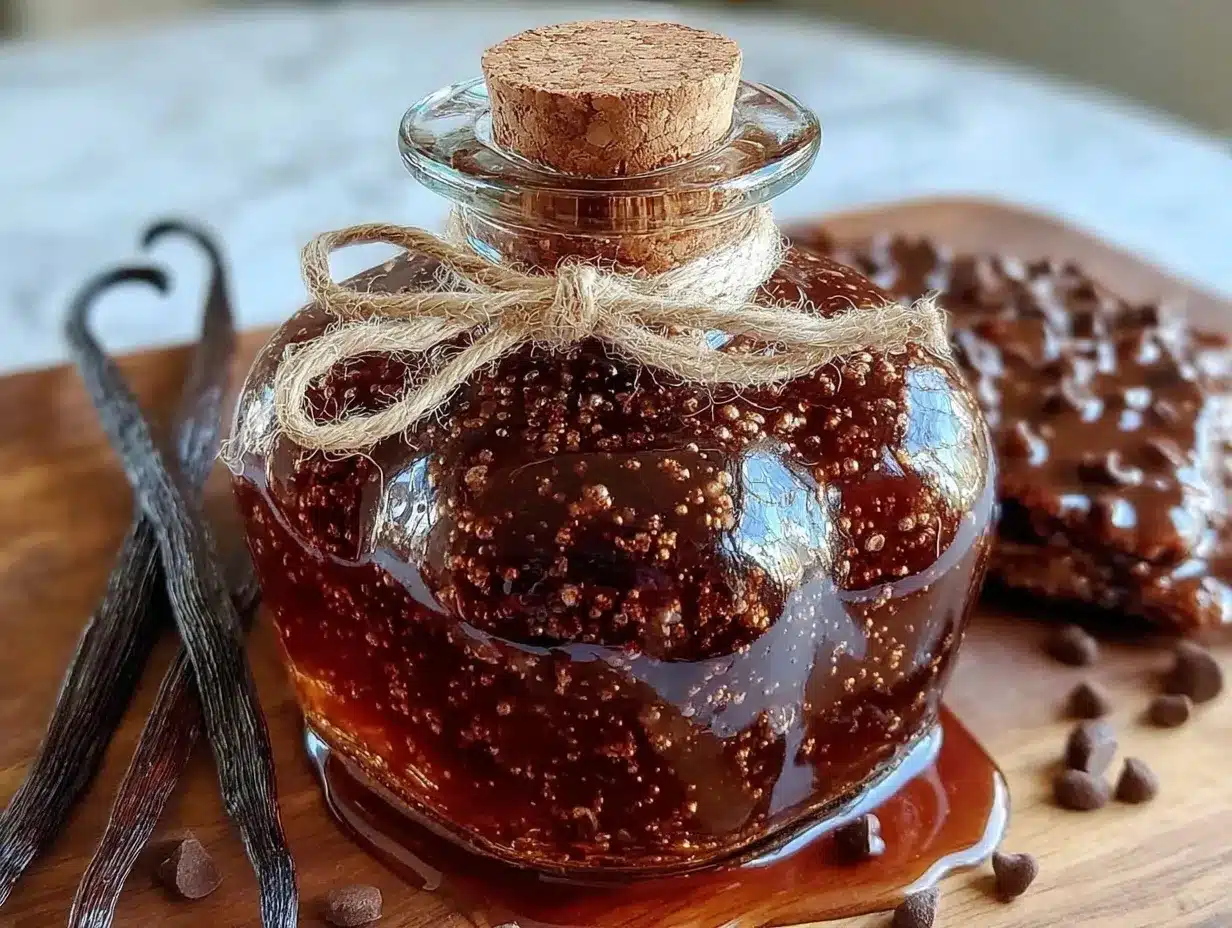
- Prepare the Vanilla Beans: Using a sharp knife, carefully split each vanilla bean lengthwise to expose the tiny seeds inside. This step is key to releasing the full flavor. You don’t need to scrape out the seeds; just splitting is enough since everything will infuse.
- Combine Beans and Vodka: Place the split beans into your glass bottle or jar. Pour 1 cup (240 ml) of vodka over the beans, making sure they’re fully submerged. Leave a little headspace to shake later.
- Seal and Store: Secure the cap tightly. Store the bottle in a cool, dark place like a pantry or cupboard. Give it a gentle shake every few days to mix the flavors.
- Wait Patiently: Let the vanilla beans infuse for at least 6 weeks (ideally 8). You’ll notice the vodka darkening and the aroma deepening over time. The longer it sits, the richer the flavor.
- Optional Bottling: If you started in a larger jar, you can strain the extract through a fine mesh or cheesecloth into smaller gift bottles once it’s ready. Leave beans in for ongoing infusion or remove for a cleaner look.
A quick tip: Don’t rush the process. I once tried to speed things up with warm vodka, but the flavor was harsh and one-dimensional. Patience truly rewards with a smoother, more complex extract.
Also, if you want to give the gift right away, assemble the bottle with the beans and vodka and include a note about the infusion time. It’s a fun way to share a DIY project that keeps on giving.
Cooking Tips & Techniques
Making the perfect homemade vanilla bean extract isn’t complicated, but a few insider tips can make your batch stand out:
- Choose Fresh Beans: Fresh, moist beans have the best oils and aroma. Dry beans make a weaker extract that takes longer to develop.
- Use Neutral Alcohol: Vodka’s mildness lets vanilla shine. Flavored or low-proof alcohols can muddy the taste.
- Shake Regularly: Rolling or shaking the bottle every week helps distribute the vanilla oils evenly.
- Don’t Throw Away Beans: After extraction, you can repurpose the beans to flavor sugar, coffee, or homemade baked goods.
- Adjust Bean Quantity: For a stronger extract, add more beans—but don’t overdo it, or it can get bitter.
One mistake I made early on was not splitting the beans fully. The extract ended up weak and bland. Lesson learned: don’t skip that crucial step.
Another tip is to avoid cheap vodka brands that can add an off-flavor. Spending a few extra dollars on a smooth vodka really pays off in the final taste.
Variations & Adaptations
This easy recipe is wonderfully flexible, so feel free to tweak it based on your pantry or preferences:
- Alcohol Base Swap: Use dark rum or bourbon instead of vodka for a warmer, richer vanilla extract with a hint of oakiness.
- Flavored Extracts: Add a cinnamon stick or a few cloves to the bottle for a spiced vanilla extract perfect for holiday baking.
- Alcohol-Free Version: Create a vanilla syrup by simmering split beans in water and sugar, although it won’t keep as long or have the same intensity.
I once made a batch with bourbon and a cinnamon stick for a friend’s winter gift, and it was a huge hit—it added a cozy depth that paired well with egg casseroles and morning treats. Just keep in mind that substitutions might change shelf life and flavor strength.
Serving & Storage Suggestions
Homemade vanilla bean extract is incredibly versatile and easy to use. Here are some ideas on how to enjoy and store your gift bottle:
- Use in Baking: Add 1-2 teaspoons to cookies, cakes, pancakes, and custards for authentic vanilla flavor.
- Enhance Beverages: Stir a splash into coffee, hot chocolate, or even milkshakes for a subtle vanilla twist.
- Storage: Keep the bottle tightly sealed in a cool, dark place. The extract improves with age and can last indefinitely thanks to the alcohol content.
- Reheating Tips: No reheating needed! The extract is ready to use straight from the bottle.
Over time, the flavors meld and intensify, making older batches even more treasured. It’s like a gift that keeps getting better. When gifting, include a note on how to use it—people love knowing they can add just a splash of homemade magic to their favorite recipes.
Nutritional Information & Benefits
Vanilla bean extract is low in calories since it’s mostly alcohol and beans. Here’s a rough breakdown per teaspoon (5 ml):
| Component | Amount |
|---|---|
| Calories | 12 |
| Carbohydrates | 0.5 g |
| Sugars | 0 g |
| Fat | 0 g |
| Protein | 0 g |
Using real vanilla beans means you’re getting natural flavor without artificial additives. Vanilla also contains antioxidants and is known to have mild anti-inflammatory properties. For those watching gluten or sugar intake, this extract is safe and pure.
From a wellness perspective, I appreciate that this homemade version avoids the alcohol denaturants sometimes found in commercial extracts. Plus, making your own means you know exactly what’s inside—no surprises or weird chemicals.
Conclusion
The perfect homemade vanilla bean extract gift bottle is one of those rare recipes that’s both simple and meaningful. It’s a little ritual of patience and care that turns everyday ingredients into a treasured kitchen staple. Whether you’re gifting it or keeping it for yourself, it’s a wonderful way to add warmth and personality to your baking.
Feel free to customize with your favorite beans or alcohol to make it your own. This recipe has become a quiet joy for me, a small way to share comfort and sweetness with people I care about. For an easy homemade gift that feels thoughtful without the fuss, this vanilla bean extract bottle is hard to beat.
If you try it out, I’d love to hear how you personalize your batch or what recipes you’ve brightened with it. Sharing these little kitchen stories is what makes cooking fun and real.
FAQs About Homemade Vanilla Bean Extract
How long does homemade vanilla bean extract need to steep?
At least 6 weeks is recommended for good flavor, but 8 weeks or longer produces a richer extract. Patience pays off!
Can I use alcohol other than vodka?
Yes, dark rum or bourbon work wonderfully for a warmer flavor. Avoid flavored or low-proof alcohols for best results.
Do I need to remove the vanilla beans after steeping?
You can leave the beans in the bottle for ongoing infusion or remove them for a cleaner look. Either way is fine.
How should I store my homemade vanilla extract?
Store it in a tightly sealed glass bottle in a cool, dark place like a pantry. It keeps indefinitely and improves with age.
Can this extract be used in recipes that call for vanilla extract directly?
Absolutely! Use it as a 1:1 substitute for store-bought vanilla extract in cookies, cakes, frosting, and drinks.
For those who love simple, comforting homemade treats, this extract pairs beautifully with recipes like the crispy cheesy tater tot ranch bake or the creamy buffalo chicken 7-layer dip. It’s the kind of flavor boost that quietly brings a little extra joy to any dish.
Pin This Recipe!
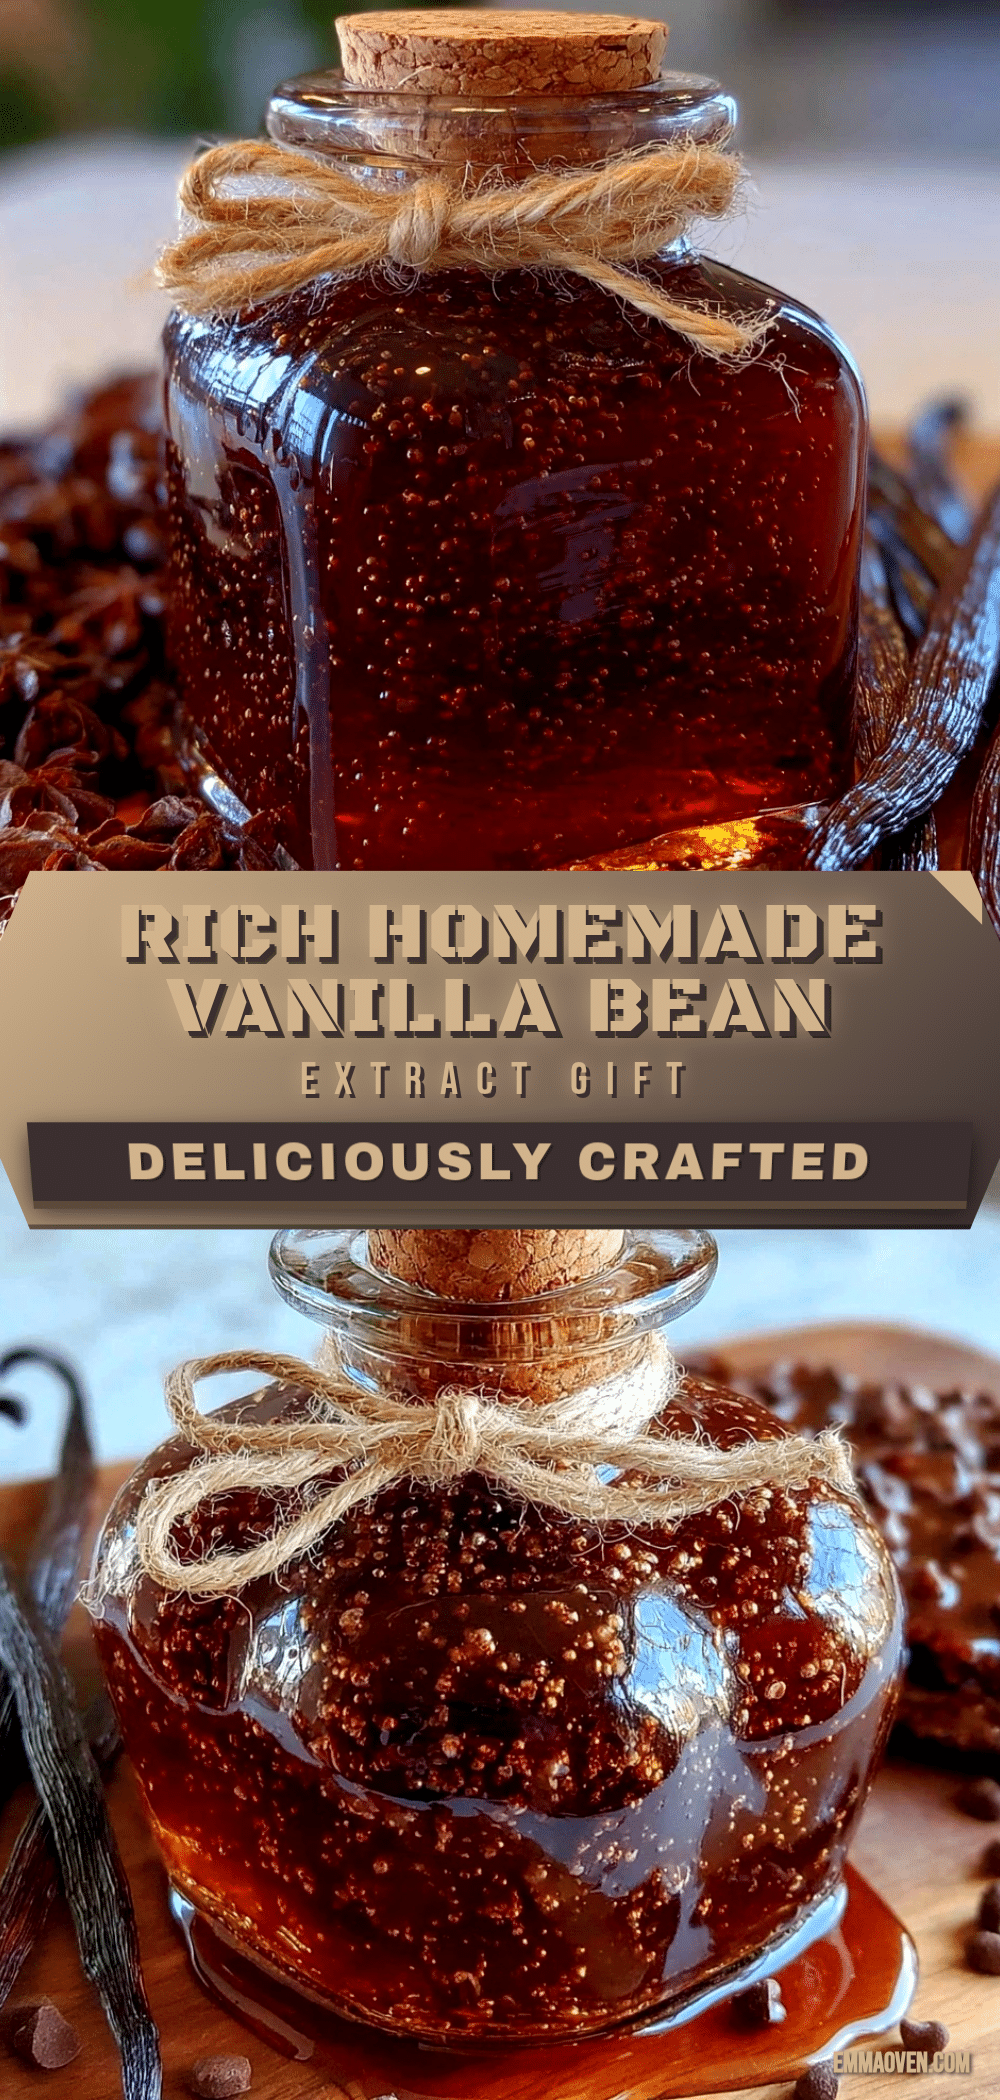
Perfect Homemade Vanilla Bean Extract Gift Bottle Recipe for Easy DIY Gifts
A simple and easy recipe to make your own vanilla bean extract using just vanilla beans and vodka, perfect for gifting or enhancing your baking.
- Prep Time: 10 minutes
- Cook Time: 0 minutes
- Total Time: 6 weeks (infusion time)
- Yield: About 1 cup of vanilla extract 1x
- Category: DIY Extracts / Gifts
- Cuisine: American
Ingredients
- 4–6 whole vanilla beans (preferably Madagascar Bourbon)
- 1 cup (240 ml) vodka (neutral, 40% ABV)
- Optional: dark rum or bourbon to replace vodka for a richer flavor
Instructions
- Using a sharp knife, carefully split each vanilla bean lengthwise to expose the seeds inside.
- Place the split beans into a glass bottle or jar.
- Pour 1 cup (240 ml) of vodka over the beans, ensuring they are fully submerged.
- Seal the bottle tightly and store in a cool, dark place.
- Shake the bottle gently every few days to mix the flavors.
- Let the vanilla beans infuse for at least 6 weeks, ideally 8 weeks or longer for richer flavor.
- Optional: strain the extract through a fine mesh or cheesecloth into smaller bottles once ready, leaving beans in or removing them as preferred.
Notes
Use fresh, moist vanilla beans for best flavor. Shake the bottle regularly to distribute oils. Avoid flavored or low-proof alcohols. Patience is key—do not rush infusion. Beans can be reused to flavor sugar or coffee after extraction.
Nutrition
- Serving Size: 1 teaspoon (5 ml)
- Calories: 12
- Carbohydrates: 0.5
Keywords: vanilla bean extract, homemade vanilla extract, DIY vanilla extract, vanilla bean, vodka, gift bottle, easy vanilla extract