Let me tell you, the scent of smoky bacon caramelizing with sweet onions and a touch of brown sugar, all nestled between soft slider buns with melted sharp cheddar, is enough to make anyone’s mouth water. The first time I made these savory bacon jam sliders with cheddar, I was instantly hooked. It was one of those moments where you pause, take a deep breath, and just smile because you know you’re onto something truly special. Honestly, the combination of that rich, sweet-savory bacon jam paired with gooey cheddar cheese feels like a warm hug on a plate.
Years ago, when I was knee-high to a grasshopper, my grandma used to make sliders for family gatherings, but she never added bacon jam—just classic toppings. One rainy weekend, I decided to experiment in my own kitchen, trying to recreate that nostalgic comfort food but with a little twist. The result? Pure, nostalgic comfort with an edge. My family couldn’t stop sneaking them off the cooling rack (and I can’t really blame them). These sliders are dangerously easy to whip up, perfect for everything from casual game day hangouts to impressing guests at your next potluck.
You know what’s great? This recipe feels just right for so many occasions. Whether you want a sweet treat for your kids or need something to brighten up your Pinterest cookie board, these sliders fit the bill. I’ve tested this recipe multiple times (in the name of research, of course), and it’s become a staple for family gatherings, gifting, and even those nights when you want a quick, satisfying bite. Trust me, you’re going to want to bookmark this one.
Why You’ll Love This Recipe
After countless trials, tweaks, and licking my fingers clean, I can confidently say these savory bacon jam sliders with cheddar stand out for a bunch of reasons. Here’s why they’ll quickly become your go-to slider recipe:
- Quick & Easy: Comes together in under 45 minutes, perfect for busy weeknights or last-minute cravings.
- Simple Ingredients: No fancy grocery trips needed; you likely already have everything in your kitchen pantry.
- Perfect for Entertaining: Great for potlucks, game days, family dinners, or casual weekend hangouts.
- Crowd-Pleaser: Always gets rave reviews from kids and adults alike — the ideal mix of sweet, smoky, and cheesy.
- Unbelievably Delicious: The texture and flavor combo is next-level comfort food that feels both special and familiar.
What makes this recipe different? For starters, the bacon jam is cooked low and slow with onions, brown sugar, and a splash of balsamic vinegar to give it that rich depth. The cheddar choice is key — I recommend a sharp aged cheddar for that tangy pop that balances the sweetness perfectly. Plus, assembling the sliders with soft, slightly toasted buns helps keep everything cozy without getting soggy. This isn’t just another slider recipe — it’s the best version I’ve found after endless testing.
Honestly, it’s the kind of recipe where you close your eyes after the first bite and say, “Yep, this is it.” It’s comfort food reimagined — faster, tastier, and with that perfect balance of flavors that never get old. Whether you want to impress guests without stress or just treat yourself to something memorable, these sliders are a winner every single time.
What Ingredients You Will Need
This recipe uses simple, wholesome ingredients to deliver bold flavor and satisfying texture without the fuss. Most are pantry staples, and substitutions are easy if needed.
- Bacon: 8 ounces thick-cut bacon, diced (I prefer Wright brand for best texture and flavor)
- Onions: 2 medium yellow onions, finely chopped (adds sweetness and depth)
- Garlic: 3 cloves garlic, minced (fresh is best for punchy flavor)
- Brown Sugar: 1/4 cup packed (for that perfect caramelized sweetness)
- Balsamic Vinegar: 2 tablespoons (adds tang and complexity)
- Maple Syrup: 1 tablespoon (optional, enhances natural sweetness)
- Black Pepper: Freshly ground, to taste
- Slider Buns: 12 soft mini buns (potato buns work wonders for softness and flavor)
- Cheddar Cheese: 6 ounces sharp cheddar, sliced (aged cheddar recommended for tang)
- Butter: 2 tablespoons unsalted, softened (for toasting buns)
- Optional: Fresh thyme or rosemary for garnish (adds a subtle herbal note)
Substitution tips: Use turkey bacon for a leaner option, and swap brown sugar with coconut sugar for a different sweetness profile. If you want to skip balsamic vinegar, a splash of apple cider vinegar works too. Dairy-free cheddar and buns are easy swaps for those with dietary needs.
Equipment Needed
- Large skillet or frying pan: For cooking bacon jam — I like a heavy-bottomed skillet for even heat.
- Wooden spoon or spatula: To stir the jam without scratching your cookware.
- Knife and cutting board: For chopping onions and mincing garlic — sharp knives make prep safer and quicker.
- Baking sheet: For warming and toasting the slider buns.
- Small saucepan (optional): If you want to melt butter separately for brushing buns.
If you don’t have a skillet, a sauté pan works just fine. For toasting buns, a toaster oven or even a grill pan will do the trick. Personally, I’ve found that a cast iron skillet really brings out the best caramelization in the bacon jam. Keep your tools clean and seasoned, especially cast iron, for best results and longer-lasting gear.
Preparation Method

- Cook the Bacon: Place the diced bacon in a large cold skillet over medium heat. Cook for about 8-10 minutes, stirring occasionally, until the bacon is crispy and fat has rendered out. Remove bacon bits with a slotted spoon and set aside, leaving the fat in the skillet. (Pro tip: Keep the fat — that’s flavor gold!)
- Sauté Onions: Add the chopped onions to the bacon fat and reduce heat to medium-low. Cook for 15-20 minutes, stirring often, until onions are very soft and caramelized. They should turn a deep golden brown but not burn — the kind of smell that makes your kitchen smell divine.
- Add Garlic and Sweeteners: Stir in the minced garlic and cook for 1 minute, until fragrant. Then add brown sugar, balsamic vinegar, and maple syrup (if using). Stir well to combine. Let the mixture simmer gently for 5-7 minutes, stirring occasionally, until thick and jammy. Season with freshly ground black pepper to taste.
- Combine Bacon and Jam: Stir the crispy bacon back into the onion mixture. Mix thoroughly so the flavors meld together beautifully. Remove from heat and let cool slightly.
- Prepare Buns and Cheese: Preheat oven to 350°F (175°C). Slice slider buns in half horizontally. Spread softened butter on the cut sides, then place them face-up on a baking sheet. Toast in the oven for 5-7 minutes until golden and slightly crisp.
- Assemble Sliders: Spoon a generous amount of bacon jam onto the bottom half of each bun. Top with a slice of sharp cheddar cheese. Place the top half of the bun over the cheese and press gently.
- Melt Cheese (Optional): For extra melty goodness, you can pop the assembled sliders back into the oven for 3-5 minutes or under the broiler for 1-2 minutes, watching closely to avoid burning.
- Serve: Arrange sliders on a platter and garnish with fresh thyme or rosemary if desired. Serve warm and watch them disappear fast!
Note: If the bacon jam seems too thick after cooling, you can gently warm it with a splash of water to loosen it up. Also, caramelizing onions takes patience — don’t rush this step or you’ll miss that deep, rich flavor.
Cooking Tips & Techniques
Mastering bacon jam is all about patience and attention. Here’s what I’ve learned the hard way:
- Low and slow: Don’t crank the heat when cooking onions. Slow caramelization brings out natural sweetness and avoids bitterness. I usually keep the heat around medium-low and stir every few minutes.
- Rendering bacon fat: Starting with cold bacon and a cold pan helps evenly render fat and crisp up pieces without burning.
- Balance sweetness and tang: The brown sugar and balsamic vinegar combo is key. Too much vinegar makes it sour; too little and it’s just sweet. Taste as you go and adjust.
- Cheese choice matters: Sharp cheddar has enough punch to cut through the sweetness but isn’t overpowering. Avoid mild or processed cheddar for this recipe.
- Toast buns properly: Buttered and toasted buns add texture and prevent sogginess. I find toasting just until golden gives the best bite.
- Multitasking: While onions caramelize, prep other ingredients and clean up to save time. This recipe rewards patience but doesn’t demand constant stirring.
My personal fail? Overcooking the jam until it turns into hard candy. Been there, done that. Remember, it should be thick but spreadable, like a jam you could slather on toast.
Variations & Adaptations
Want to tweak these sliders? Here are some ideas I’ve tried and loved:
- Spicy Kick: Add a pinch of cayenne pepper or a dash of hot sauce to the bacon jam for a smoky heat that wakes up the flavors.
- Cheese Swap: Try smoked gouda or gruyère instead of cheddar for a different flavor profile that’s still creamy and rich.
- Vegetarian Version: Replace bacon with smoked tempeh or mushrooms, and use vegan cheese and buns for a plant-based option that’s still hearty.
- Seasonal Twist: In fall, stir in a teaspoon of cinnamon and nutmeg to the jam for a cozy vibe. Or mix in fresh thyme during cooking for herbal notes.
- Gluten-Free: Use gluten-free slider buns or lettuce wraps if you want to skip the gluten but keep all the flavor.
One fun variation I tried was adding caramelized apple slices to the bacon jam before assembling. It added a juicy sweetness that surprised everyone at the table—definitely worth experimenting with!
Serving & Storage Suggestions
These sliders are best served warm, right out of the oven, when the cheese is perfectly melty and the bacon jam is still luscious. They make a fantastic appetizer or party snack, especially when paired with crisp pickles, a tangy coleslaw, or even a simple green salad to balance richness.
If you’re serving a crowd, keep the sliders warm on a baking sheet covered loosely with foil. Leftovers store beautifully in an airtight container in the refrigerator for up to 3 days. To reheat, pop them in a 350°F (175°C) oven for 10-12 minutes — this helps revive the toasted buns and melty cheese without drying out the jam.
Freezing is possible too: wrap sliders individually in foil and freeze for up to 2 months. Thaw overnight in the fridge before reheating gently. Flavors actually deepen after sitting a day, so making the bacon jam a day ahead is a great idea if you want to save time.
Nutritional Information & Benefits
Each slider packs roughly 220-250 calories depending on bun size and cheese used. They provide a solid hit of protein from bacon and cheddar, along with some iron and B vitamins. The caramelized onions add fiber and antioxidants, while the balsamic vinegar contributes trace minerals and a touch of acidity that’s good for digestion.
While these sliders lean indulgent, using quality ingredients and portion control makes them a satisfying treat without guilt. For those watching carbs, swapping buns for lettuce wraps cuts down on carbs significantly. And if you choose nitrate-free bacon and organic dairy, you’re getting a cleaner, less processed version of this crowd-pleaser.
Conclusion
If you’re after a slider recipe that checks all the boxes — savory, sweet, smoky, and cheesy — these savory bacon jam sliders with cheddar are worth every minute of prep. They’re easy enough for a weeknight treat and special enough to impress guests or family without breaking a sweat. Customize them to your taste, experiment with toppings, and don’t be shy about making a double batch because these disappear fast.
Personally, this recipe reminds me of cozy family dinners and the joy of sharing good food with people I love. I hope it brings the same warmth and smiles to your kitchen. If you give it a try, I’d love to hear how you make it your own — leave a comment or share your favorite variation!
Now, go on — whip up these sliders and prepare for some serious flavor magic!
Frequently Asked Questions
Can I make the bacon jam ahead of time?
Absolutely! Bacon jam keeps well refrigerated for up to a week. Making it a day ahead actually helps the flavors deepen. Just warm gently before assembling sliders.
What’s the best way to reheat leftover sliders?
Reheat in a 350°F (175°C) oven for 10-12 minutes to keep buns toasted and cheese melty. Avoid microwaving, which can make buns soggy.
Can I use regular bacon instead of thick-cut?
You can, but thick-cut bacon holds up better and creates a meatier texture in the jam. Regular bacon might cook faster and be crisper, so watch it closely.
Is there a vegetarian alternative to bacon jam?
Yes! Try smoked mushrooms or tempeh cooked with the same ingredients to mimic that smoky-sweet flavor. Vegan cheese and buns make it fully plant-based.
How do I prevent the buns from getting soggy?
Toasting buttered buns before assembling creates a protective barrier. Also, don’t overload the buns with bacon jam — a moderate amount keeps everything balanced and delicious.
Pin This Recipe!
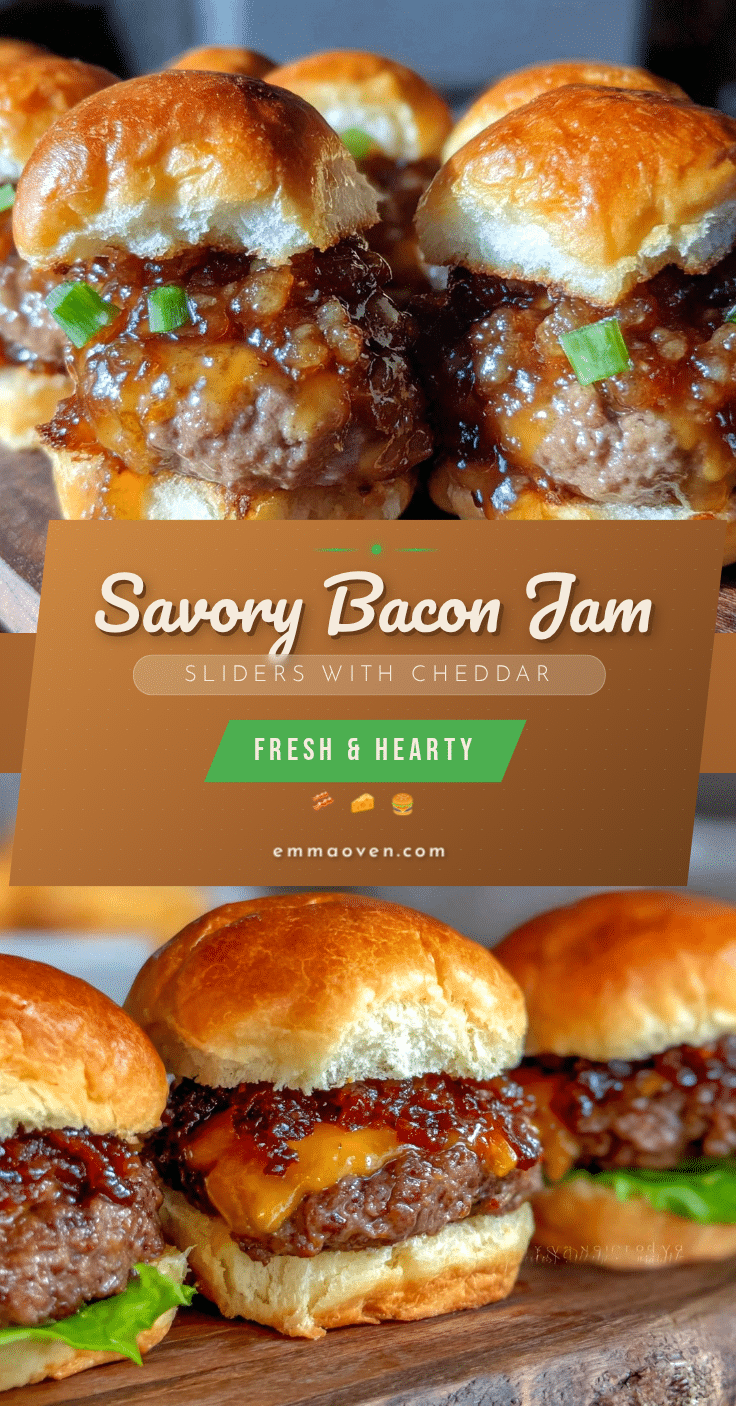
Savory Bacon Jam Sliders with Cheddar

These sliders feature smoky bacon jam caramelized with sweet onions and brown sugar, paired with sharp cheddar cheese on soft slider buns for a perfect sweet-savory bite. Quick and easy to make, they are ideal for game days, potlucks, or family gatherings.
- Prep Time: 15 minutes
- Cook Time: 30 minutes
- Total Time: 45 minutes
- Yield: 12 sliders 1x
- Category: Appetizer
- Cuisine: American
Ingredients
- 8 ounces thick-cut bacon, diced
- 2 medium yellow onions, finely chopped
- 3 cloves garlic, minced
- 1/4 cup packed brown sugar
- 2 tablespoons balsamic vinegar
- 1 tablespoon maple syrup (optional)
- Freshly ground black pepper, to taste
- 12 soft mini slider buns (potato buns recommended)
- 6 ounces sharp cheddar cheese, sliced
- 2 tablespoons unsalted butter, softened
- Fresh thyme or rosemary for garnish (optional)
Instructions
- Place the diced bacon in a large cold skillet over medium heat. Cook for about 8-10 minutes, stirring occasionally, until the bacon is crispy and fat has rendered out. Remove bacon bits with a slotted spoon and set aside, leaving the fat in the skillet.
- Add the chopped onions to the bacon fat and reduce heat to medium-low. Cook for 15-20 minutes, stirring often, until onions are very soft and caramelized, turning a deep golden brown but not burnt.
- Stir in the minced garlic and cook for 1 minute until fragrant. Add brown sugar, balsamic vinegar, and maple syrup (if using). Stir well to combine and let simmer gently for 5-7 minutes, stirring occasionally, until thick and jammy. Season with freshly ground black pepper to taste.
- Stir the crispy bacon back into the onion mixture. Mix thoroughly and remove from heat. Let cool slightly.
- Preheat oven to 350°F (175°C). Slice slider buns in half horizontally. Spread softened butter on the cut sides, then place them face-up on a baking sheet. Toast in the oven for 5-7 minutes until golden and slightly crisp.
- Spoon a generous amount of bacon jam onto the bottom half of each bun. Top with a slice of sharp cheddar cheese. Place the top half of the bun over the cheese and press gently.
- Optional: For extra melty cheese, place assembled sliders back into the oven for 3-5 minutes or under the broiler for 1-2 minutes, watching closely to avoid burning.
- Arrange sliders on a platter and garnish with fresh thyme or rosemary if desired. Serve warm.
Notes
Keep the bacon fat after cooking for flavor. Caramelize onions low and slow to avoid bitterness. Toast buttered buns to prevent sogginess. If bacon jam is too thick after cooling, warm gently with a splash of water to loosen. Use sharp aged cheddar for best flavor. Variations include adding cayenne for spice, swapping cheeses, or making vegetarian with smoked tempeh or mushrooms and vegan cheese/buns.
Nutrition
- Serving Size: 1 slider
- Calories: 235
- Sugar: 6
- Sodium: 450
- Fat: 15
- Saturated Fat: 6
- Carbohydrates: 15
- Fiber: 1
- Protein: 9
Keywords: bacon jam, sliders, cheddar, appetizer, game day, potluck, easy recipe, comfort food, bacon, caramelized onions